
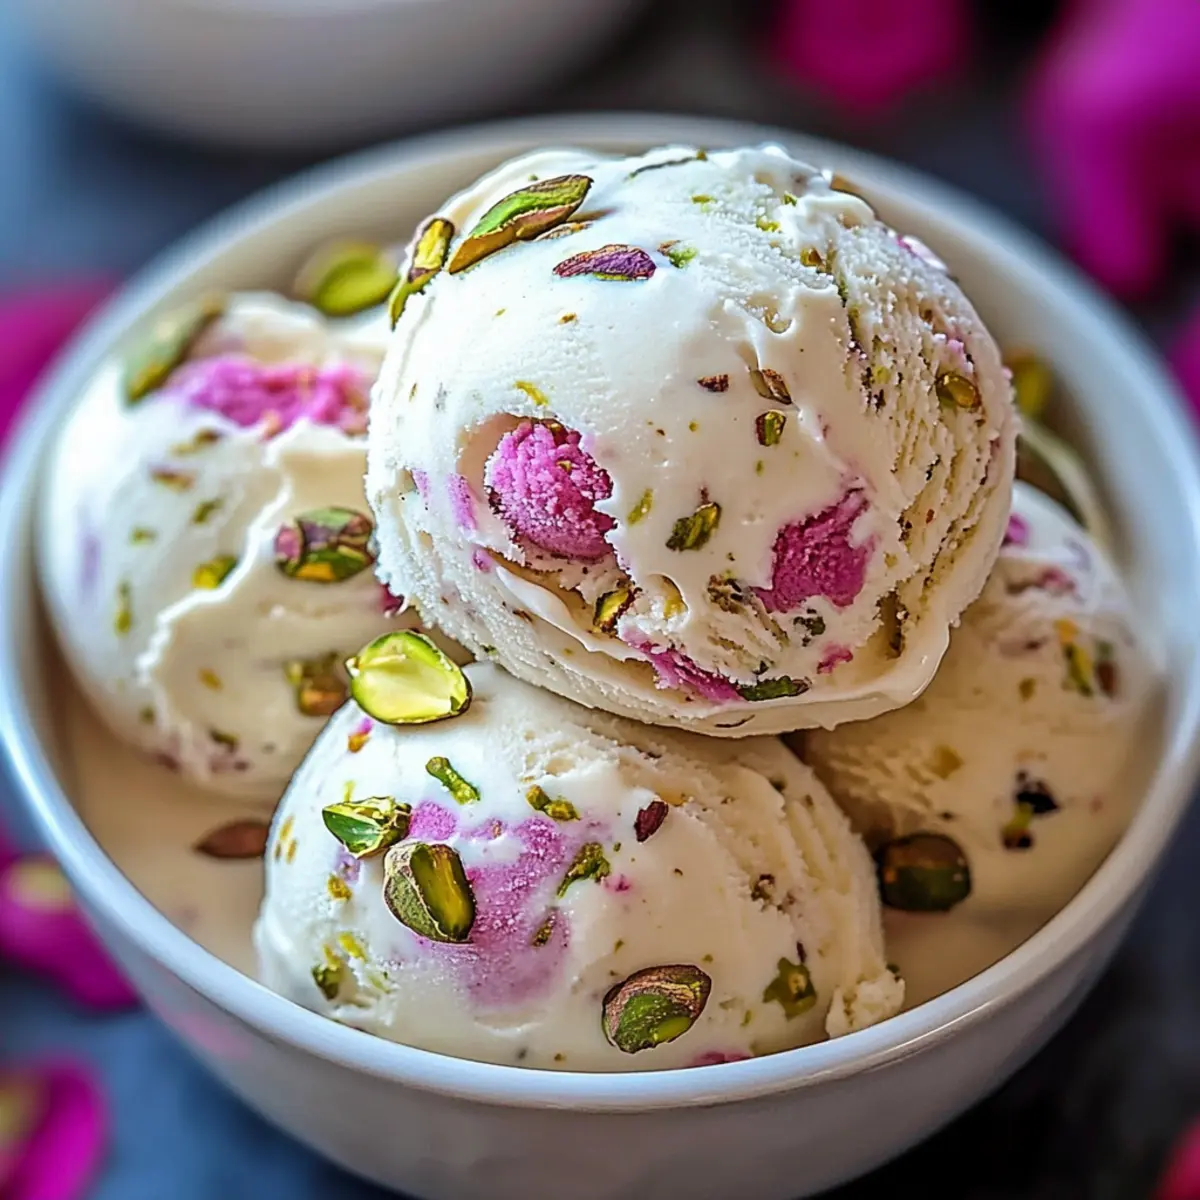
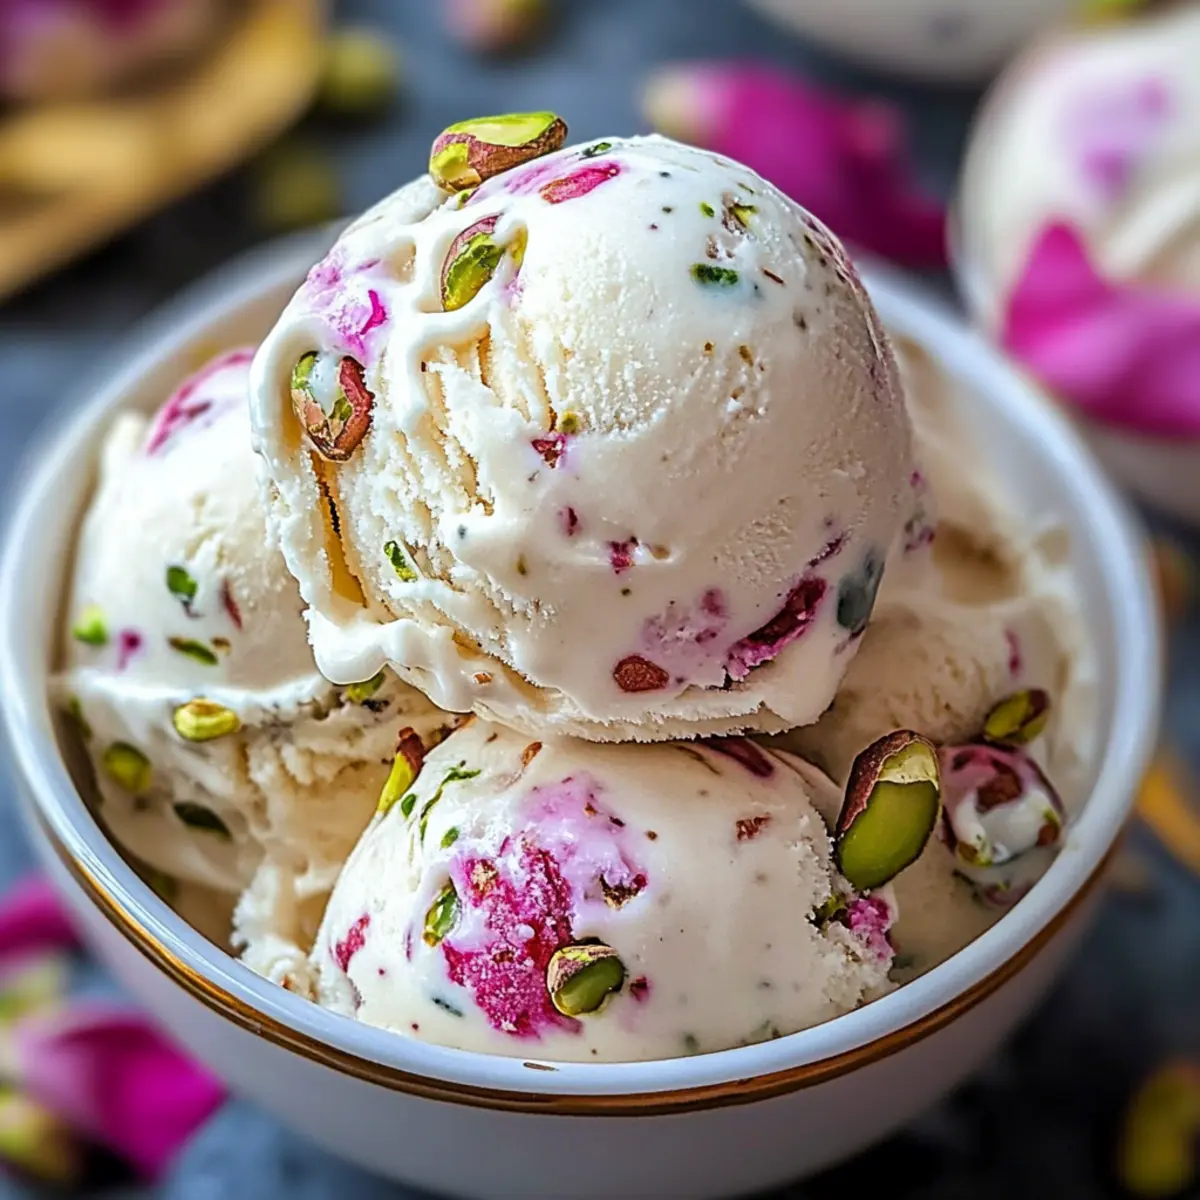
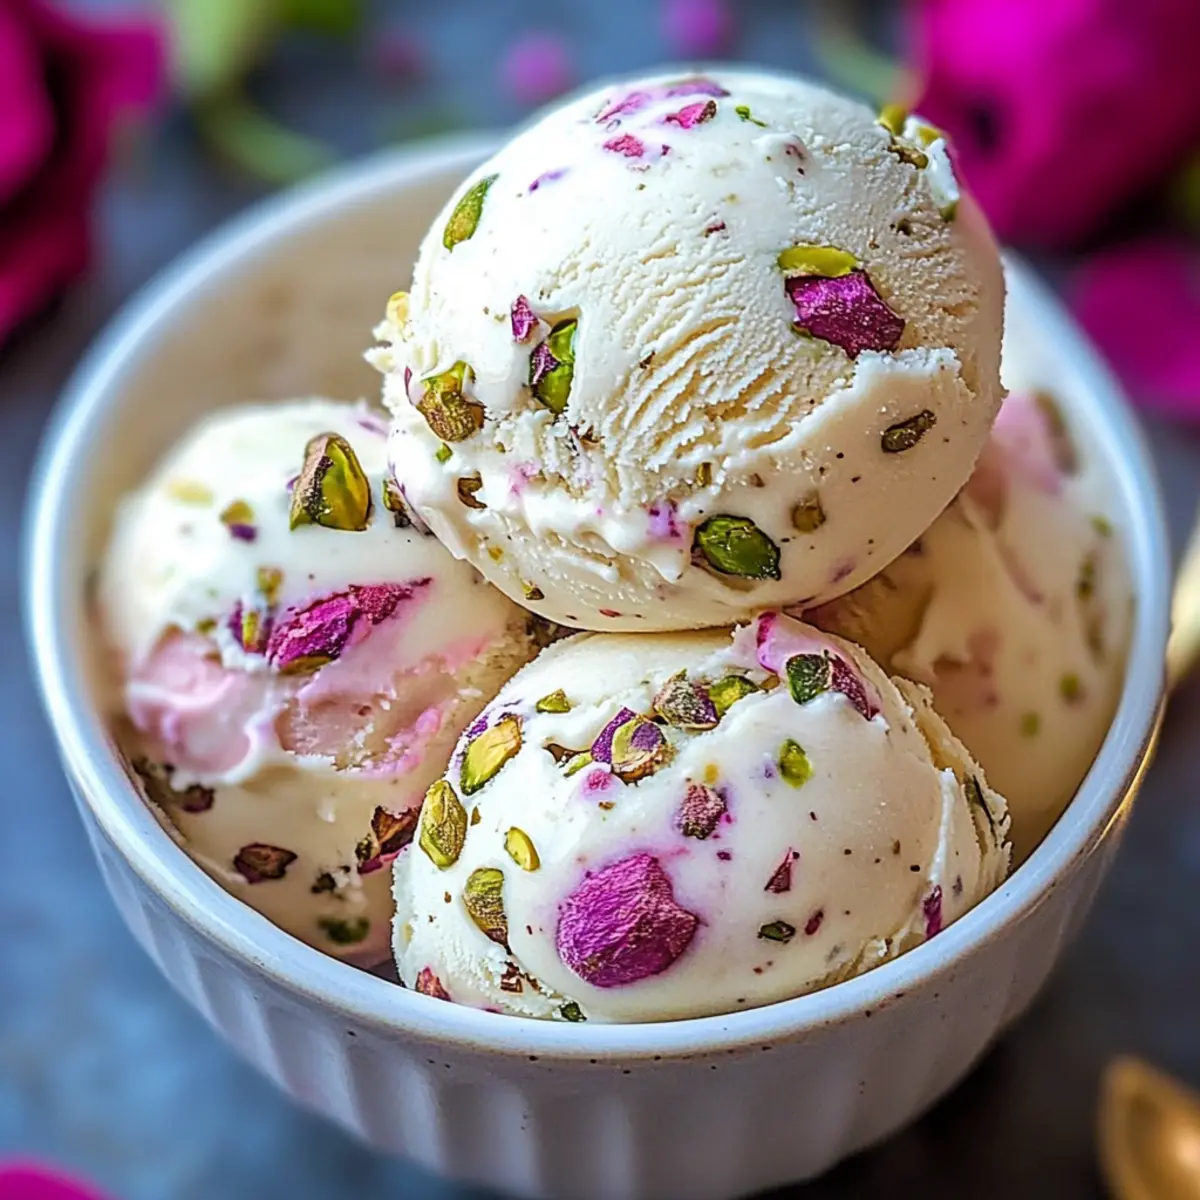
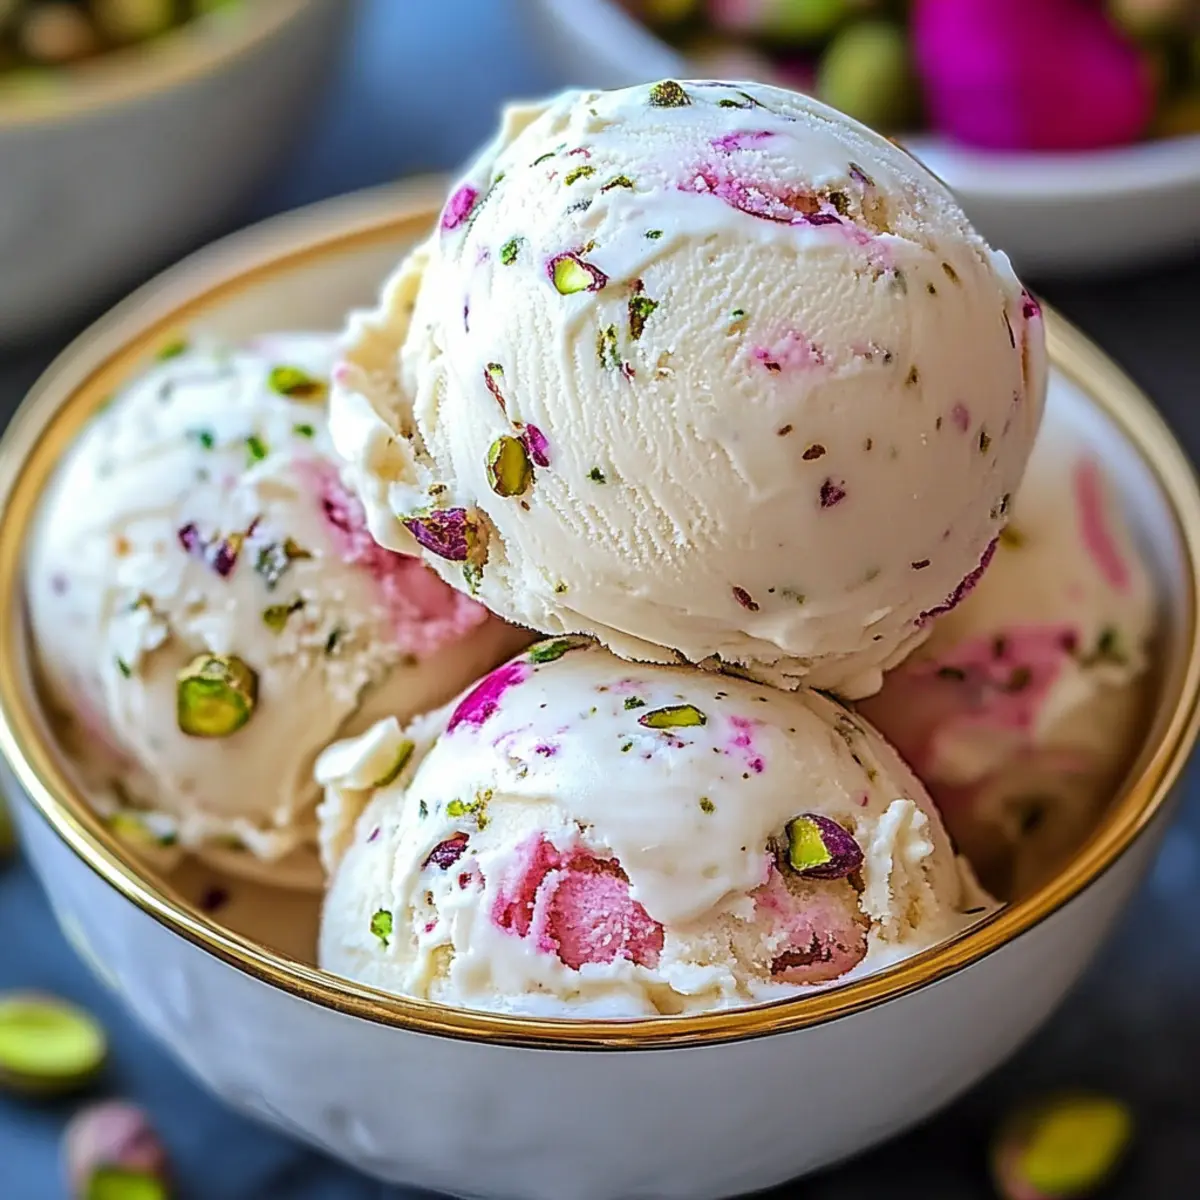
“What on earth did I just taste?” I whispered as a heavenly combination of floral rose and nutty pistachio danced on my palate. That magical moment inspired me to create this Rose Pistachio Cheesecake Ice Cream, a delightful indulgence that combines creamy goodness with elegant flavors. Whether you’re hosting a summer gathering or simply want to treat yourself, this no-churn recipe is incredibly easy to whip up—and the best part? It’s impressively gourmet without hours of fuss. This luscious dessert not only brings sophistication to the table but also allows you to savor every spoonful of its rich texture and crunchy bites. Ready to elevate your dessert game? Let’s get into these playful, dreamy flavors that are just waiting to enchant your taste buds!
Why is this ice cream irresistible?
Indulgence: This Rose Pistachio Cheesecake Ice Cream offers a decadent treat that elevates any occasion with its rich, creamy texture complemented by floral notes.
Simplicity: With a no-churn option, it’s incredibly easy to make, requiring minimal ingredients and kitchen skills.
Versatility: You can customize it effortlessly by substituting pistachios with your favorite nuts or adding toppings like dried rose petals for an extra touch of elegance.
Crowd-Pleaser: Perfect for gatherings, its stunning presentation is sure to impress your guests and spark conversation.
Cultural Flair: Celebrating classic Middle Eastern flavors, this dessert transports you to exotic lands with each delightful bite. If you’re in the mood for more frozen treats, don’t miss out on our Oreo Ice Cream or Mermaid Ice Cream for delicious alternatives!
Rose Pistachio Ice Cream Ingredients
For the Ice Cream Base
• Cream Cheese (8 oz, softened) – Provides the creamy structure essential for your stunning Rose Pistachio Ice Cream.
• Granulated Sugar (1 cup) – Sweetens your ice cream perfectly; feel free to adjust to your taste!
• Heavy Whipping Cream (2 cups) – Ensures a rich, velvety texture; always use full-fat for the best results.
• Whole Milk (1 cup) – Balances out the creaminess, keeping your treat light and enjoyable.
• Rose Water (2 tablespoons) – Delivers a beautiful floral essence; choose high-quality for a genuine taste.
• Vanilla Extract (1 teaspoon) – Enhances the flavor profile and rounds out the floral notes beautifully.
• Lemon Juice (1 tablespoon) – Brightens the flavors and adds a lovely zing!
For the Mix-ins
• Pistachios (1/2 cup, roughly chopped) – Adds a delightful crunch and nutty flavor; feel free to swap for almonds or cashews if desired.
• Optional: Pink Food Coloring (few drops) – Use sparingly to achieve the desired appealing hue for your ice cream.
Each ingredient plays a crucial role in developing the luxurious experience of this Rose Pistachio Cheesecake Ice Cream, ensuring every bite is as exquisite as you imagine!
Step‑by‑Step Instructions for Rose Pistachio Cheesecake Ice Cream
Step 1: Prepare the Cream Cheese Base
In a large mixing bowl, beat the softened cream cheese and granulated sugar together until the mixture is smooth and fluffy, about 3-4 minutes. Make sure to scrape down the sides of the bowl occasionally to ensure even mixing. This creamy base is fundamental for your luxurious Rose Pistachio Cheesecake Ice Cream.
Step 2: Incorporate the Wet Ingredients
Gradually add the heavy whipping cream, whole milk, rose water, vanilla extract, and lemon juice to the cream cheese mixture. Use an electric mixer on medium speed until the mixture thickens slightly and becomes creamy, about 4-5 minutes. This step is key to achieving a delightful, velvety texture in your ice cream.
Step 3: Add Color and Flavor
If desired, add a few drops of pink food coloring to the mixture and gently fold it in until you achieve your preferred shade. Take care not to overmix; the goal is to have a beautiful, blended hue that reflects the elegance of the Rose Pistachio Cheesecake Ice Cream.
Step 4: Prepare to Churn or Freeze
For those using an ice cream maker, pour the mixture into the machine and churn according to the manufacturer’s instructions, usually about 20-25 minutes. Just before it’s done, add the roughly chopped pistachios in the final 5 minutes for a delightful crunch that perfectly complements the creamy base.
Step 5: No-Churn Method Option
If you prefer the no-churn method, gently fold the chopped pistachios into the ice cream mixture after mixing the wet ingredients. Then, pour the mixture into a freezer-safe container. Smooth the top and cover tightly before freezing for at least 6 hours, or until fully solid. This method still results in rich Rose Pistachio Ice Cream without any special equipment.
Step 6: Serving Your Ice Cream
When you’re ready to serve, take the container out of the freezer and let the ice cream sit at room temperature for about 5 minutes. This will soften it slightly, making it easier to scoop. Celebrate your creation by enjoying this luscious Rose Pistachio Cheesecake Ice Cream in elegant bowls, garnished with extra pistachios or dried rose petals for an enchanting presentation.
Storage Tips for Rose Pistachio Ice Cream
Fridge: Store leftover ice cream in the fridge for up to 3 days to maintain its creaminess, but it’s best enjoyed fresh.
Freezer: For longer storage, place the ice cream in an airtight container and freeze for up to 2 weeks. This helps prevent ice crystal formation and keeps the Rose Pistachio Ice Cream luscious.
Reheating: If your ice cream becomes too hard, let it sit at room temperature for 5-10 minutes before scooping. This will ensure you can enjoy its rich and creamy texture once again.
Avoid Freezer Burn: To further prevent freezer burn, press a piece of parchment paper directly onto the surface of the ice cream before sealing the container.
Make Ahead Options
This Rose Pistachio Cheesecake Ice Cream is perfect for busy home cooks looking to save time without sacrificing flavor! You can prep the ice cream base up to 24 hours in advance by mixing all the ingredients and storing the mixture in the refrigerator. Simply cover it tightly to maintain its creamy texture and prevent any absorption of odors. When you’re ready to serve, either churn it in your ice cream maker or follow the no-churn method by pouring it into a freezer-safe container. If opting for the no-churn method, freeze it for at least 6 hours before enjoying. This way, you have a sophisticated dessert ready at a moment’s notice, leaving you free to relish every moment with your guests!
Rose Pistachio Ice Cream Variations
Feel free to customize this rose pistachio ice cream to suit your taste buds and dietary needs!
-
Nut Swap: Replace pistachios with almonds or hazelnuts for a nutty twist that still offers a delightful crunch.
-
Floral Flavor: Try using lavender extract instead of rose water to add a unique floral touch that gives this ice cream a different character.
-
Dairy-Free Delight: Substitute coconut cream in place of cream cheese and heavy cream for a luscious dairy-free version that everyone will love.
-
Add Fruit: Toss in fresh raspberries or diced mango for added sweetness and a pop of color that will brighten up each scoop.
-
Chocolate Drizzle: Melt some dark chocolate and drizzle it over each serving for a rich contrast to the floral notes, creating an exquisite flavor combination.
-
Spice It Up: For a subtle warmth, add a pinch of cardamom or cinnamon to the ice cream base for an exotic flavor enhancer.
-
Crunchy Topping: For added texture, sprinkle on some candied ginger or crushed honeycomb just before serving; it brings a wonderful sweet crunch.
-
Decadent Swirl: Fold in a ripple of creamy caramel sauce before freezing to create beautiful swirls and a delightful surprise in each dish.
For more sweet delights, complement this ice cream with our elegant French Antilles Coconut Flan or serve it alongside a scoop of irresistible Pistachio Cream Chocolate for an indulgent treat that will impress everyone at your gathering!
What to Serve with Rose Pistachio Cheesecake Ice Cream?
Indulge in a delightful array of pairings that perfectly complement the floral and nutty notes of your homemade ice cream.
-
Decadent Brownies: Rich chocolate brownies provide a fudgy texture that contrasts beautifully with the creamy, floral ice cream. They create a decadent dessert experience every time.
-
Raspberry Coulis: The tangy sweetness of raspberry coulis adds a vibrant burst of flavor, enhancing the overall experience while offering a refreshing kick.
-
Spiced Almond Cake: A warm, spiced almond cake brings a nutty harmony to the plate, tying together the flavors and offering a comforting texture.
-
Mint Lemonade: A glass of refreshing mint lemonade offers vibrant acidity to balance the richness, making every spoonful of ice cream feel light and invigorating.
-
Honey-Infused Yogurt: Drizzling a bit of honey-infused Greek yogurt over the ice cream adds creaminess with a slight tartness, transforming your dessert into a perfect balance of flavors.
-
Dried Rose Petals: For a finishing touch, sprinkle dried rose petals on top for added fragrance and visual appeal, elevating the dish’s sophistication.
-
Chai Tea: A warm cup of spiced chai tea resonates with the aromatic notes in your ice cream, offering a cozy beverage option that pairs indulgently well.
-
Lemon Sorbet: For those who love a bright palate cleanser, a scoop of lemon sorbet provides a zesty contrast, refreshing your senses between bites.
-
Cheesecake Bites: Miniature cheesecake bites echo the flavors in the ice cream, creating a synergy that is simply irresistible for dessert lovers.
-
Pistachio Cookies: Crunchy pistachio cookies provide a delightful texture while amplifying the nutty elements of the ice cream, making it a well-rounded treat.
Expert Tips for Rose Pistachio Ice Cream
• Soften Cream Cheese: Ensure your cream cheese is fully softened to achieve a smooth, lump-free base, crucial for the luxurious texture of your Rose Pistachio Ice Cream.
• Quality Rose Water: Use high-quality rose water to avoid artificial flavors. Start with 1 tablespoon, adjusting according to preference for a balanced floral note.
• Avoid Over-Churning: If using an ice cream maker, be cautious not to over-churn; this can lead to a grainy texture instead of the creamy consistency that’s desired.
• Seal it Tight: Store your ice cream in an airtight container to prevent icy crystals from forming. This keeps your treat smooth and enjoyable for up to 2 weeks.
• Taste as You Go: Don’t hesitate to taste your mixture before freezing; adjust sugar and lemon juice for personalized flavor that will delight every palate.
Rose Pistachio Cheesecake Ice Cream Recipe FAQs
What kind of cream cheese should I use for the best flavor?
Absolutely! It’s best to use full-fat cream cheese that is well-softened to room temperature. This ensures a smooth, lump-free texture, which is crucial for the velvety consistency of your Rose Pistachio Cheesecake Ice Cream. Cream cheese that’s been left out for about an hour should be perfect!
How should I store Rose Pistachio Cheesecake Ice Cream to keep it creamy?
To keep your ice cream luscious, always store it in an airtight container. This helps prevent ice crystals from forming. You can keep it in the freezer for up to 2 weeks; however, it’s best enjoyed within a few days for maximum creaminess. Just make sure to cover the surface with parchment paper to avoid freezer burn!
Can I freeze this ice cream if I make a larger batch?
Absolutely! If you have leftovers or want to make a larger batch, you can freeze it in a freezer-safe container for up to 2 weeks. If you find that it has become too hard to scoop, let it sit at room temperature for about 5-10 minutes before serving, and it’ll return to that deliciously creamy texture.
How do I avoid my ice cream from becoming icy?
To prevent your Rose Pistachio Cheesecake Ice Cream from becoming icy, avoid over-churning if using an ice cream maker; stopping once the mixture is thick but still smooth is key. Also, making sure the mixture is well-blended and sealed tightly in an airtight container really helps maintain that cherished creamy texture.
What should I do if I have a nut allergy but want to make this?
Very! If you have a nut allergy, you can simply omit the pistachios altogether and substitute them with seeds like pumpkin or sunflower seeds for some crunch, or even swap them with chocolate chips. Always be cautious to check for cross-contamination with any ingredients used.
How can I adjust the sweetness of the ice cream?
The more the merrier with taste adjustments! Feel free to start with the recommended sugar amount and adjust to your preference as you mix the ingredients. You can always blend in additional sugar in small increments before freezing; just be sure to fully dissolve it for an even sweetness throughout.
Rose Pistachio Ice Cream: A Creamy Floral Delight at Home
Ingredients
Equipment
Method
- In a large mixing bowl, beat the softened cream cheese and granulated sugar until smooth and fluffy, about 3-4 minutes.
- Gradually add the heavy whipping cream, whole milk, rose water, vanilla extract, and lemon juice. Mix on medium speed until thicken slightly, about 4-5 minutes.
- If using, add pink food coloring and gently fold until the desired hue is achieved.
- For those using an ice cream maker, pour the mixture into the machine and churn according to the manufacturer's instructions.
- If using the no-churn method, fold in chopped pistachios after mixing wet ingredients, then transfer to a freezer-safe container and let freeze for at least 6 hours.
- Before serving, let the ice cream sit at room temperature for about 5 minutes to soften slightly.
Leave a Reply