
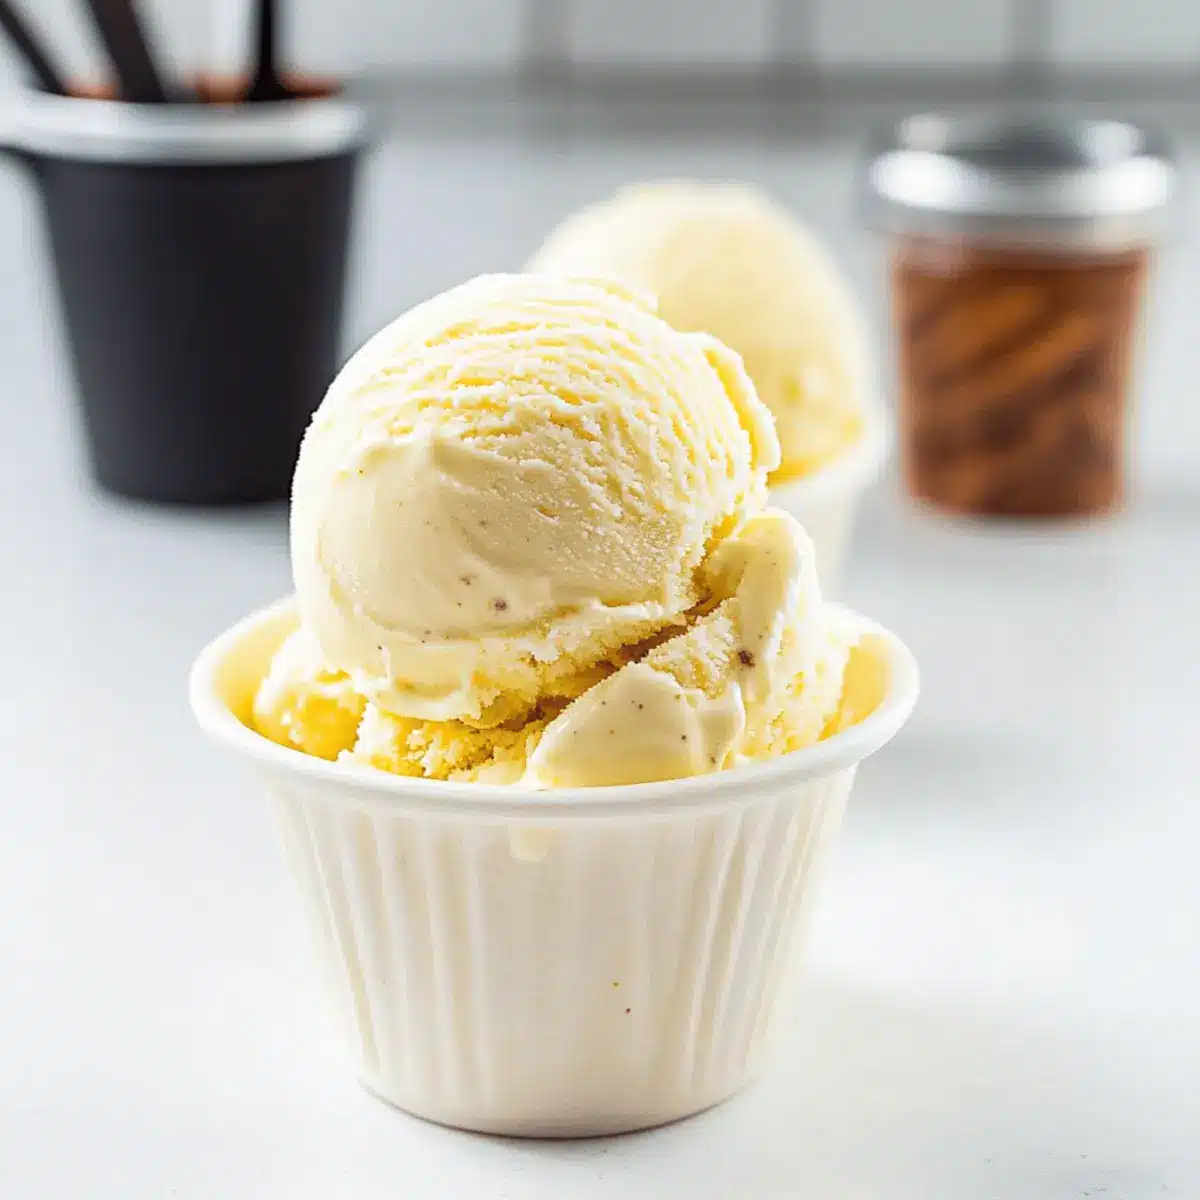
The sweet, nostalgic aroma of vanilla wafting through the kitchen feels like a warm embrace, reminding me of carefree summer days and simple joys. Today, I’m excited to share my recipe for Creamy Old-Fashioned Vanilla Ice Cream, a delightful treat that’s as easy to make as it is to enjoy. This egg-free and customizable dessert, infused with luscious real vanilla bean, is perfect for anyone seeking a refreshing alternative to store-bought options. Not only can you whip it up in no time, but this homemade ice cream is also a great way to share sweet moments with family and friends. Whether you’re indulging solo or throwing a gathering, your creativity can shine through with various fun mix-ins. Ready to take a scoop into bliss? Let’s dive into the creamy world of homemade ice cream together!
Why is Homemade Ice Cream Special?
Nostalgic Whimsy: The aroma of vanilla fills your kitchen, bringing back memories of carefree summer days.
Quick and Easy: With just a few simple ingredients, you can create a creamy masterpiece in no time.
Egg-Free Delight: This recipe is perfect for those looking to enjoy ice cream without eggs, making it lighter and fresher.
Customize to Your Heart’s Content: From chocolate swirls to fruity bursts, mix ins help you get creative and make it uniquely yours.
Versatile, Any Time: Pair it with brownies or fresh berries for an indulgent dessert, or simply enjoy it on its own!
Make Memories: Delight your family and friends with handmade treats that will spark joy and laughter. For more frozen inspiration, check out my Oreo Ice Cream and Mermaid Ice Cream recipes!
Creamy Old-Fashioned Vanilla Ice Cream Ingredients
• Dive into the basics of this delightful homemade treat!
For the Ice Cream Base
- Heavy Whipping Cream – This ingredient gives your ice cream its rich and velvety texture; feel free to swap it for coconut cream for a dairy-free version!
- Sugar – Essential for sweetening the ice cream and balancing flavors; make sure it’s completely dissolved for a smooth finish.
- Vanilla Bean – Infuses authentic vanilla flavor and delightful speckles; look for fresh, aromatic pods to ensure a fragrant treat.
- Pure Vanilla Extract – Enhances the vanilla flavor; investing in a high-quality extract will elevate your ice cream significantly.
For Optional Mix-Ins
- Cocoa Powder or Melted Chocolate – Add chocolate for a rich twist on this creamy old-fashioned vanilla ice cream!
- Fresh Fruit (e.g., Berries, Bananas) – Stir in naturally sweet fruits to add freshness and vibrant colors to your treat!
- Crushed Cookies or Nuts – Incorporate textures with your favorite cookies or nuts to customize your ice cream experience.
Feel free to unleash your creativity with the mix-ins and make this Creamy Old-Fashioned Vanilla Ice Cream truly your own!
Step‑by‑Step Instructions for Creamy Old-Fashioned Vanilla Ice Cream
Step 1: Prepare the Base
In a large mixing bowl, whisk together 2 cups of heavy whipping cream and 3/4 cup of sugar until the sugar fully dissolves, usually about 1-2 minutes of vigorous mixing. The mixture should feel smooth and free of granules, which is crucial for achieving that silky texture in your Creamy Old-Fashioned Vanilla Ice Cream.
Step 2: Enhance Flavor
Stir in 1 tablespoon of pure vanilla extract to the cream and sugar mixture, mixing well to ensure that the flavors meld together beautifully. This step enhances the vanilla essence, ensuring that every scoop is bursting with flavor. The aroma should be sweet and inviting, setting the stage for a delightful treat.
Step 3: Add Vanilla Bean
Slice a vanilla bean pod lengthwise, and using the back of a knife, scrape out the seeds. Add both the seeds and the pod to the bowl with the cream mixture. The little black seeds will create stunning speckles in your creamy old-fashioned vanilla ice cream, and the pod will infuse additional flavor as it chills.
Step 4: Chill
Cover the mixture tightly with plastic wrap and refrigerate for at least 1 hour, though letting it sit overnight will intensify the flavors. As it chills, the cream thickens, and the vanilla bean infuses throughout, resulting in a rich, aromatic base that’s a joy to scoop later on.
Step 5: Churn
Once chilled, remove the vanilla pod and pour the mixture into your ice cream maker. Churn according to the manufacturer’s instructions, typically for about 25 minutes, or until you see it transform into a thick, creamy consistency. You’ll know it’s ready when it resembles soft serve; it should mound on itself, leaving trails.
Step 6: Freeze
Transfer the churned ice cream to a freezer-safe container. Smooth the top with a spatula, cover the surface with plastic wrap, and seal with a lid. Freeze for a minimum of 4 hours, allowing your creamy old-fashioned vanilla ice cream to firm up and become scoopable. The waiting pays off, resulting in a luxuriously creamy texture.
Step 7: Serve & Enjoy
When you’re ready to serve your homemade ice cream, let it soften for a few minutes at room temperature for easy scooping. Use a warm ice cream scooper for smooth portions. Whether savored on its own or topped with fresh fruits, chocolate sauce, or your favorite mix-ins, this creamy old-fashioned vanilla ice cream is bound to impress!
Creamy Old-Fashioned Vanilla Ice Cream Variations
Dive into a world of flavor where you can customize every scoop of your delicious homemade ice cream!
-
Dairy-Free Delight: Substitute coconut cream for heavy whipping cream for a luscious dairy-free version. The tropical flavor adds a delightful twist!
-
Chocolate Lover’s Dream: Fold in cocoa powder or melted chocolate for a rich, dark chocolate experience. Imagine the deep, velvety taste mingling with vanilla—sheer bliss!
-
Berry Burst: Stir in your favorite fresh berries for a fruity refresher. Their natural sweetness pairs beautifully with the creaminess, bringing vibrant color and flavor.
-
Nutty Crunch: Mix in chopped nuts like pecans or almonds for an irresistible crunch. The contrast of textures makes each bite thrilling!
-
Caramel Swirl: Drizzle caramel sauce into the mixture before freezing, creating beautiful ribbons of sweetness. A perfect treat for those who crave a little extra indulgence!
-
Spiced Sensation: Add warm spices such as cinnamon or nutmeg for a cozy flavor profile. This twist turns your ice cream into a comforting dessert, ideal for chilly evenings.
-
Minty Freshness: Incorporate fresh mint leaves into the base for a refreshing herbal touch. The cool mint flavor is a delightful surprise, especially in the summer heat!
For even more creative inspiration, don’t miss my recipes for Creamy Cauliflower Soup or a sophisticated twist with Creamy Chicken in White Wine Sauce. Let the fun begin!
Tips for the Best Creamy Old-Fashioned Vanilla Ice Cream
-
Chill Ingredients: Ensure both the heavy cream and mixing bowl are chilled beforehand. This helps achieve a better texture once you start churning the ice cream.
-
Dissolve Sugar Completely: Take your time whisking until the sugar is fully dissolved in the cream. Undissolved sugar can lead to an unpleasant icy texture in your creamy old-fashioned vanilla ice cream.
-
Quality Counts: Use high-quality vanilla extract and fresh vanilla beans for the most authentic flavor. It truly elevates the overall taste of your homemade treat!
-
Avoid Overfilling: When adding mix-ins, be cautious not to exceed 1 cup total, as too many can alter the creamy texture and make it difficult to scoop.
-
Let It Rest: After freezing, allow the ice cream to soften for a few minutes at room temperature before scooping. This ensures smooth, effortless servings every time!
-
Sealed Storage: Store your creamy old-fashioned vanilla ice cream in an airtight container, pressing plastic wrap against the surface to prevent unwanted ice crystals.
Storage Tips for Creamy Old-Fashioned Vanilla Ice Cream
Fridge: Store any leftover creamy old-fashioned vanilla ice cream in the fridge for up to 3 days, but it’s best enjoyed fresh from the freezer.
Freezer: Keep the ice cream in an airtight freezer-safe container for up to 4 weeks. Press plastic wrap against the surface to discourage ice crystals.
Reheating: If you’ve added mix-ins, allow the ice cream to soften for a few minutes at room temperature before serving. This will help achieve the perfect scoopability!
Thawing: Never refreeze thawed ice cream, as it may alter the creamy texture and flavor. Enjoy it while it’s fresh!
What to Serve with Creamy Old-Fashioned Vanilla Ice Cream
The delightful essence of homemade vanilla ice cream invites endless pairing possibilities, making it a centerpiece for memorable desserts.
-
Warm Brownies: The fudgy richness of warm brownies complements the creamy texture of your ice cream, creating a heavenly combination that melts in your mouth.
-
Fresh Berries: Bright and juicy berries add a refreshing burst of flavor that contrasts beautifully with the sweetness of the ice cream, making every bite a delightful experience.
-
Chocolate Sauce: Drizzling rich chocolate sauce over your ice cream intensifies its sweetness and adds a luscious, decadent touch that chocolate lovers will appreciate.
-
Caramel Swirl: The sweet, buttery notes of caramel enhance the vanilla flavor while adding a delightful drizzle that transforms each scoop into a gourmet treat.
-
Crushed Cookies: Mixing in cookies or serving a scoop on top creates a delightful crunch, adding texture and a fun element to your creamy old-fashioned vanilla ice cream.
-
Nuts: Toasted almonds or pecans bring a nutty crunch that perfectly balances the creaminess of the vanilla ice cream, making each bite satisfying and rich.
-
Coconut Flakes: For an exotic twist, sprinkle sweetened coconut flakes on top. They add a tropical flair that pairs beautifully with the lush flavors of the ice cream.
-
Whipped Cream: A dollop of freshly whipped cream adds an airy lightness and enhances the creamy experience of your homemade dessert.
-
Iced Coffee: Sip on a chilled iced coffee beside your ice cream for a delightful contrast that awakens the senses and celebrates the flavors of summer.
Let your imagination lead you, and enjoy the journey of sweet creations with this impressive creamy old-fashioned vanilla ice cream!
Make Ahead Options
These Creamy Old-Fashioned Vanilla Ice Cream delights are perfect for busy home cooks looking to save time and enjoy delicious desserts! You can prepare the ice cream base up to 24 hours in advance by whisking together the heavy whipping cream, sugar, vanilla extract, and vanilla bean, then refrigerating it overnight to enhance the flavors. Additionally, any mix-ins can be prepped ahead and stored in airtight containers for up to 3 days in the fridge to maintain freshness. When you’re ready to serve, simply churn the chilled mixture in your ice cream maker, freeze for a minimum of 4 hours, and you’ll have perfectly creamy ice cream ready to impress!
Creamy Old-Fashioned Vanilla Ice Cream Recipe FAQs
What kind of vanilla bean should I use?
I recommend selecting fresh, plump, and fragrant vanilla beans for the best flavor. Look for ones that are flexible and aromatic. If you’re ever in doubt, choose Madagascar vanilla beans, as they provide a rich and sweet profile that’s perfect for ice cream!
How can I store homemade ice cream to maintain its texture?
Store your creamy old-fashioned vanilla ice cream in an airtight freezer-safe container for up to 4 weeks. To prevent ice crystals from forming, press a layer of plastic wrap against the surface before sealing with a lid. This helps maintain that silky, creamy texture!
Can I freeze leftover homemade ice cream?
Absolutely! You can freeze leftover creamy old-fashioned vanilla ice cream in an airtight container for up to 4 weeks. For the best results, make sure to let it soften at room temperature for a few minutes before scooping to retain that smooth, creamy consistency.
What if my ice cream has icy crystals when I serve it?
If your ice cream has developed icy crystals, it may be due to not ensuring the sugar was completely dissolved or excessive air exposure. To fix this, allow it to soften slightly at room temperature before serving. Future batches will benefit from using a chilled mixing bowl and storing it properly to minimize air exposure.
What are some allergy considerations for this recipe?
This creamy old-fashioned vanilla ice cream can easily be made dairy-free using coconut cream. Also, be cautious with mix-ins if guests have nut allergies or gluten sensitivities; always check labels for cross-contamination. Enjoy the ice cream worry-free with the right adaptations!
Creamy Old-Fashioned Vanilla Ice Cream Your New Favorite Treat
Ingredients
Equipment
Method
- In a large mixing bowl, whisk together the heavy whipping cream and sugar until the sugar fully dissolves, about 1-2 minutes.
- Stir in pure vanilla extract to the cream and sugar mixture.
- Slice a vanilla bean pod lengthwise, scrape out the seeds, and add both seeds and pod to the bowl.
- Cover the mixture tightly with plastic wrap and refrigerate for at least 1 hour.
- Remove the vanilla pod, pour the mixture into your ice cream maker, and churn for about 25 minutes.
- Transfer the churned ice cream to a freezer-safe container and freeze for a minimum of 4 hours.
- Let the ice cream soften for a few minutes at room temperature before serving.
Leave a Reply