
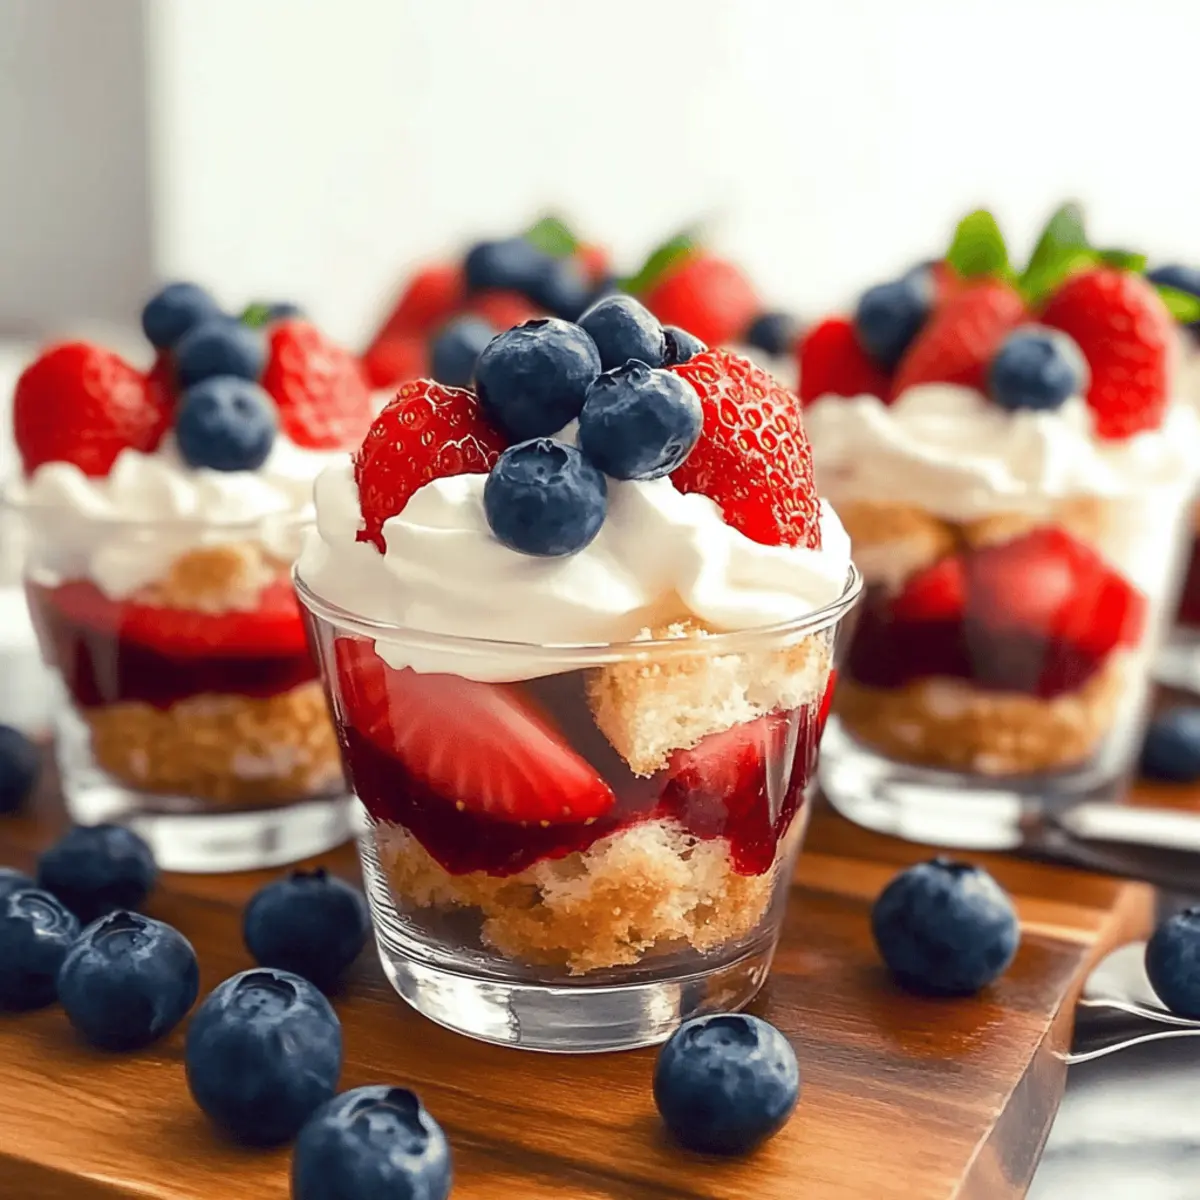
As I set out to whip up a dessert that captures the spirit of summer, I stumbled upon a creation that looked as festive as it tasted: Red, White, and Blue Mini Trifles. These easy mini trifle desserts are not only visually stunning, but they also come together without any baking required. With light and fluffy layers of angel food cake, fresh strawberries, and blueberries, plus a rich cream filling, they’re the perfect treat for any gathering. The best part? You can easily customize these trifles to be gluten-free or dairy-free, making them a delightful crowd-pleaser. Just imagine how they’ll elevate your summer celebrations! What flavors will you choose to make your trifles uniquely yours?
Why Are Mini Trifles So Irresistible?
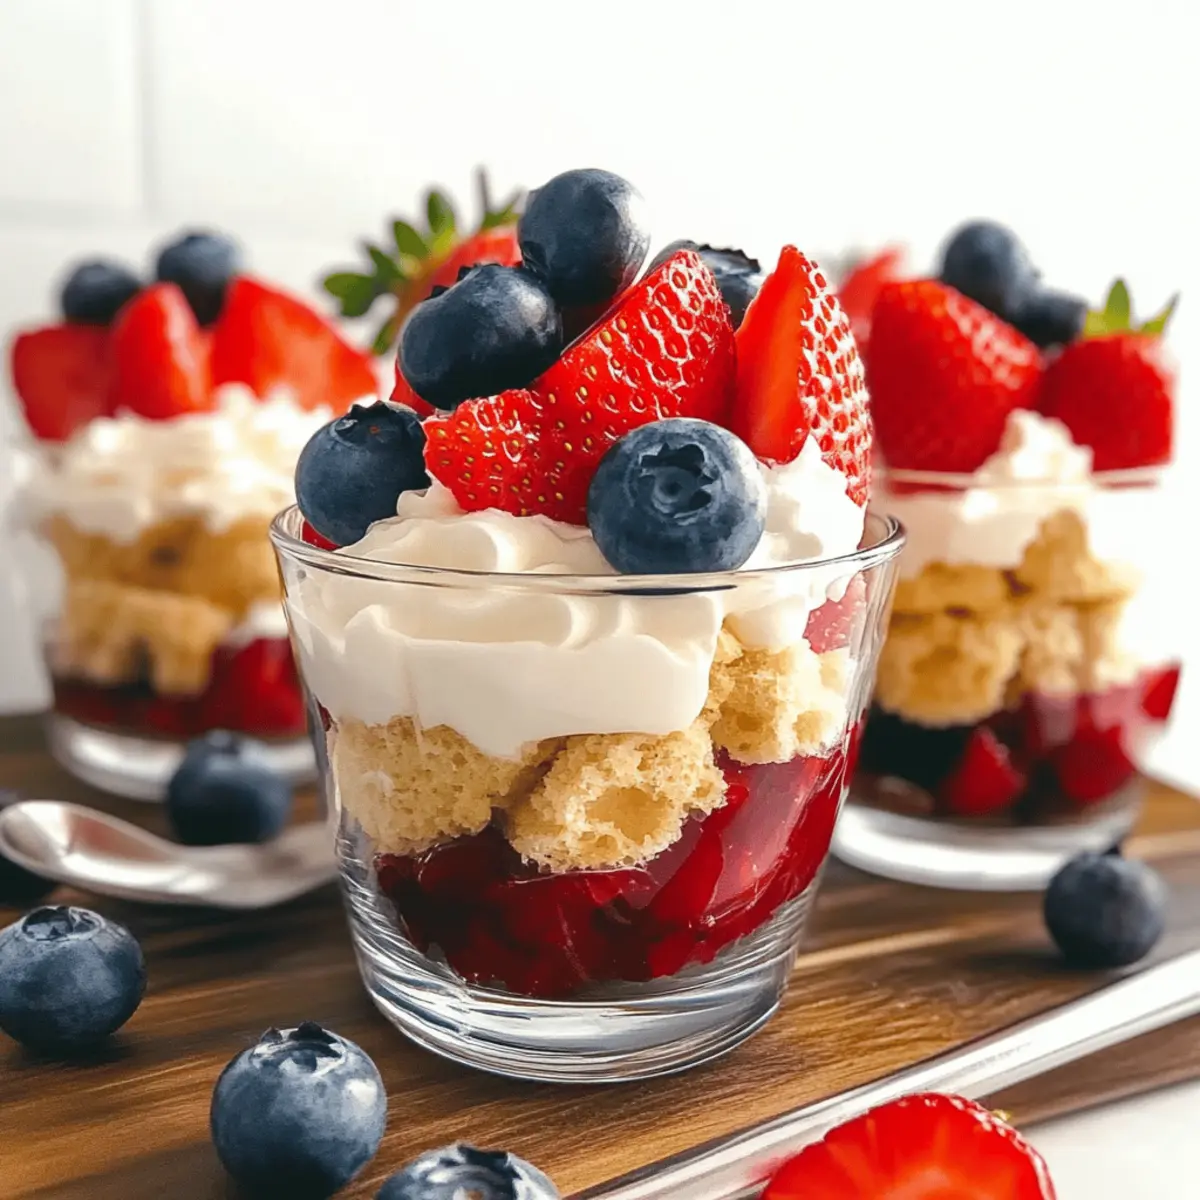
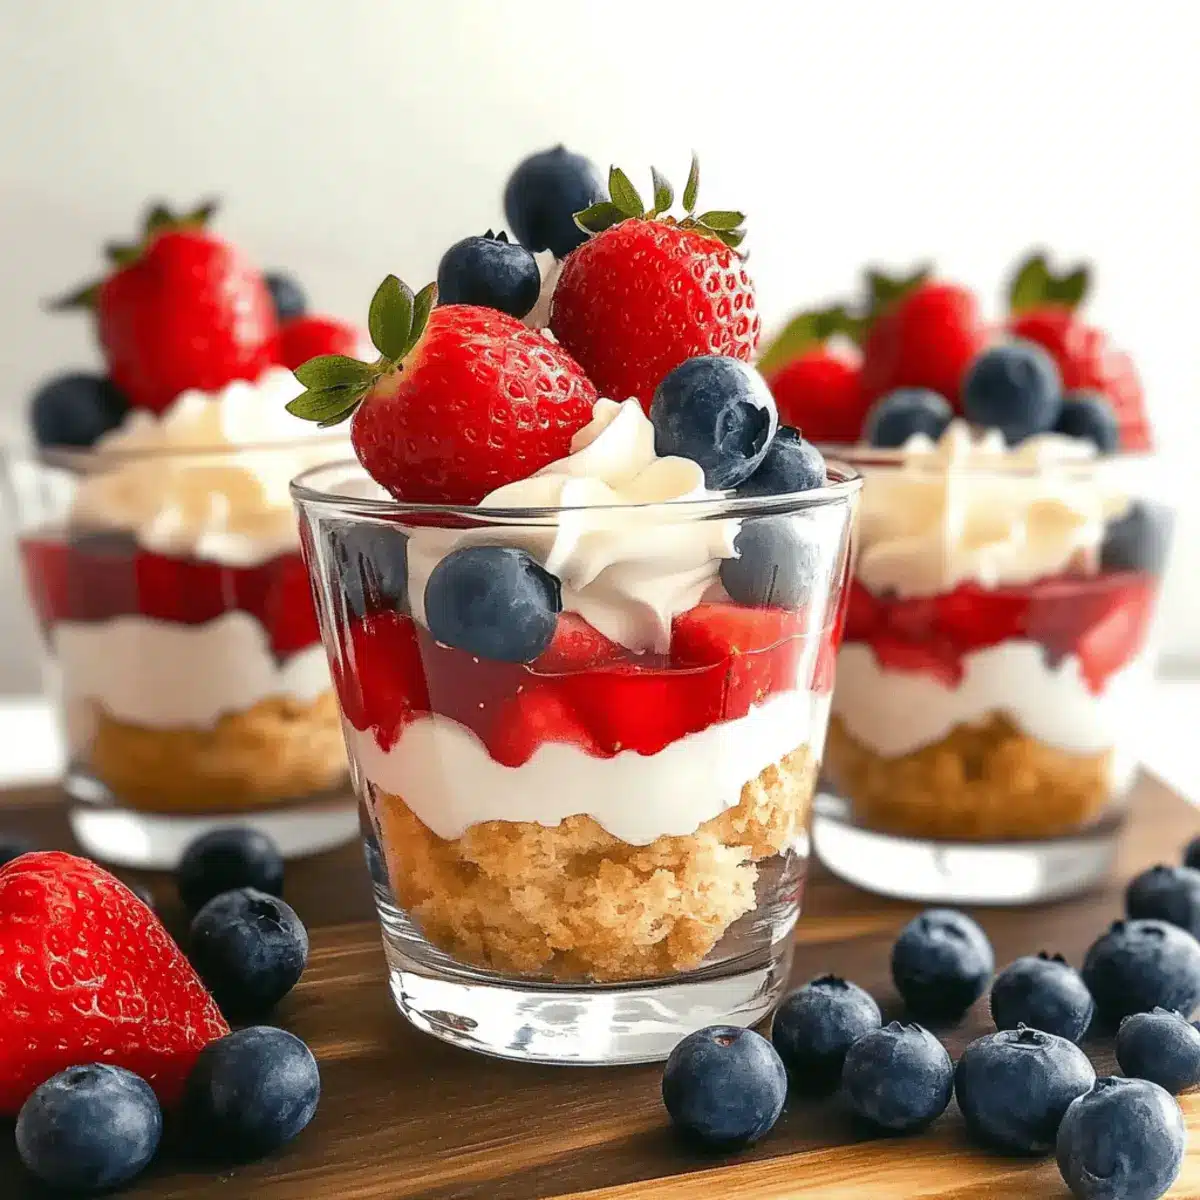
Visual Appeal: The vibrant layers of red strawberries, white cream, and blue blueberries create a stunning dessert that demands to be shown off at your next gathering.
No-Bake Convenience: With no baking required, these easy mini trifle desserts come together effortlessly, allowing you to focus on enjoying the moment with loved ones.
Customizable Flavors: Feel free to swap in your favorite fruits or make gluten-free and dairy-free adaptations for a version everyone can savor!
Quick Preparation: In just about an hour, you can have these delightful trifles ready for chilling, making them a fantastic last-minute dessert option.
Crowd Pleaser: Whether it’s a holiday barbecue or a casual picnic, these trifles are sure to impress and satisfy, just like our Southern Peach Cobbler that’s perfect for summer gatherings.
Embrace the fun of layering and impress your guests with this dreamy treat!
Easy Mini Trifle Dessert Ingredients
For the Trifles
- Pre-made Angel Food Cake – This light and airy base makes assembly a breeze without any baking.
- Fresh Strawberries – These add a burst of sweetness and vibrant red color; using seasonal strawberries enhances flavor.
- Fresh Blueberries – Mildly sweet and perfectly festive, feel free to substitute with raspberries for a different twist.
- Heavy Cream – Essential for achieving a rich, whipped topping; swap with coconut cream to go dairy-free.
- Powdered Sugar – Sweetens the whipped cream for a velvety texture; granulated sugar is an alternative but may not dissolve fully.
- Cream Cheese – Creates a tangy and creamy filling; mascarpone works beautifully as a rich substitute.
- White Sugar – Enhances the overall sweetness and balances the tartness of the fruit; adjust based on your preference.
Optional Toppings
- Blueberries or Whipped Cream – Finish with these favorites for an appealing presentation; they also enhance the patriotic theme.
- Mint Leaves – Adds a refreshing touch and a lovely pop of green if desired.
Make these easy mini trifle desserts your own, and enjoy every delicious layer!
Step‑by‑Step Instructions for Easy Mini Trifle Desserts
Step 1: Prepare Strawberry Puree
Begin by washing 2 cups of fresh strawberries and removing their green tops. In a blender, blend the strawberries until smooth, which should take about a minute. Once pureed, strain the mixture through a fine mesh sieve to remove seeds, creating a silky, vibrant strawberry puree that will enhance the flavors of your easy mini trifle desserts.
Step 2: Cut Cake and Fruit
Next, take your pre-made angel food cake and cut it into small, bite-sized cubes, about 1-inch in size. This ensures easy layering in your trifle. Slice additional strawberries into thin pieces to use as a decorative topping later. Set all your ingredients aside so they’re ready for assembly.
Step 3: Whip the Cream
In a large mixing bowl, pour in the heavy cream and beat it with an electric mixer on medium speed. Continue whipping until soft peaks begin to form, which will take around 3–4 minutes. Gradually add in powdered sugar to sweeten the whipped cream, and whip for another minute until fully incorporated and fluffy. This creamy layer will be key to your trifles!
Step 4: Make Cheese Filling
In a separate bowl, combine the remaining whipped cream with cream cheese and a few tablespoons of your freshly made strawberry puree. Using an electric mixer, blend until the mixture is smooth and well-combined, which should take about 2–3 minutes. This cream cheese layer adds richness and pairs beautifully with the fruit in your easy mini trifle desserts.
Step 5: Layer the Ingredients
Now it’s time to assemble your mini trifles! In clear serving cups, start by adding a layer of angel food cake cubes at the bottom. Follow this with a layer of the strawberry cream cheese mixture, and then a layer of sliced strawberries. Repeat these layers as desired, finishing with a dollop of whipped cream on top, and a sprinkle of fresh blueberries for that festive touch.
Step 6: Chill and Serve
After assembling your mini trifles, place them in the refrigerator and let them chill for at least 1 hour. This cooling time allows the flavors to meld beautifully and the layers to set. When ready to serve, take them out and perhaps garnish with mint leaves for an extra refreshing touch. Now your easy mini trifle desserts are ready to impress your guests!
Make Ahead Options
These Easy Mini Trifle Desserts are perfect for busy home cooks looking to save time! You can prepare the strawberry puree and whipped cream up to 24 hours in advance; just store them in separate airtight containers in the refrigerator to maintain freshness. For best results, layer your trifles no more than 1 day before serving to prevent the cake from becoming soggy. When you’re ready to impress your guests, simply layer the prepped components in cups and add a fresh dollop of whipped cream and blueberries on top. This way, you can enjoy delicious, festive trifles with minimal last-minute effort!
How to Store and Freeze Easy Mini Trifle Desserts
Fridge: Keep assembled mini trifles in an airtight container in the refrigerator, where they’ll stay fresh for up to 1 day. The flavors meld wonderfully during this time!
Pre-assembled Components: Store individual components like strawberry puree and whipped cream in separate airtight containers in the fridge for up to 24 hours. This makes for an easy assembly when you’re ready to put them together.
Freezer: For long-term storage, consider freezing the fruit layers (like pureed strawberries) in freezer-safe containers for up to 3 months. However, avoid freezing assembled trifles, as it can affect the texture of the whipped cream.
Reheating: As there’s no need to reheat these easy mini trifle desserts, simply layer and chill before serving. Enjoy the delightful, cool flavors on a warm summer day!
Easy Mini Trifle Desserts Variations
Feel free to personalize your easy mini trifle desserts with delightful twists that cater to your taste buds!
-
Fruit Swap: Use raspberries or blackberries instead of strawberries for a new flavor profile. They’ll bring a vibrant color and tartness that perfectly balances the cream.
-
Gluten-Free Version: Opt for gluten-free angel food cake if you have dietary restrictions. You won’t miss out on the fluffy texture and delicious taste!
-
Dairy-Free Option: Replace heavy cream with coconut cream and use non-dairy cream cheese for a rich alternative. These swaps keep your dessert creamy and luscious without dairy.
-
Flavor Boost: Add a layer of zesty lemon curd for a refreshing citrus kick. This tangy addition brightens up every bite and contrasts beautifully with the sweetness of the cream.
-
Chocolate Lovers: Incorporate mini chocolate chips into the cream filling for an extra indulgent treat. This twist not only adds rich chocolatey goodness but also a delightful texture contrast.
-
Layered Crunch: Sprinkle crushed graham crackers or gluten-free cookies between layers for a satisfying crunch. The texture adds a delightful surprise to each spoonful.
-
Increased Heat: A hint of cayenne or a pinch of cinnamon in the cream will enhance the overall flavor, giving these trifles a warm, aromatic edge that surprises your taste buds.
-
Seasonal Touch: Try adding layers of seasonal fruits, like peaches or kiwi, for a fresh and colorful variation that carries hints of summer’s bounty.
These variations make it easy to create a trifle that’s uniquely yours! If you’re looking for more comforting desserts, why not try our irresistible Southern Peach Cobbler or a stack of fluffy pancakes, perfect for any morning or celebration?
Expert Tips for Easy Mini Trifle Desserts
-
Ingredient Freshness: Always choose seasonal fruits for the best flavor and texture in your trifles, enhancing the overall experience of your easy mini trifle desserts.
-
Chill the Cream: Make sure the heavy cream is cold before whipping; this ensures a fluffier consistency, resulting in a luscious layer that elevates the dessert.
-
Layering Technique: Use clear cups to showcase beautiful layers and wipe down the sides of each cup while assembling to keep your presentation clean and appealing.
-
Make-Ahead Magic: Prepare the strawberry puree and whipped cream a day in advance for a stress-free assembly, giving you more time to enjoy your gathering.
-
Avoid Overmixing: When blending the cream cheese mixture, be careful not to overmix, as it can lead to a grainy texture instead of the smoothness essential for your trifles.
What to Serve with Festive Red, White, and Blue Mini Trifles?
Imagine your gathering illuminated by vibrant colors and flavors, perfectly complemented by satisfying sides and delightful beverages.
-
Grilled Chicken Skewers: Juicy and flavorful, these skewers add a savory contrast to the sweetness of trifles, making for an enticing combination. They’re easy to prepare and perfect for cooking on the grill alongside your festivities.
-
Herbal Quinoa Salad: This refreshing salad brings a healthy balance to your dessert table, featuring fresh herbs and veggies. Its lightness complements the rich creaminess of the trifles beautifully.
-
Sparkling Lemonade: A fizzy, citrus-infused drink that enhances the festive feel. Its tartness cuts through the sweetness of the mini trifles, making every bite memorable.
-
Caprese Skewers: Layered with mozzarella, basil, and tomatoes, these bites offer a burst of fresh flavors to round out your meal. They’re also incredibly easy to assemble, ensuring your gathering stays effortless.
-
Fruit Salad: A refreshing blend of seasonal fruits offers a delightful and light contrast to the creamy layers of your trifles. Consider including mint for an added touch of freshness.
-
Cheese Platter: A variety of cheeses paired with crackers and fruits can elevate your gathering. The rich flavors of the cheese provide a contrasting experience to the lightness of the trifles.
-
Chocolate-Dipped Strawberries: For an indulgent twist, serve these alongside the trifles. Their sweetness and richness pair effortlessly with the fruit-filled dessert, delighting your guests even further.
-
Mini Cheese Cakes: Offer another sweet option that can cater to different tastes. Their creamy texture complements the trifles while providing a variety for your dessert selection.
Elevate your summer gatherings with these delightful pairings that create a well-rounded and satisfying meal that everyone will remember!
Red, White, and Blue Mini Trifles Recipe FAQs
What type of strawberries should I use?
Absolutely! For the best flavor and sweetness, I recommend using fresh, seasonal strawberries. Look for bright red berries without dark spots or mushy areas, as these indicate ripeness and superior taste. If strawberries are out of season, feel free to substitute them with raspberries, blackberries, or even peaches for a delightful twist!
How should I store my assembled mini trifles?
Sweeten your summer gatherings by keeping assembled mini trifles in an airtight container in the refrigerator. They’ll stay fresh for about 1 day. The flavors meld together beautifully during this time, making each bite even more enjoyable. Just remember to avoid leaving them out for too long, as the whipped cream may start to lose its texture!
Can I freeze the components of the trifles?
Definitely! To preserve your ingredients for longer, you can freeze the strawberry puree in freezer-safe containers for up to 3 months. For best results, place it in smaller portions so you can easily thaw only what you need. However, avoid freezing the finished trifles since the whipped cream won’t hold up well in the freezer, altering the creamy texture that makes them so delightful.
What should I do if my whipped cream won’t stiffen?
Very! If your whipped cream isn’t thickening, it may be because the cream was not cold enough. Ensure your heavy cream is chilled and use a cold mixing bowl for whipping, which usually takes about 3–4 minutes on medium speed. If that doesn’t work, consider adding a stabilizer like instant pudding mix or cornstarch to help it hold its shape.
Are there any allergy considerations for this recipe?
Sure! If you’re catering to those with dietary restrictions, simply swap out the heavy cream for coconut cream and the cream cheese for a non-dairy alternative, turning your trifles into a delicious dairy-free option. Also, use gluten-free angel food cake to make them suitable for those avoiding gluten. Always check labels to ensure the safety of each ingredient concerning allergies.
Can I prepare any components in advance?
Absolutely! To make your life easier, prepare the strawberry puree and whipped cream up to 24 hours in advance. Store them in airtight containers in the refrigerator and when ready to assemble, you’ll just need to layer everything together. This way, you can savor your gathering without the last-minute rush or stress!

Delicious Easy Mini Trifle Desserts for Any Celebration
Ingredients
Equipment
Method
- Prepare Strawberry Puree: Blend 2 cups of fresh strawberries until smooth and strain through a fine mesh sieve.
- Cut Cake and Fruit: Cut angel food cake into 1-inch cubes and slice additional strawberries for topping.
- Whip the Cream: Beat heavy cream with an electric mixer until soft peaks form, add powdered sugar, and whip until fluffy.
- Make Cheese Filling: Combine whipped cream with cream cheese and strawberry puree, mix until smooth.
- Layer the Ingredients: In cups, layer cake, cream cheese mixture, and sliced strawberries repeatedly ending with whipped cream and blueberries.
- Chill and Serve: Refrigerate for at least 1 hour, garnish with mint leaves before serving.
Leave a Reply