
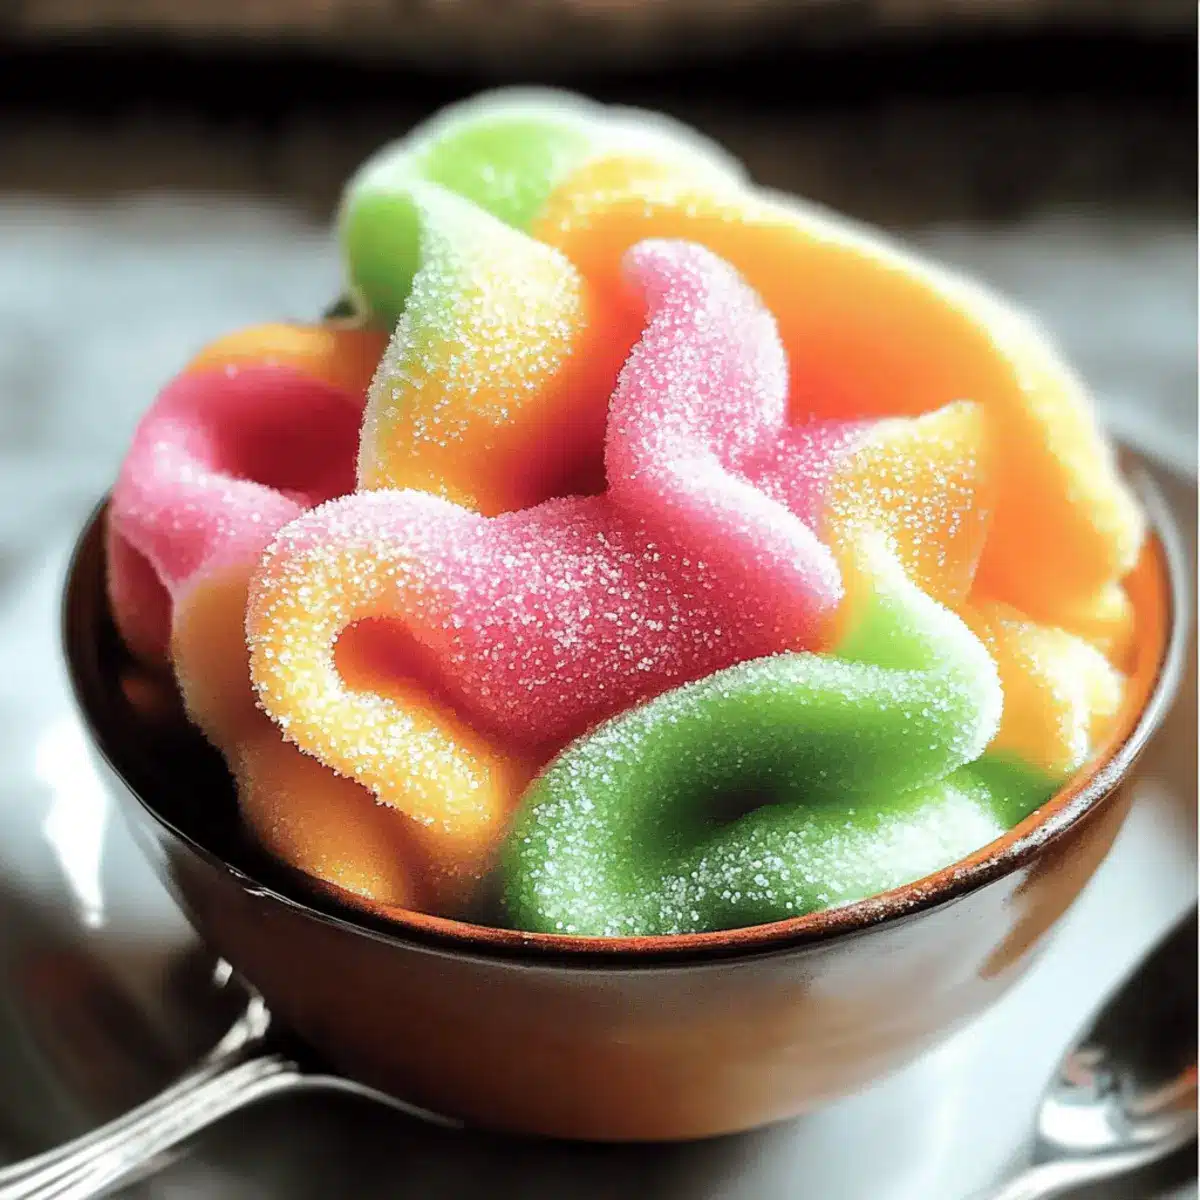
The warm sun streaming through my window sparked an idea for a refreshing treat that would make summer afternoons even sweeter. Enter my Homemade Rainbow Sherbet, a delightful blend of vibrant flavors that’ll transport you to a nostalgic land of ice cream trucks and laughter. This recipe is not only a showstopper at any gathering, but it’s also incredibly easy to customize to fit your taste—whether you crave the tartness of lime, the zing of orange, or the sweetness of tropical fruits. Plus, it’s free from artificial additives, giving you peace of mind while you indulge. So, ready to whip up this colorful masterpiece that’s bound to impress your friends and family? Let’s dive in and discover the art of homemade happiness!
Why is Homemade Rainbow Sherbet Special?
Exciting Flavors: With options like raspberry, orange, and lime, you’ll experience a delightful burst of fruitiness in every scoop.
Customization: This recipe allows you to mix and match flavors, whether you prefer a classic version or a tropical twist!
Health-Conscious: Made without artificial additives, you can enjoy this treat guilt-free, knowing it’s made with real ingredients.
Family-Friendly Fun: Watching your kids enjoy their colorful bowls brings joy, invoking laughter and cherished memories.
Easy to Prepare: The straightforward steps make it a breeze to whip up this frozen delight, perfect for busy summer days.
Impressive Presentation: The vibrant colors create a stunning dessert that impresses at any gathering, making it a definite crowd-pleaser!
Homemade Rainbow Sherbet Ingredients
For the Base
• Heavy Cream – Provides a rich, creamy texture; substitute with coconut cream for a dairy-free option.
• Milk – Whole milk is recommended for creaminess; use almond or coconut milk for a dairy-free alternative.
• Granulated Sugar – Essential for sweetness; adjust based on the fruit’s natural sugar content.
• Vanilla Extract – Enhances flavor depth; opt for pure vanilla extract for the best taste.
For the Flavors
• Fresh or Frozen Raspberries – Creates a tangy raspberry flavor; other berries can be swapped or combined for variation.
• Fresh Orange Juice – Offers a zesty sweetness; fresh juice is best but bottled works in a pinch.
• Fresh Lime Juice – Adds a refreshing tang; fresh juice is preferable for maximum flavor.
Optional Extras
• Optional Food Colorings – Use natural dyes to enhance presentation if desired.
Step‑by‑Step Instructions for Homemade Rainbow Sherbet
Step 1: Prepare Base
In a saucepan over medium heat, combine heavy cream, milk, and granulated sugar. Stir gently for 5–7 minutes until the sugar dissolves completely, and the mixture is warm but not boiling. Once ready, remove from heat and fold in the vanilla extract. Allow the mixture to cool completely, which will help achieve a creamy texture in your Homemade Rainbow Sherbet.
Step 2: Make Raspberry Puree
While the base is cooling, prepare the raspberry puree. In a blender, combine fresh or frozen raspberries with a bit of sugar, blending until smooth. Once blended, pass the mixture through a fine mesh strainer to remove any seeds for a silky consistency. Set this beautiful puree aside to add a burst of fruit flavor to your sherbet later.
Step 3: Churn Base
Once your base mixture has cooled, pour it into an ice cream maker. Churn the mixture on the machine’s setting for approximately 20–25 minutes, or until it reaches a soft-serve consistency. You’ll know it’s ready when it becomes thick and creamy, resembling a soft ice cream texture, perfect for your vibrant Homemade Rainbow Sherbet.
Step 4: Create Flavors
After churning, divide the base into three separate bowls. In the first bowl, stir in the raspberry puree, ensuring it’s well incorporated. In the second bowl, mix in fresh orange juice and a few drops of optional food coloring for vibrancy. Finally, squeeze lime juice into the last bowl for that zesty flavor. Each bowl should be bright and inviting!
Step 5: Layer and Freeze
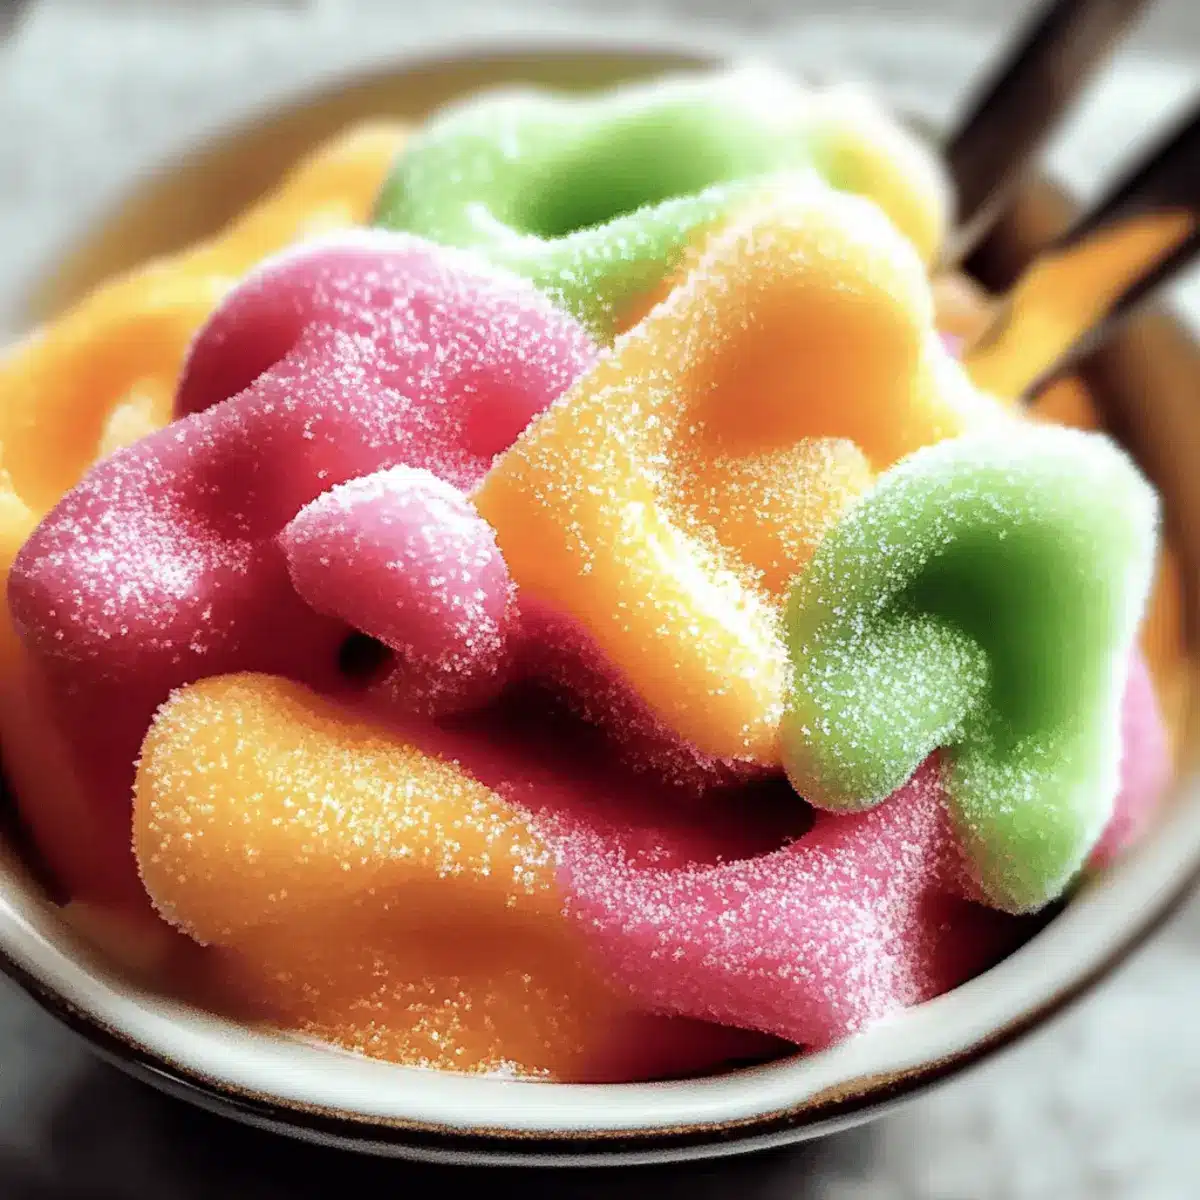
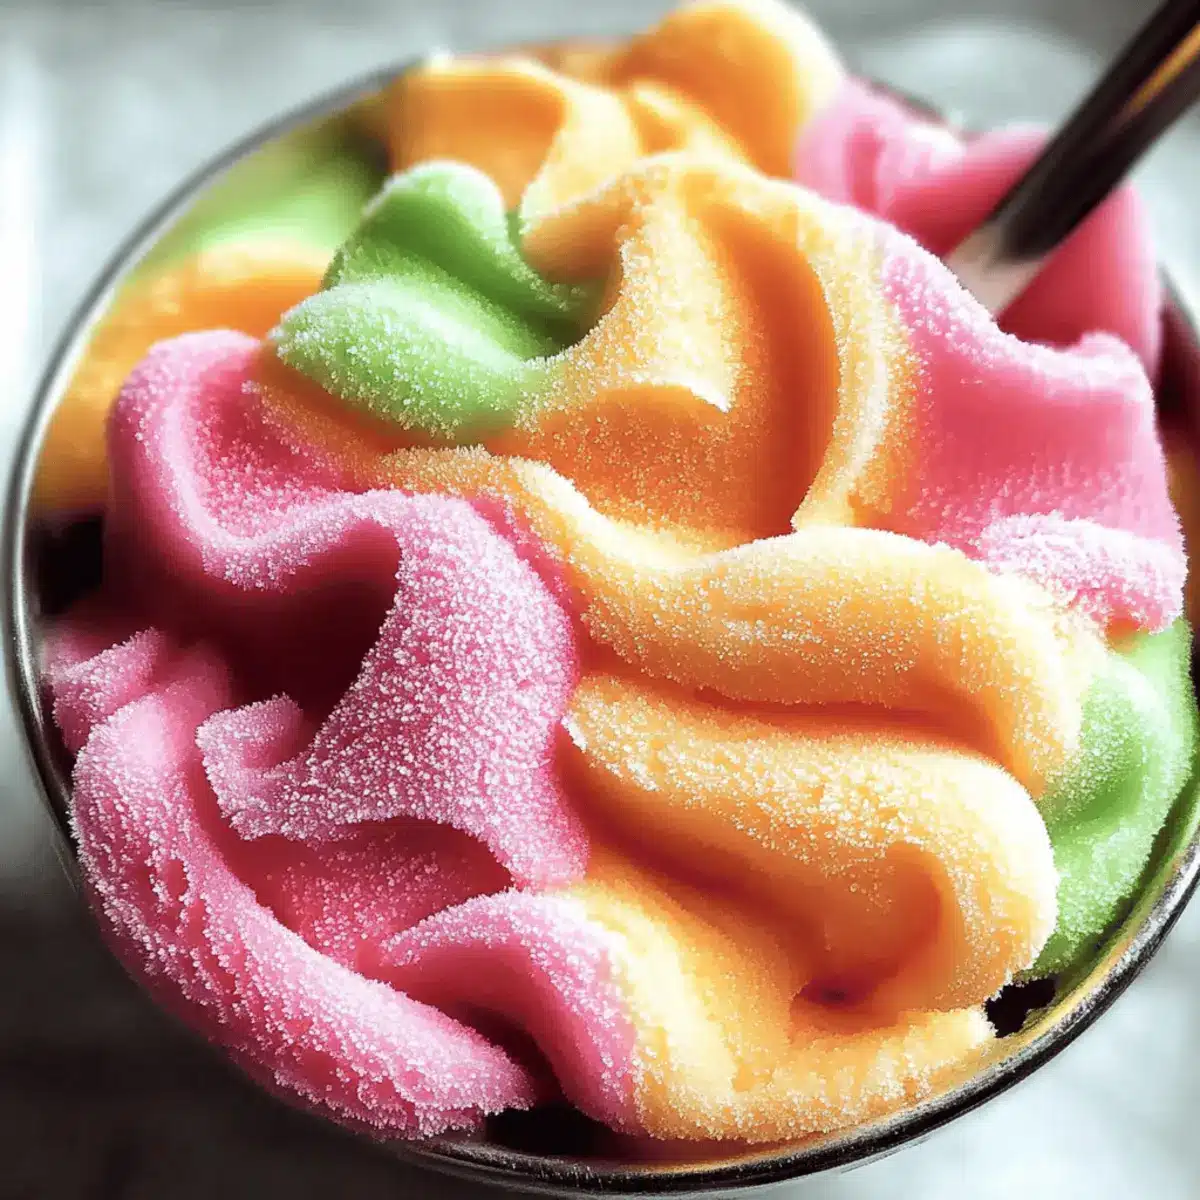
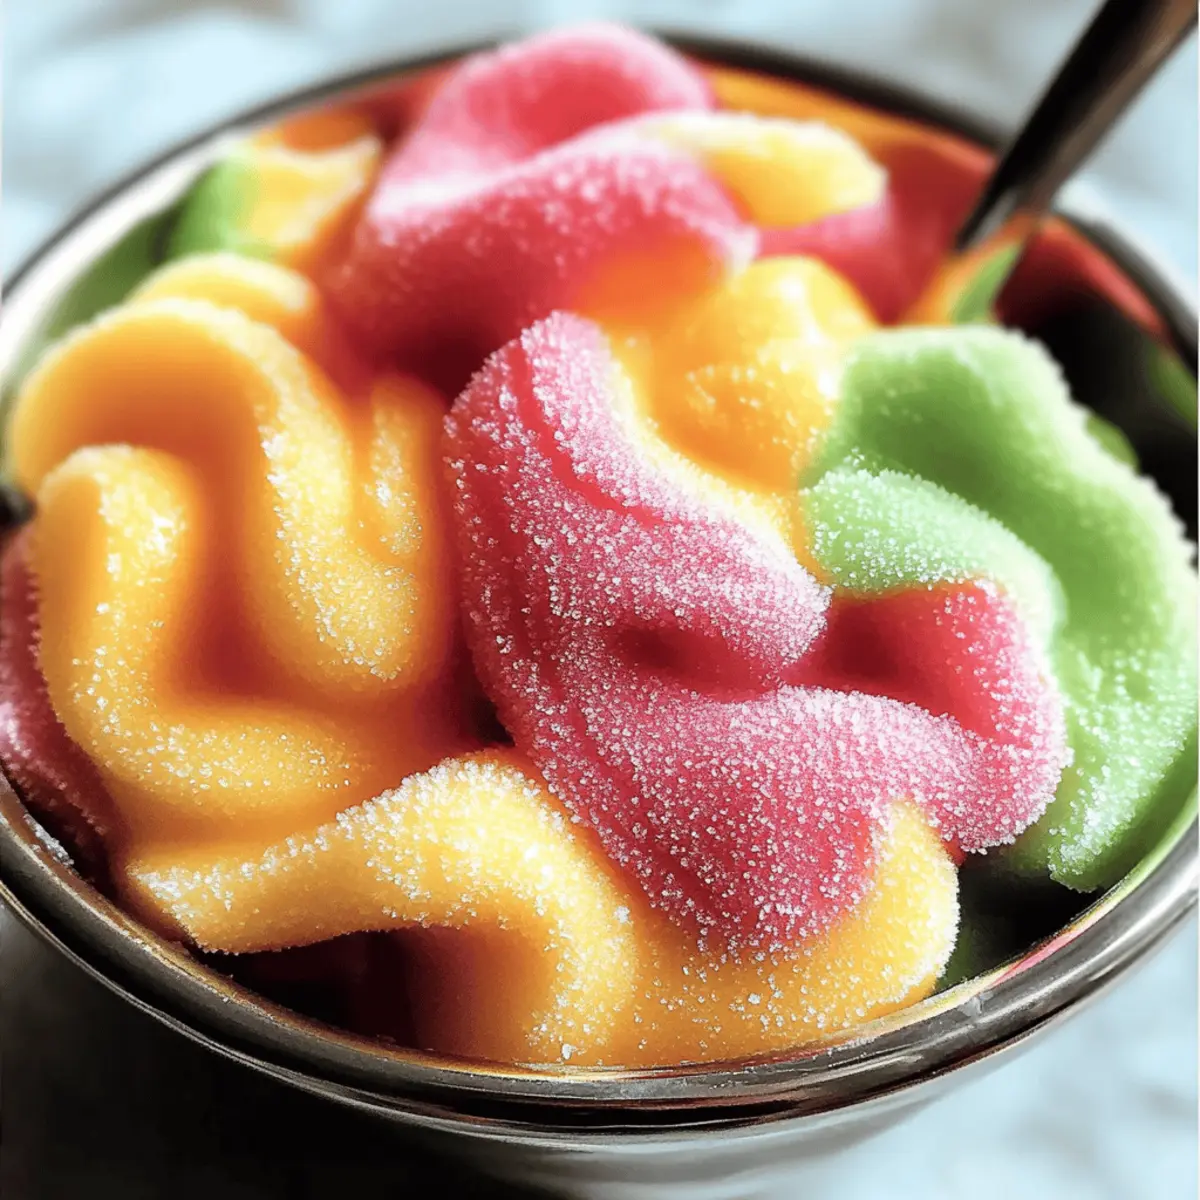
Grab a freezer-safe container and start layering your colorful mixtures. Alternate spoonfuls of raspberry, orange, and lime mixtures, gently swirling together with a spatula to create a beautiful marbled effect. Cover the container tightly and place it in the freezer. Let it freeze for 4–6 hours until it’s firm and ready to scoop, resulting in a delightful Homemade Rainbow Sherbet experience.
How to Store and Freeze Homemade Rainbow Sherbet
Fridge: Store any leftover homemade rainbow sherbet in the fridge for up to 3 days for the best flavor. Keep it in an airtight container to maintain its creamy texture.
Freezer: For long-term storage, place the sherbet in an airtight container and freeze for up to 2 months. Be sure to cover the surface with plastic wrap to prevent ice crystals.
Reheating: When you’re ready to enjoy your frozen treat, allow the homemade rainbow sherbet to sit at room temperature for 5–10 minutes before scooping for easy serving!
Thawing: If it becomes too hard, you can gently microwave a small portion for 10 seconds to soften, but avoid overheating to maintain the icy texture.
Homemade Rainbow Sherbet Variations
Feel free to get creative with your Homemade Rainbow Sherbet, adding a personal touch to make it uniquely yours!
-
Berry Blend: Mix together blueberries and blackberries instead of raspberries for a delicious twist. This will infuse your sherbet with a gorgeous deep purple hue!
-
Tropical Twist: Swap orange and lime juices for pineapple and mango for a refreshing, sunny flavor combination. Your taste buds will feel like they’re on a tropical vacation!
-
Minty Fresh: Add minced fresh mint to your base for a cool, refreshing taste. This is perfect for those hot summer days when you crave something invigorating.
-
Chocolate Drizzle: Layer melted chocolate between the flavors for decadent richness. Not only does it taste scrumptious, but the glossy drizzles also elevate the presentation!
-
Coconut Cream: Substitute heavy cream with coconut cream for a dairy-free option. You’ll be rewarded with a creamy sherbet that’s wonderfully rich yet perfectly fruity.
-
Nutty Infusion: Incorporate almond or hazelnut extract for added depth and a delightful nutty flavor. This unexpected twist will wow your guests!
-
Spicy Heat: For the adventurous palates, mix in a hint of cayenne pepper with the fruit purees for a surprising kick that contrasts beautifully with the sweetness.
-
Unique Flavor Combos: Experiment by combining unusual fruit pairings, like passion fruit and pomegranate for a vibrant and exotic finish.
Let the creativity flow, just as you would with these delightful additions, and watch how your Homemade Rainbow Sherbet becomes a canvas for endless flavor possibilities!
What to Serve with Homemade Rainbow Sherbet
The perfect summer treat pairs seamlessly with delightful accompaniments that elevate its vibrant nature.
-
Crispy Waffles: Serve warm waffles drizzled with syrup next to a scoop of sherbet for a delicious contrast in textures. The warm, fluffy waffles soak up the refreshing flavors beautifully.
-
Fresh Berries: Accompany your rainbow sherbet with a medley of berries. Their natural sweetness and tartness complement each fruity scoop, adding freshness to every bite.
-
Mint Leaves: Garnish with a sprig of fresh mint for a delightful aromatic finish. The mint’s coolness enhances the sherbet’s refreshing fruit flavors while adding a lovely pop of color.
-
Chocolate Sauce: Drizzle rich chocolate sauce over your sherbet to create a delightful fusion of flavors. The blend of chocolate and fruity sherbet is sure to please the chocolate lovers at your gathering.
-
Sparkling Water: Serve a glass of fizzy sparkling water alongside your treat for a refreshing counterpoint. The bubbles cleanse the palate between sweet bites, enhancing the rainbow sherbet experience.
-
Tropical Fruit Salad: A bowl of colorful tropical fruit brings in juicy elements like pineapple and mango, mirroring the flavors of the sherbet while providing a fresh, crunchy texture. Perfect for warm days!
Make Ahead Options
These Homemade Rainbow Sherbet layers are perfect for meal prep enthusiasts! You can prepare the base mixture up to 24 hours in advance. To do this, simply follow the initial steps, cool the base, and refrigerate it until you are ready to churn. Additionally, you can create the raspberry puree and store it in an airtight container in the fridge, where it will stay fresh for up to 3 days. When you’re ready to make your sherbet, just churn the chilled base, mix in your flavors, layer them in a container, and freeze for 4–6 hours. With these make-ahead tips, you’ll have a delightful Homemade Rainbow Sherbet, ready to impress with minimal effort when serving!
Expert Tips for Homemade Rainbow Sherbet
-
Chill Ingredients: Ensure that all your ingredients, especially the cream and milk, are thoroughly chilled before mixing. This step helps achieve a creamier texture in your Homemade Rainbow Sherbet.
-
Monitor Churning: Be vigilant while your ice cream maker is working; over-churning can lead to a texture that’s too firm. Stop at the soft-serve consistency for the best results.
-
Taste Test: Make sure to taste the mixtures as you combine the flavors! You can always adjust sweetness or acidity to suit your preference, ensuring your rainbow sherbet is just right.
-
Proper Storage: Use an airtight container for storing your sherbet. This keeps it fresh and prevents ice crystals from forming, which can ruin its texture.
-
Scooping Ease: To make serving easier, allow your sherbet to sit at room temperature for 5–10 minutes before scooping. This way, you’ll get those perfect, colorful scoops effortlessly!
Homemade Rainbow Sherbet Recipe FAQs
What fruits are best for making the rainbow flavors?
Absolutely! Fresh fruits like raspberries, oranges, and limes provide the best flavor and vibrant colors for your homemade rainbow sherbet. You can also mix in tropical fruits such as mango or pineapple for a delightful twist. Feel free to experiment with other berries like blueberries or blackberries for unique combinations!
How long can I store homemade rainbow sherbet?
You can keep your homemade rainbow sherbet in the freezer for up to 2 months. Make sure to store it in an airtight container to prevent ice crystals from forming. When ready to enjoy, simply let it sit at room temperature for about 5–10 minutes to soften before scooping.
Can I make this recipe dairy-free?
Very! To create a dairy-free version of homemade rainbow sherbet, substitute heavy cream with coconut cream, and switch whole milk for almond or coconut milk. Both alternatives maintain a creamy texture and delicious flavor without the dairy.
Is it possible to freeze the sherbet mixture before churning?
Definitely! You can chill the mixture in the refrigerator for up to 24 hours before churning. This step ensures optimal texture and flavors meld together nicely. Just make sure it’s covered to prevent absorbing any fridge odors.
What should I do if the sherbet turns icy or hard?
If your homemade rainbow sherbet becomes too hard after freezing, it’s best to let it thaw at room temperature for 5–10 minutes before serving. If it’s still too firm, you can microwave a small portion for about 10 seconds to soften it slightly. Just be cautious not to warm it up too much, or you may lose that delightful icy texture!
Homemade Rainbow Sherbet: Refreshingly Fun for Any Occasion
Ingredients
Equipment
Method
- In a saucepan over medium heat, combine heavy cream, milk, and granulated sugar. Stir gently for 5–7 minutes until the sugar dissolves completely, and the mixture is warm but not boiling. Remove from heat and fold in the vanilla extract. Allow to cool completely.
- Prepare the raspberry puree by combining fresh or frozen raspberries with a bit of sugar in a blender, blending until smooth, and passing through a fine mesh strainer to remove seeds.
- Once the base mixture has cooled, pour it into an ice cream maker. Churn for approximately 20–25 minutes until it reaches a soft-serve consistency.
- Divide the base into three bowls. In the first bowl, stir in raspberry puree. In the second bowl, mix in fresh orange juice and optional food coloring. In the last bowl, squeeze lime juice.
- Layer the colorful mixtures in a freezer-safe container, alternating spoonfuls of raspberry, orange, and lime mixtures. Swirl gently with a spatula, cover tightly, and freeze for 4–6 hours until firm.
Leave a Reply