
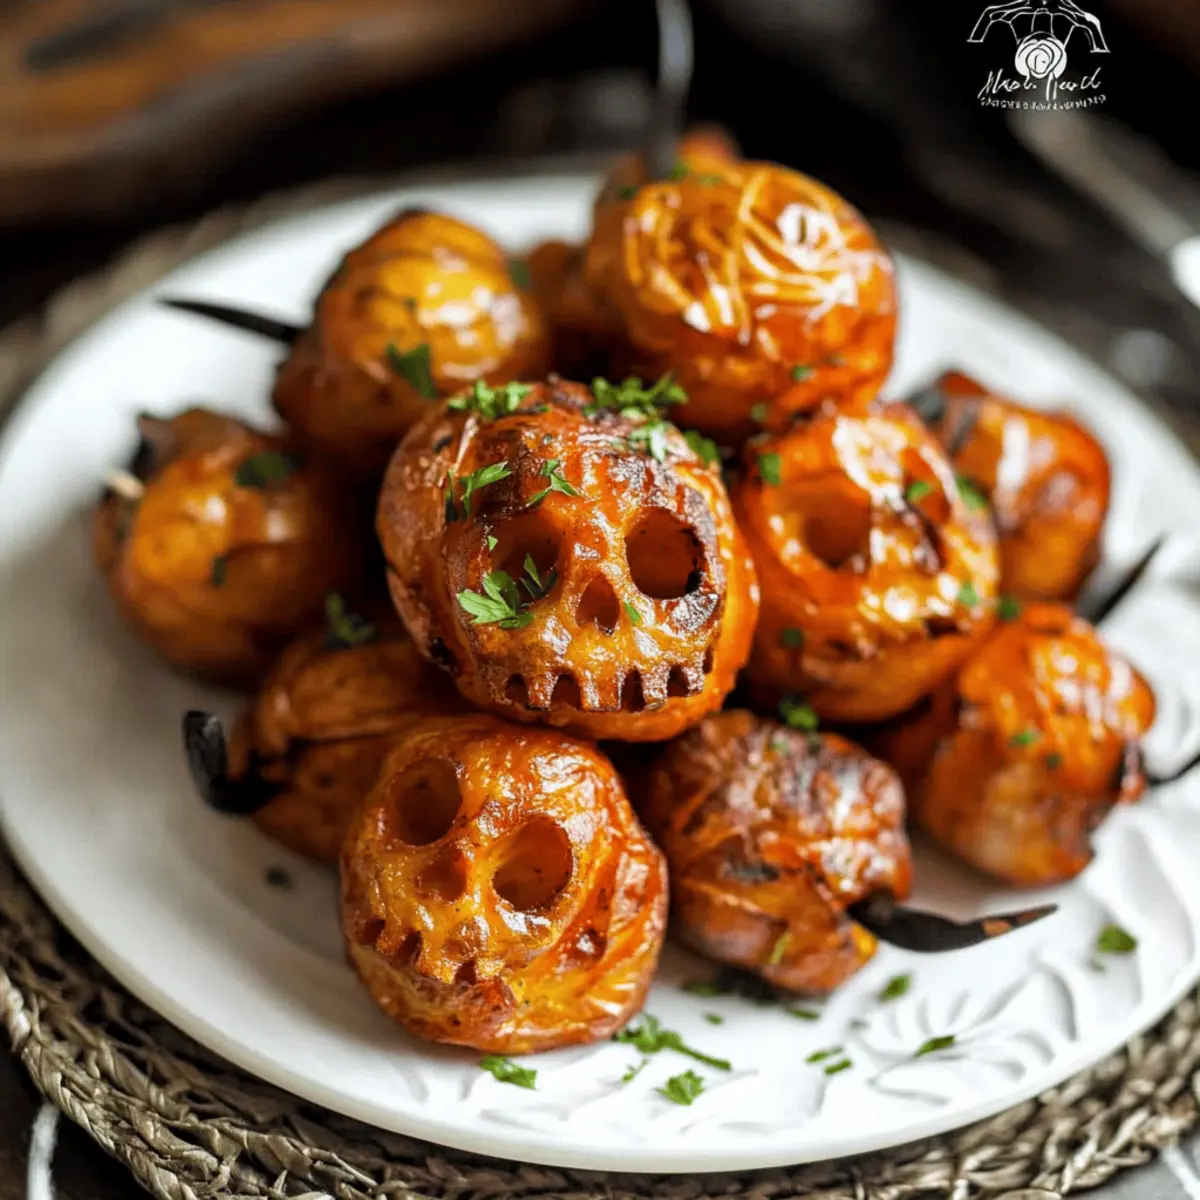
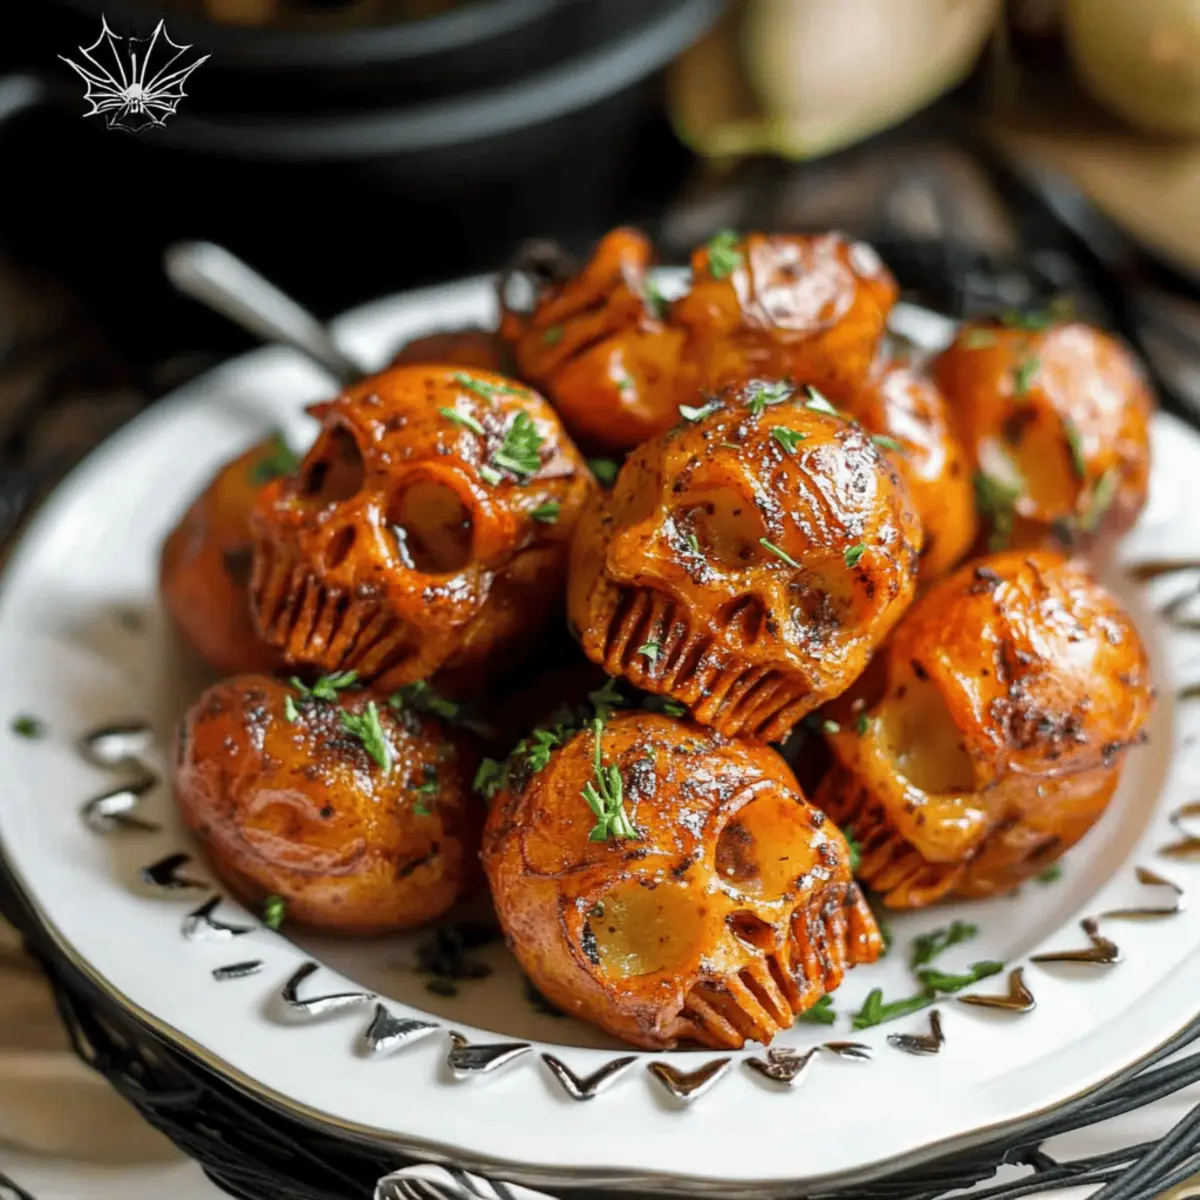
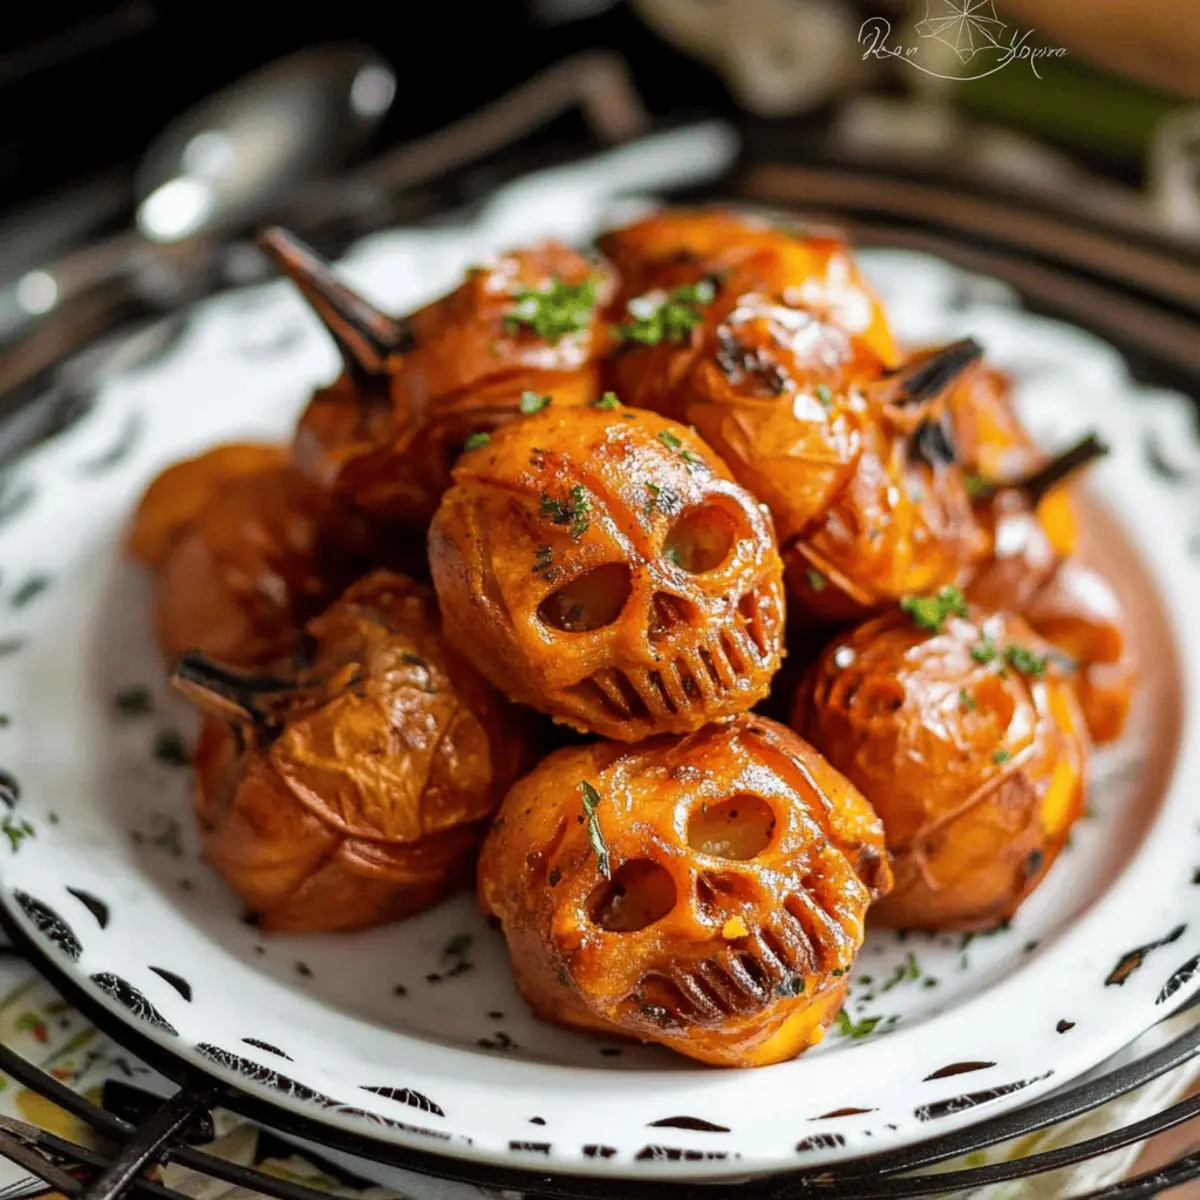
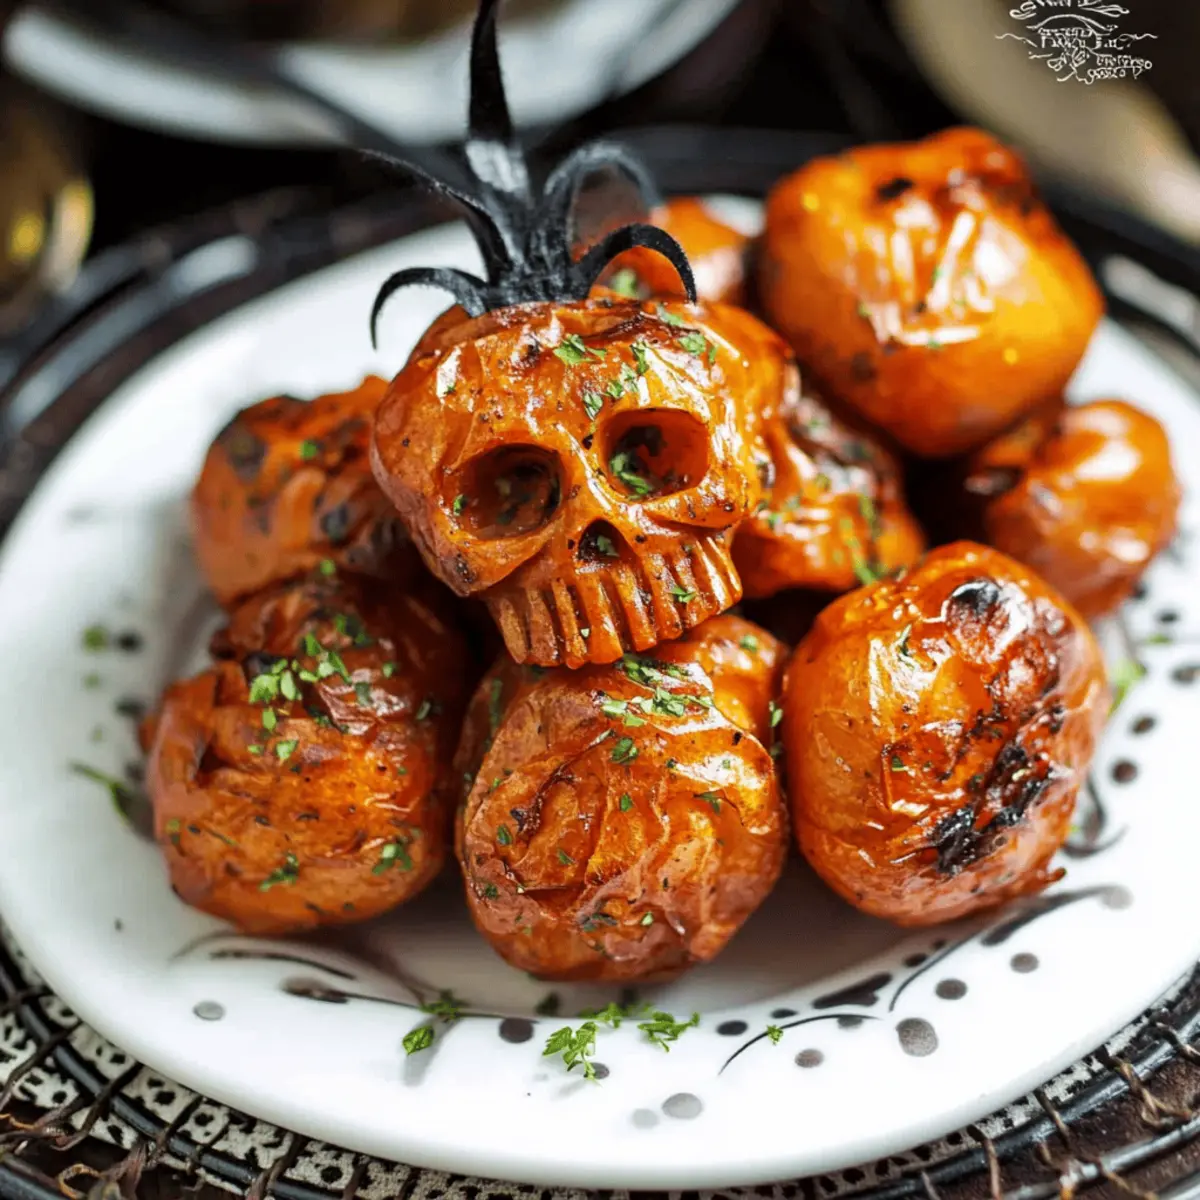
As I prepared for Halloween, I stumbled upon a delightful challenge: how to turn a simple side dish into something that would get everyone laughing and talking. Enter the Spooky Halloween Skull Potatoes! These cleverly carved red potatoes bring a whimsical and eerie touch to your festive table. Not only are they a fun conversation starter, but they’re also vegetarian-friendly and packed with flavor, thanks to the savory mix of garlic, onion, and smoked paprika. In just a short time, you can create a dish that’s both playful and satisfying; perfect alongside your favorite roast or grilled main. So, are you ready to make your Halloween dinner a little more spirited? Let’s dive into carving those creepy little skulls!
Why Are These Potatoes So Fun?
Whimsical Presentation: These creepy little skulls not only taste good, but they also bring a playful pop to your Halloween spread. Savory Flavor: With a flavorful blend of garlic and smoked paprika, every bite is a delicious surprise. Easy to Make: Carving the potatoes is a fun activity for the whole family, making it a great kitchen project that encourages creativity! Versatile Side Dish: Pair these spooky potatoes with anything from roast beef to grilled chicken, ensuring they fit seamlessly with your favorite meals. If you’re looking for more festive ideas, check out my Spooky Stuffed Pumpkin or try these delightful Eyeball Pasta Salad for a complete ghoulish feast!
Spooky Halloween Skull Potatoes Ingredients
Get ready to carve some fun into your Halloween feast!
For the Potatoes
- Red Mini Creamer Potatoes – Their creamy interiors make them perfect for carving into spooky shapes.
- Water – Soaking the potatoes will soften their skins for easier carving.
- Lemon Juice – Prevents the cut edges from browning, keeping your skulls looking fresh.
For the Seasoning
- Olive Oil – Adds a rich flavor; feel free to substitute with any preferred cooking oil.
- Salt – Enhances the overall taste, making each bite delicious.
- Onion Powder – Offers depth of flavor; fresh onion can be used for a more robust kick.
- Garlic Powder – Infuses a savory note; diced fresh garlic is a great alternative.
- Smoked or Regular Paprika – Imparts a delightful smokiness; use regular for a milder taste.
- Black Pepper – A dash of seasoning, perfect for balancing the flavors.
For Garnishing
- Fresh/Dried Parsley Flakes – An optional touch of color and flavor that adds a festive finish.
These Spooky Halloween Skull Potatoes are bound to be the centerpiece of your ghoulish gathering!
Step‑by‑Step Instructions for Spooky Halloween Skull Potatoes
Step 1: Preheat and Prepare
Begin by preheating your oven to 385°F (195°C) while you prepare your workspace. Line a baking sheet with parchment paper to ensure the potatoes won’t stick and make cleanup a breeze. This step will set the stage for baking those spooky Halloween skull potatoes to crispy perfection.
Step 2: Clean and Soak the Potatoes
Thoroughly wash the red mini creamer potatoes to remove any dirt and impurities. Once cleaned, set them aside in a bowl. In a separate large bowl, mix 4 cups of cold water with 2 tablespoons of lemon juice, creating a soaking solution to keep the carved potatoes from browning as you work on them.
Step 3: Carve the Skull Faces
Using a sharp paring knife, carefully carve spooky skull faces into each potato, making sure to create enough detail for a ghoulish effect. Once carved, gently place the skull potatoes into the lemon water mixture to soak; this will help maintain their vibrant color while you finish preparing them.
Step 4: Make the Seasoning Oil
In another mixing bowl, combine 2 tablespoons of olive oil with an additional tablespoon of lemon juice, along with your seasoning blend: salt, onion powder, garlic powder, smoked paprika, and black pepper. Stir until well combined; this flavorful mixture will coat your spooky Halloween skull potatoes.
Step 5: Drain and Coat the Potatoes
After soaking, carefully drain the carved skull potatoes and transfer them back into your large bowl. Pour the seasoning oil mixture over them, tossing gently but thoroughly until every potato is evenly coated. This step ensures that your spooky Halloween skull potatoes will be bursting with flavor.
Step 6: Bake the Skulls
Arrange the potatoes face side up on the prepared baking sheet, ensuring they are not overcrowded for even roasting. Place them in the preheated oven and bake for approximately 30 minutes. Keep an eye on them; they should be golden and tender when done, with crispy edges that make them irresistibly delicious.
Step 7: Garnish and Serve
Once the spooky Halloween skull potatoes are finished baking, remove them from the oven and let them cool slightly. Garnish with a sprinkle of fresh or dried parsley flakes for an appealing pop of color, and add more salt to taste if desired. Now, your whimsical Halloween side dish is ready to delight your guests!
Storage Tips for Spooky Halloween Skull Potatoes
-
Fridge: Store leftover spooky Halloween skull potatoes in an airtight container in the fridge for up to 3 days. This way, they remain fresh and delicious for your next meal!
-
Reheating: To bring back the crispiness, reheat your skull potatoes in the oven at 350°F (175°C) for about 10-15 minutes, checking frequently until heated through.
-
Freezer: If you want to keep them longer, place them in a single layer on a baking sheet to freeze before transferring to a freezer-safe container. They can last up to 2 months in the freezer, but may lose some texture.
-
Thawing: When ready to enjoy, thaw the spooky Halloween skull potatoes in the fridge overnight and then reheat in the oven for the best results!
What to Serve with Spooky Halloween Skull Potatoes
Elevate your Halloween feast by pairing these whimsical potatoes with enticing dishes that delight both the eyes and the palate.
-
Roast Beef: The hearty rich flavors of roast beef perfectly complement the savory, seasoned skull potatoes, creating a warming meal.
-
Grilled Chicken: Juicy grilled chicken with herbs adds a succulent touch that balances the fun presentation of your spooky potatoes.
-
Creamy Coleslaw: A refreshing, crunchy coleslaw provides a contrast in texture, lightening up the meal while enhancing the overall flavor experience.
-
Garlic Bread: Serve with warm, buttery garlic bread for a comforting side that rounds out the meal; the flavors marry beautifully!
-
Sweet Corn Pudding: Creamy and sweet, this dish contrasts wonderfully with the savory skull potatoes while adding a festive flair to the table.
-
Pumpkin Soup: A warming bowl of pumpkin soup ushers in autumn’s spirit and makes your Halloween gathering cozy and inviting.
-
Festive Salad: A mixed greens salad adorned with cranberries and walnuts brings a fresh element, enhancing both taste and visual appeal.
-
Apple Cider: Sip on hot or chilled apple cider to resonate with the seasonal vibes, brightening up the meal with its delightful sweetness.
-
Chocolate Mousse: For dessert, rich and velvety chocolate mousse adds a touch of decadence, easing into the finish of your spooky feast.
Each of these pairings will ensure your Halloween dinner is not only memorable but also overflowing with deliciousness!
Make Ahead Options
These Spooky Halloween Skull Potatoes are perfect for busy cooks looking to save time! You can carve the skull faces on the red potatoes up to 24 hours in advance. After carving, place them in a bowl of water mixed with lemon juice to prevent browning. Once soaked, you can prepare the seasoning oil blend and even coat the potatoes up to 3 days in advance; just store them in an airtight container in the refrigerator. When you’re ready to serve, simply bake the potatoes as instructed—this ensures they retain their delightful flavor and crispy texture, allowing you to enjoy a spooky side dish with minimal effort!
Expert Tips for Spooky Halloween Skull Potatoes
-
Gentle Carving: Take your time when carving the skull faces to avoid breaking the potatoes. A gentle hand goes a long way in preserving their shape.
-
Soaking Matters: Always soak the carved potatoes in lemon water immediately after cutting. This prevents browning, keeping your spooky Halloween skull potatoes looking fresh.
-
Spacing is Key: Arrange the skulls with space between them on the baking sheet. Overcrowding can lead to uneven roasting and soggy potatoes instead of crispy ones.
-
Experiment with Flavors: Don’t hesitate to customize your seasoning! Try adding cheese, bacon bits, or different herbs to your spooky Halloween skull potatoes to create a unique twist.
-
Check for Doneness: Keep an eye on the potatoes as they bake—look for a golden-brown color and a fork-tender texture to ensure they’re perfectly roasted.
Spooky Halloween Skull Potatoes Variations
Feel free to get creative with these spooky Halloween skull potatoes and make them your own!
-
Cheesy Delight: Sprinkle grated cheese like cheddar or mozzarella on top before baking for a gooey, savory twist. The melty goodness adds an irresistible layer of flavor.
-
Bacon Boost: Add cooked and crumbled bacon bits for a smoky, crispy addition. Who doesn’t love bacon? It gives the potatoes a delightful crunch while enhancing the savory profile.
-
Herb Infusion: Mix in fresh herbs like rosemary or thyme into your seasoning blend for an aromatic touch. The earthy flavors will elevate the dish, making it even more delightful.
-
Spicy Kick: Toss in some cayenne pepper or chili powder for a spicy twist that will make your Halloween even more thrilling. Just a pinch can transform the flavor and bring some heat to the fun!
-
Vegan Version: Replace olive oil with avocado oil and skip cheese for a fully vegan-friendly option. You can still have a deliciously spooky dish that everyone loves!
-
Ranch Flavor: Swap the seasoning for ranch dressing mix for a unique and creamy twist. This will give a wonderful zesty flavor that pairs perfectly with the soft potatoes.
-
Sweet & Savory: Drizzle with a touch of honey or maple syrup before baking to add a sweet contrast. This unexpected flavor combination can surprise your guests and delight their taste buds.
These variations will ensure your spooky Halloween skull potatoes have something for everyone! For even more festive inspiration, consider serving them alongside my delicious Chicken Roasted Potatoes or try a seasonal treat like White Chocolate Halloween. Enjoy creating a ghoulish feast!
Spooky Halloween Skull Potatoes Recipe FAQs
What kind of potatoes are best for carving?
For carving, I recommend using Red Mini Creamer Potatoes. Their soft and creamy interiors make them ideal for this fun project. However, you can substitute them with other mini potatoes if you prefer, but ensure they have a similar texture.
How should I store leftover spooky Halloween skull potatoes?
Leftover potatoes can be stored in an airtight container in the fridge for up to 3 days. To reheat, pop them in the oven at 350°F (175°C) for about 10-15 minutes to maintain their crispy texture.
Can I freeze spooky Halloween skull potatoes?
Absolutely! First, arrange the carved potatoes in a single layer on a baking sheet and freeze until solid. Afterward, transfer them to a freezer-safe container or bag. They can last up to 2 months in the freezer. When ready to eat, thaw them in the fridge overnight and reheat in the oven for a tasty treat!
What if my skull potatoes are browning before cooking?
If you’ve noticed your carved potatoes are turning brown, that means they haven’t been soaked long enough in the lemon water solution. Always soak them immediately after carving to prevent any discoloration, keeping your Spooky Halloween Skull Potatoes looking fresh for your festive table!
Are spooky Halloween skull potatoes suitable for vegetarians?
Yes! These potatoes are completely vegetarian-friendly. They make a fun and flavorful side dish for anyone looking to enjoy a delicious meal without any meat. They’re also gluten-free, which makes them even more inclusive for guests with dietary restrictions.
Can I customize the seasoning for the skull potatoes?
Very much so! Feel free to experiment with different seasonings to suit your taste. You could try adding cheese or bacon bits on top before baking, or mix in spices like ranch or Cajun for a unique flavor twist. The more the merrier when it comes to flavor experimentation!
Spooky Halloween Skull Potatoes for a Ghoulish Feast
Ingredients
Equipment
Method
- Preheat your oven to 385°F (195°C). Line a baking sheet with parchment paper.
- Thoroughly wash the red mini creamer potatoes and set them aside. Prepare a soaking solution with 4 cups of cold water and 2 tablespoons of lemon juice.
- Carefully carve spooky skull faces into each potato. Place them in the lemon water mixture to soak.
- In a mixing bowl, combine 2 tablespoons of olive oil, 1 tablespoon of lemon juice, salt, onion powder, garlic powder, smoked paprika, and black pepper. Stir until well mixed.
- After soaking, drain the carved skull potatoes and transfer them into a large bowl. Pour the seasoning oil mixture over them and toss gently.
- Arrange the potatoes face side up on the baking sheet and bake for approximately 30 minutes until golden and tender.
- Once baked, let them cool slightly and garnish with parsley flakes. Serve warm.
Leave a Reply