
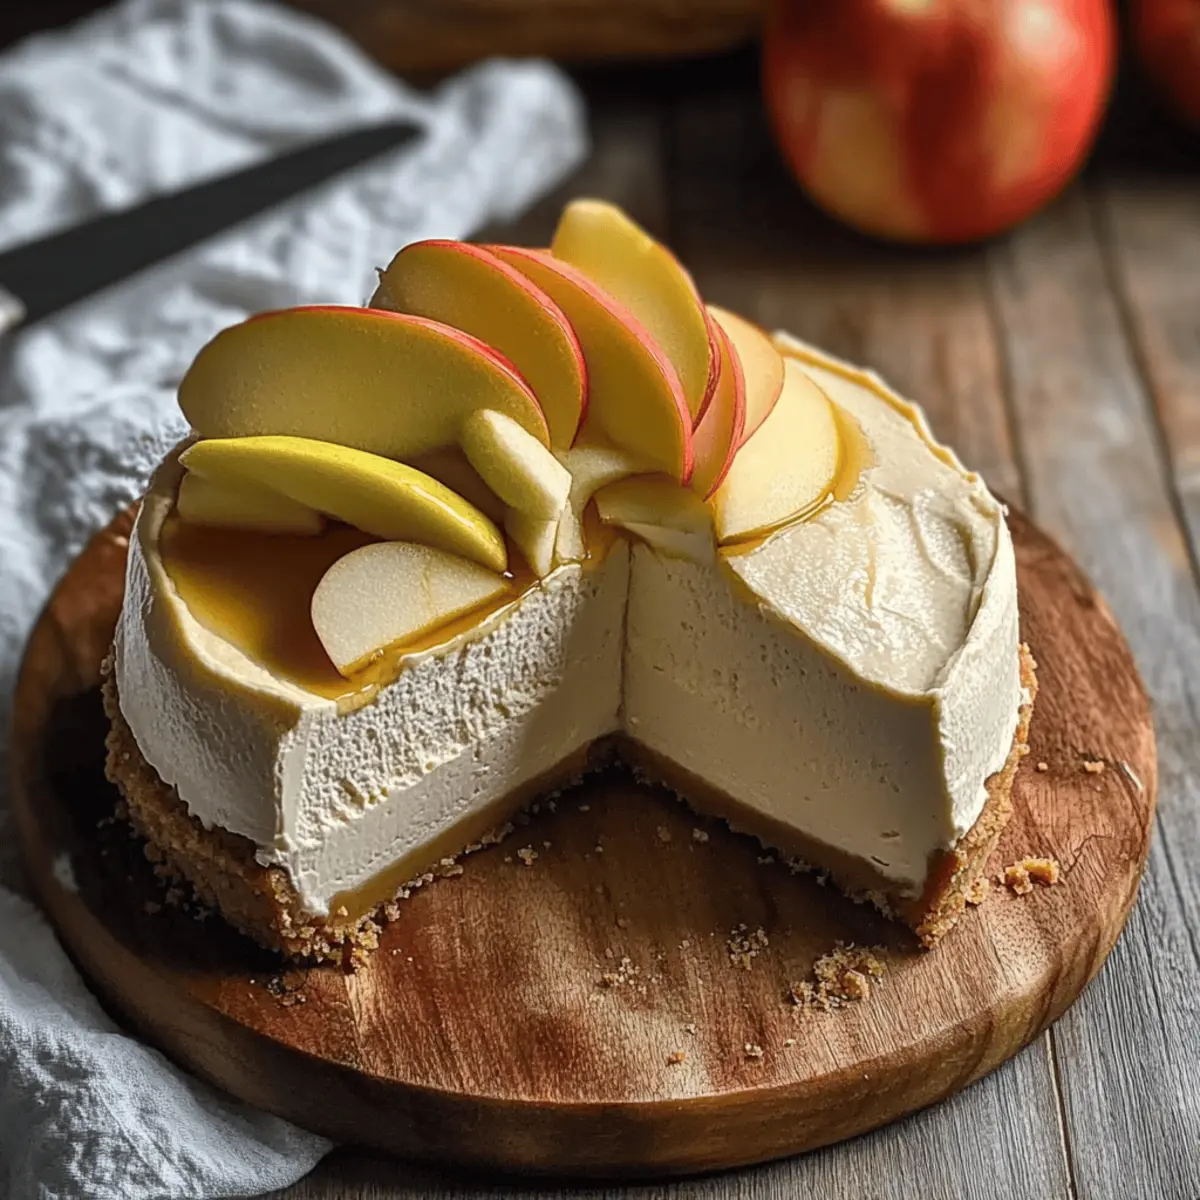
As the leaves begin to turn golden and the crisp air hints at sweater weather, my mind drifts to cozy kitchen moments that celebrate the flavors of the season. This Creamy Apple Cider Cheesecake perfectly embodies the essence of fall, made with reduced fresh apple cider for a tangy twist that’ll brighten your dessert table. One of the best parts? No mixer is required for the crust, making it a delightful treat to whip up even on busy days. Plus, the layers of rich cream cheese paired with a hint of cinnamon create a soft, airy texture that melts in your mouth. Are you ready to indulge in a slice of autumn bliss? Let’s dive into this delightful recipe!
Why Is This Apple Cider Cheesecake Special?
Autumnal Delight: This Creamy Apple Cider Cheesecake channels the cozy flavors of fall, offering a unique alternative to typical pumpkin desserts.
Effortless Preparation: You’ll love that no mixer is needed for the crust! It’s a quick process that saves you time without sacrificing flavor.
Flavor Explosion: The reduced fresh apple cider gives a refreshing twist; every bite bursts with tangy sweetness.
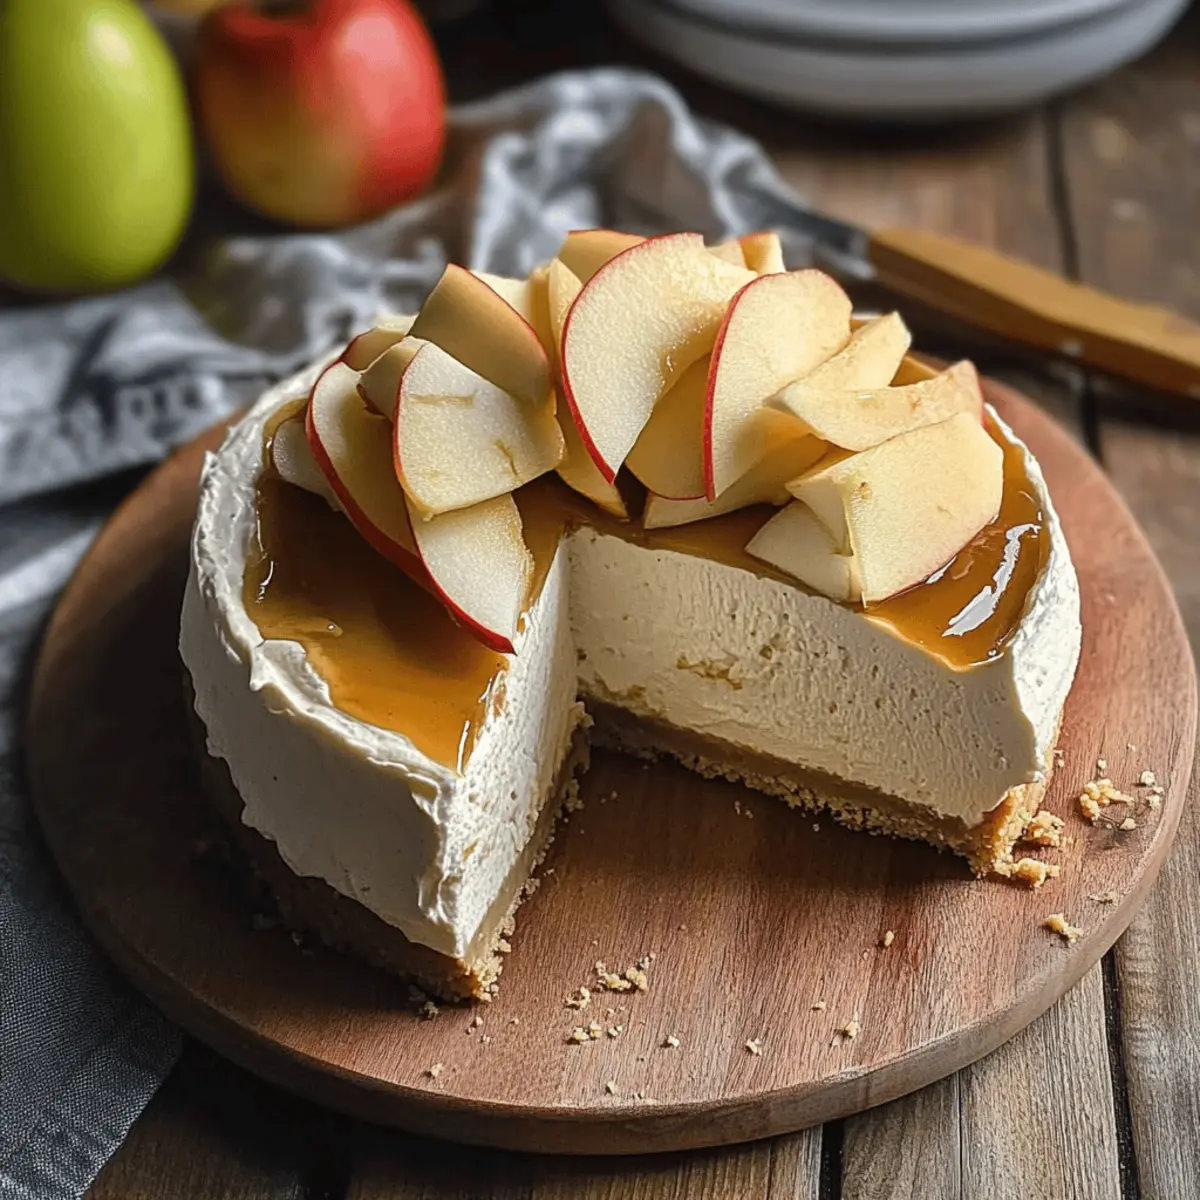
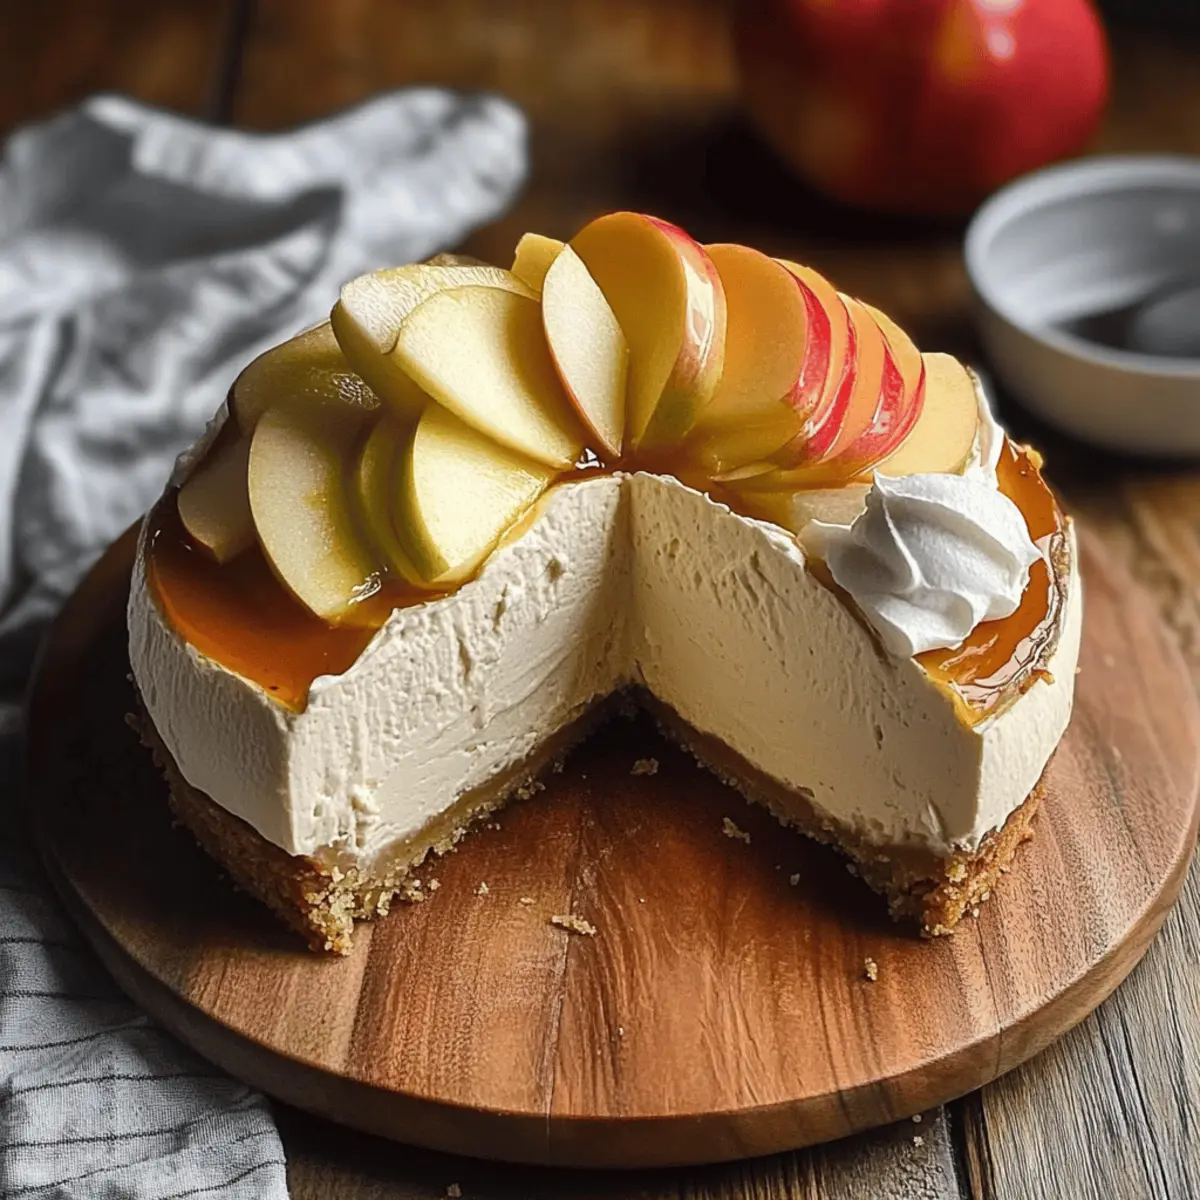
Customizable Toppings: Dress it up with a drizzle of caramel sauce or topped with whipped cream for an extra decadent experience!
Perfect for Gatherings: This cheesecake is not only a showstopper but also a crowd-pleaser, making it ideal for Thanksgiving or fall gatherings.
Every slice is a celebration of the season, and with a little prep, you’ll find yourself returning to this recipe again and again!
Apple Cider Cheesecake Ingredients
• Get ready to dive into this delightful fall dessert!
For the Crust
- Digestive Cookies or Graham Crackers – Use crushed cookies for a sweet base; opt for gluten-free varieties if needed.
- Butter – Unsalted is best; it binds the crumbs and adds a rich flavor.
- Brown Sugar – Adds sweetness and depth; can be swapped with coconut sugar for a unique twist.
For the Cheesecake Filling
- Fresh Apple Cider – The star flavor of this cheesecake; select tart apples like Honeycrisp for an invigorating taste.
- Cream Cheese – Ensure it’s at room temperature for easy blending and a smooth texture.
- Sour Cream – Full-fat is recommended for a luxurious creaminess; it enhances flavor and texture.
- Eggs – Use room temperature eggs for a silky mixture; they act as the binding agent here.
- Vanilla Extract – Always choose pure extract to enrich the cheesecake flavor.
- Cinnamon – A touch of this spice adds warmth and a classic fall essence; feel free to include nutmeg for additional depth.
- All-Purpose Flour – Helps the cheesecake firm up; omit for a gluten-free option.
Storage Note
- This Apple Cider Cheesecake can be stored in the refrigerator for 3-4 days and also freezes well for longer enjoyment!
Step‑by‑Step Instructions for Apple Cider Cheesecake
Step 1: Reduce Cider
In a medium saucepan, pour in fresh apple cider and, if desired, add a pinch of mulling spices like cinnamon and cloves. Bring it to a boil over medium-high heat and then reduce to a simmer. Continue simmering for 30-45 minutes until the cider thickens and reduces to about 1/3 cup of syrup. You’ll know it’s ready when it has a deep, rich flavor and a syrupy consistency.
Step 2: Preheat Oven
While your cider is reducing, preheat your oven to 350°F (175°C). Prepare an 8-inch springform pan by greasing it with butter and lining the bottom with parchment paper. This ensures the Apple Cider Cheesecake releases easily after baking. The preheated oven will help create a great texture for the cheesecake as it bakes.
Step 3: Make Crust
In a food processor, pulse digestive cookies or graham crackers into fine crumbs. Transfer the crumbs into a mixing bowl and stir in melted unsalted butter and a pinch of salt until combined. Press the mixture firmly into the bottom of the prepared pan, creating an even layer. Bake the crust for 10 minutes, then allow it to cool completely before adding the filling.
Step 4: Prepare Filling
In a large mixing bowl, beat room-temperature cream cheese and brown sugar together until the mixture is smooth and creamy. Gradually incorporate the sour cream, the reduced apple cider, and all-purpose flour, mixing until everything is well combined and there are no lumps. The filling should be rich and velvety, embodying the flavors of the Apple Cider Cheesecake.
Step 5: Incorporate Eggs
Add the room temperature eggs to your cream cheese mixture one at a time. Gently mix after each addition until just combined, being careful not to overmix. This will help keep your cheesecake airy and light, with a smooth texture. When finished, the filling should be creamy and slightly fluffy, ready to pour into the crust.
Step 6: Bake
Pour the cheesecake filling into the cooled crust, ensuring an even distribution. To prevent cracks, place the springform pan into a larger baking dish filled halfway with hot water, creating a water bath. Bake in the preheated oven for 80-90 minutes. The edges will be firm, but the center should still wobble slightly when shaken gently.
Step 7: Cool Gradually
Once baking is complete, turn off the oven and crack the door open slightly. Allow the Apple Cider Cheesecake to cool in the oven for 30 minutes; this gradual cooling helps minimize cracks. Afterward, transfer the cheesecake to the counter to cool completely before refrigerating overnight. This resting period is essential for flavors to meld beautifully.
Apple Cider Cheesecake Variations
Feel free to explore these tasty twists on the classic Apple Cider Cheesecake, making your dessert truly your own!
-
Nutmeg Kick: Add a pinch of nutmeg to the filling for an extra layer of warmth and spice that beautifully complements the apple flavor.
-
Caramel Drizzle: Drizzle homemade or store-bought caramel sauce on top for a decadent touch that adds sweetness and decadence to each slice.
-
Chocolatey Crust: Swap out graham crackers for crushed Oreos, introducing a luscious chocolate flavor contrast to the apple filling. It’s a delightful surprise!
-
Dairy-Free: Use vegan cream cheese and coconut cream instead of sour cream for a dairy-free version that still retains that creamy richness.
-
Spiced Cider: Incorporate mulling spices into the filling for a spiced apple flavor that takes you right into a cozy autumn evening.
-
Fruit Topping: Decorate with sliced roasted apples on top, enhancing both beauty and flavor while celebrating the star ingredient!
-
Coconut Twist: Substitute half the sugar with toasted unsweetened coconut flakes in the crust for a tropical and textured surprise that pairs well with the cheesecake.
Consider pairing your cheesecake with a rich Custard Apple Rice or a slice of Blueberry Crumble Cheesecake for a delightful dessert spread. Enjoy your creations!
Make Ahead Options
These Apple Cider Cheesecake treats are perfect for meal prep enthusiasts! You can prepare the crust up to 24 hours in advance by pressing the crumb mixture into the pan and storing it tightly wrapped in the refrigerator. The filling can also be made up to 3 days ahead – simply mix all ingredients and store it in an airtight container. When you’re ready to serve, pour the filling into the chilled crust and bake as directed. To maintain the cheesecake’s creamy texture, cool it gradually in the oven as instructed and refrigerate for at least 6 hours (or overnight) before serving. This advance prep will save valuable time, ensuring you can enjoy your dessert stress-free!
How to Store and Freeze Apple Cider Cheesecake
Fridge: Keep the Apple Cider Cheesecake tightly covered in the refrigerator for up to 3-4 days to maintain its creamy texture and flavor.
Freezer: For longer storage, wrap the cheesecake in plastic wrap and then in aluminum foil. It can be frozen for up to 2 months.
Thawing: When ready to enjoy, transfer the frozen cheesecake to the refrigerator and allow it to thaw overnight for the best results.
Reheating: Serve cold or at room temperature. If you prefer, you can warm individual slices in the microwave for about 10-15 seconds, but avoid overheating to keep the texture intact.
Expert Tips for Apple Cider Cheesecake
-
Use a Water Bath: Baking the cheesecake in a water bath ensures even cooking and eliminates cracks, giving you that pristine, creamy texture.
-
Room Temperature Ingredients: Always allow cream cheese and eggs to reach room temperature. This prevents lumps, leading to a smoother filling for your apple cider cheesecake.
-
Gradual Cooling: After baking, cool the cheesecake gradually in the oven with the door ajar for 30 minutes. This step minimizes the chances of cracks and retains moisture.
-
Chill Overnight: For the best flavor, let the cheesecake sit in the refrigerator overnight. This rest allows the flavors to meld beautifully and enhances the overall taste.
-
Crust Alternatives: If you’re looking for a gluten-free option, simply swap in gluten-free cookies for the crust. The filling remains deliciously rich and flavorful.
What to Serve with Apple Cider Cheesecake?
As the warm, comforting flavors of fall wrap around us, it’s time to create a complete meal that pairs perfectly with this luscious dessert.
-
Spiced Apple Cider: A warm cup of spiced apple cider complements the tartness of the cheesecake beautifully, enhancing the autumn theme. You can infuse your cider with cinnamon sticks and cloves for additional warmth.
-
Candied Pecans: These crunchy, sweet toppings add delightful texture and a touch of caramelized nuttiness that balances the creamy cheesecake. They’re easy to make and elevate any dish you serve.
-
Pecan Pie Bars: For a double dessert delight, serve chewy pecan pie bars alongside; their richness echoes the indulgent creaminess of the cheesecake while offering a different flavor profile.
-
Whipped Cream: A dollop of freshly whipped cream adds a light, airy element that beautifully contrasts the dense cheesecake. For added flair, fold in a touch of vanilla or powdered sugar.
-
Caramel Sauce: Drizzling warm caramel sauce on each slice brings a rich sweetness that harmonizes exceptionally with the apple cider flavors. It’s a simple touch that elevates your dessert presentation.
-
Autumn Salad: A fresh spinach and apple salad with walnuts, feta, and a light vinaigrette provides a crisp, refreshing contrast to the cheesecake’s creaminess.
-
Coffee or Warm Tea: Warm beverages like spiced chai or freshly brewed coffee are perfect companions, cutting through the richness of the cheesecake and rounding out the flavors of your meal.
Each of these choices not only complements the apple cider cheesecake but also sets a cozy, inviting atmosphere at your table where everyone can enjoy the flavors of the season.
Apple Cider Cheesecake Recipe FAQs
What type of apple cider is best for this recipe?
Absolutely! For the best results, I recommend using fresh, tart varieties like Honeycrisp or Granny Smith apple cider. These types provide a delightful balance of sweetness and tartness that enhances the flavor of your cheesecake.
How should I store leftovers?
Certainly! Your Apple Cider Cheesecake can be stored in the refrigerator for up to 3-4 days. Just be sure to cover it tightly with plastic wrap or transfer it to an airtight container to keep it fresh.
Can I freeze this cheesecake, and how?
Yes, you can! To freeze, wrap the cooled cheesecake tightly in plastic wrap and then in aluminum foil for maximum protection. It can be frozen for up to 2 months. When you’re ready to enjoy it, transfer the cheesecake to the refrigerator and let it thaw overnight for the best texture.
What should I do if my cheesecake cracks?
Very! If you notice cracks in your cheesecake, don’t fret! This can happen sometimes, but there are a few remedies. Firstly, baking it in a water bath will help create a moister environment and prevent cracks. Also, be sure to cool the cheesecake gradually in the oven and chill it overnight to allow the filling to set fully.
Are there any dietary considerations I should keep in mind?
Indeed! If you have dietary restrictions or are cooking for certain allergies, consider using gluten-free cookies for the crust and substituting coconut sugar for the brown sugar to accommodate different preferences. This way, everyone can enjoy the fall flavors without worry.
How can I tell when the cheesecake is done baking?
Absolutely! The key is to look for the edges that are firm while the center still has a slight wobble when you gently shake the pan. If the edges are set but the center moves slightly, it’s a good sign that your Apple Cider Cheesecake is perfectly baked. Remember, it will continue to firm up as it cools!
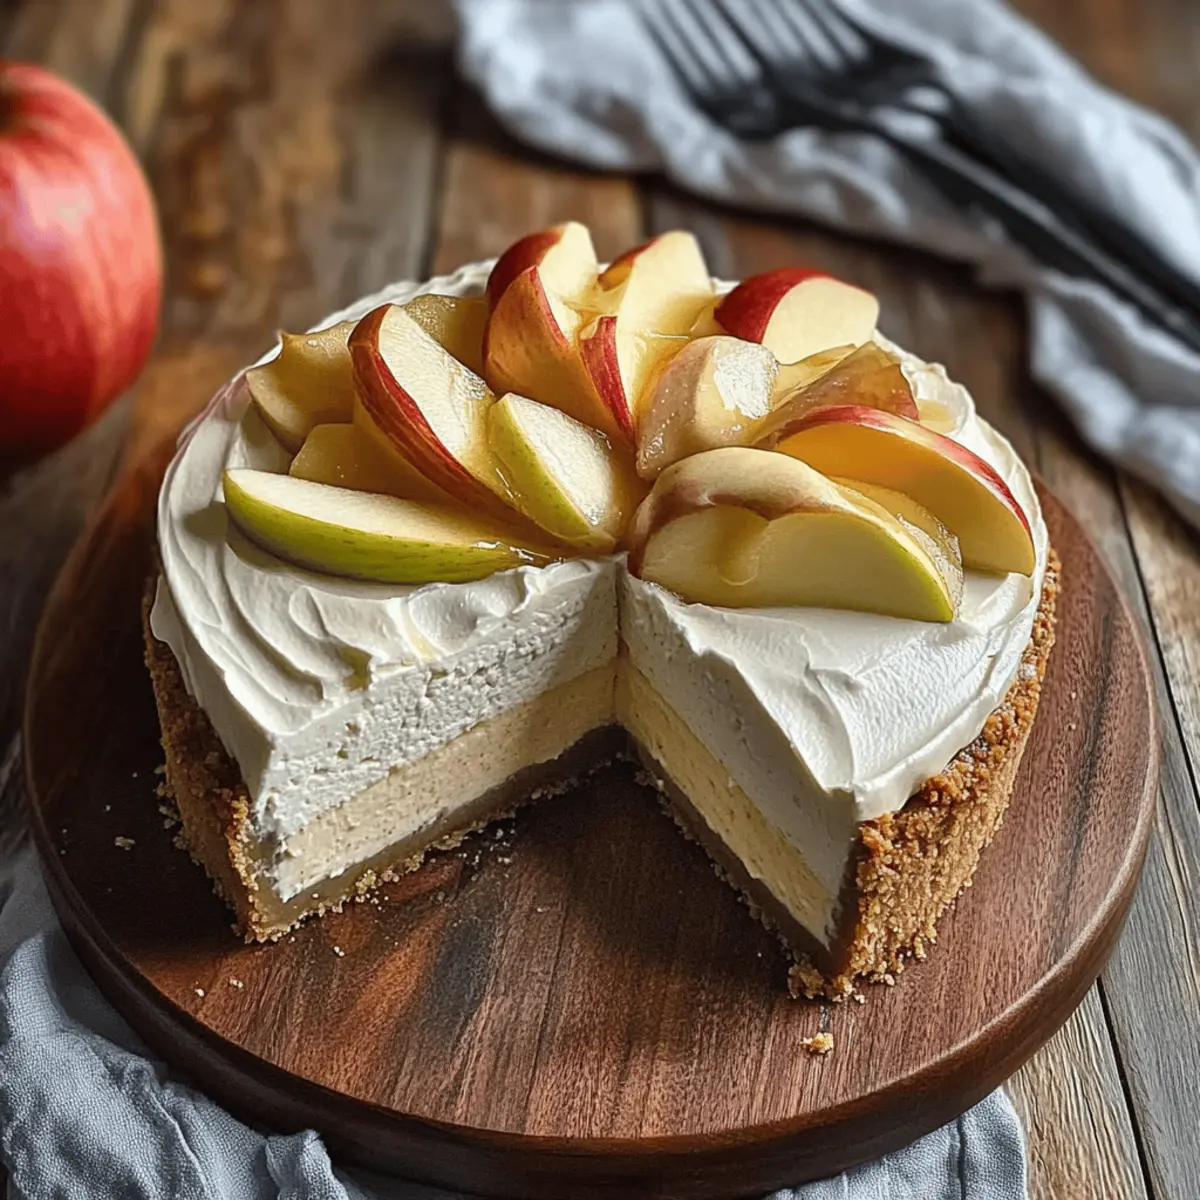
Creamy Apple Cider Cheesecake – Fall's Sweetest Delight
Ingredients
Equipment
Method
- In a medium saucepan, pour in fresh apple cider and add a pinch of mulling spices, then boil and simmer until thickened.
- Preheat oven to 350°F (175°C) and prepare the springform pan.
- Pulse digestive cookies into crumbs, mix with melted butter and salt, then press into the bottom of the pan. Bake for 10 minutes.
- In a large bowl, beat cream cheese and brown sugar until smooth, then mix in sour cream, reduced cider, and flour.
- Incorporate eggs one at a time, mixing gently until just combined.
- Pour the filling into the cooled crust, creating a water bath and bake for 80-90 minutes.
- Cool gradually in the oven for 30 minutes before transferring to cool completely.
Leave a Reply