
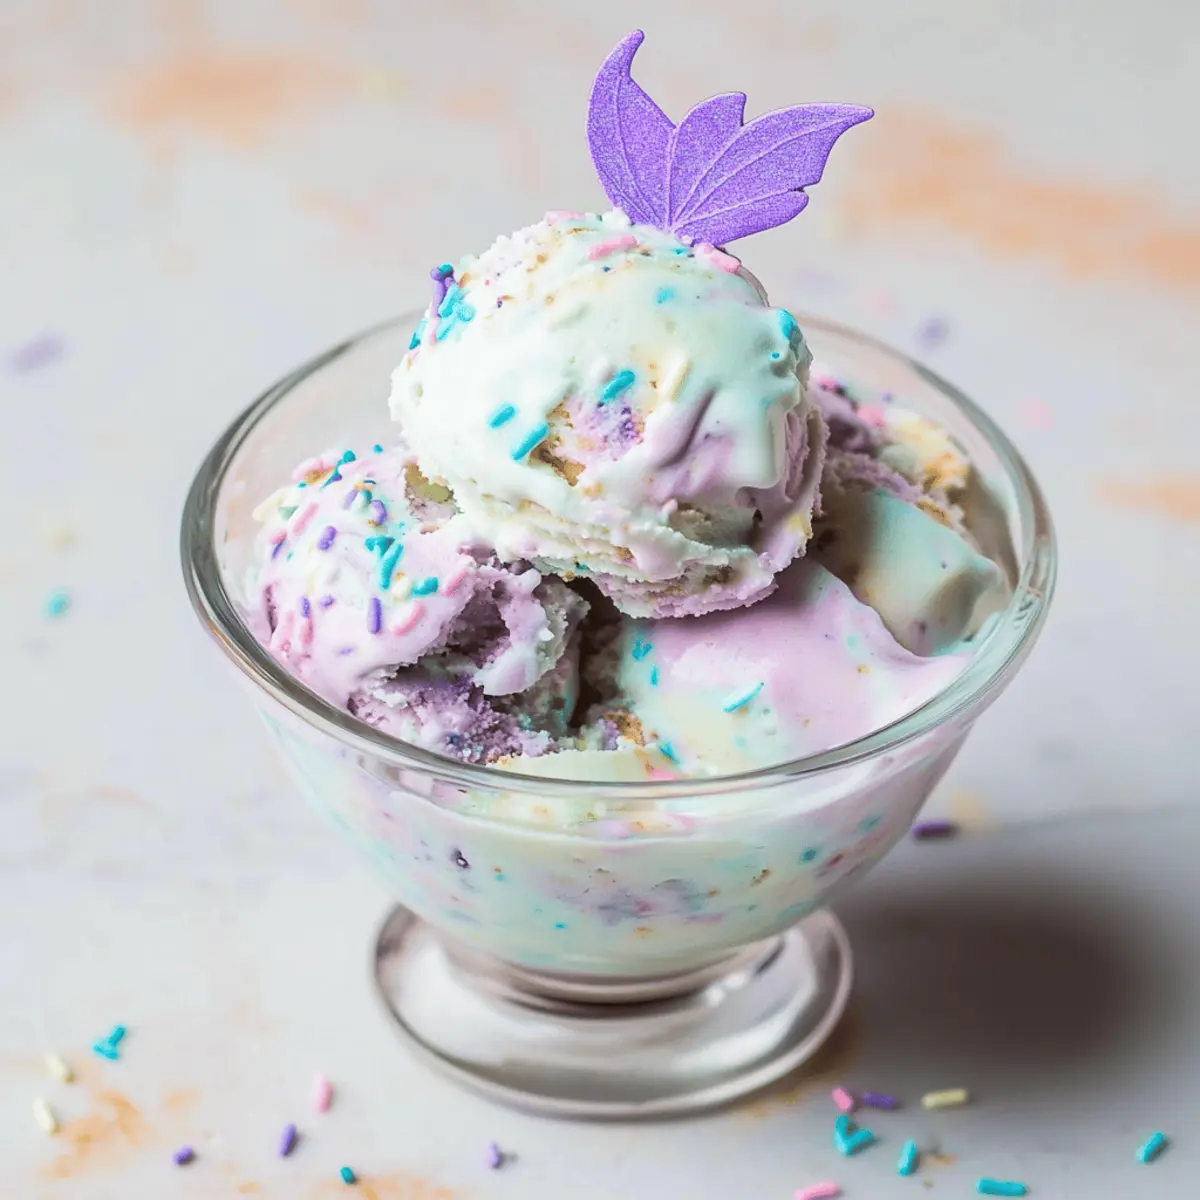
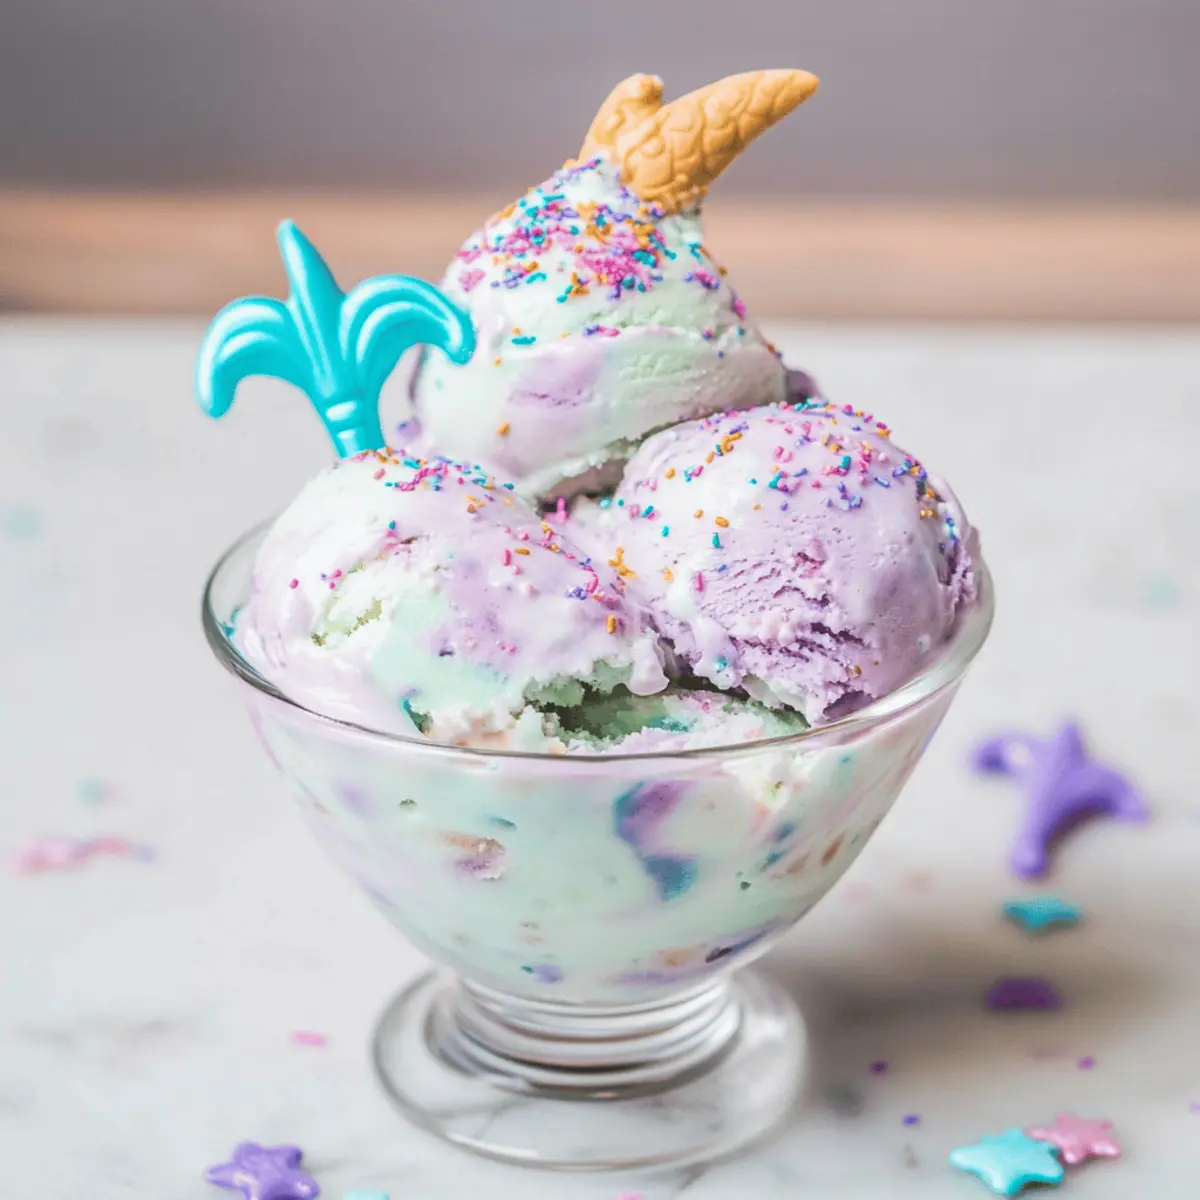
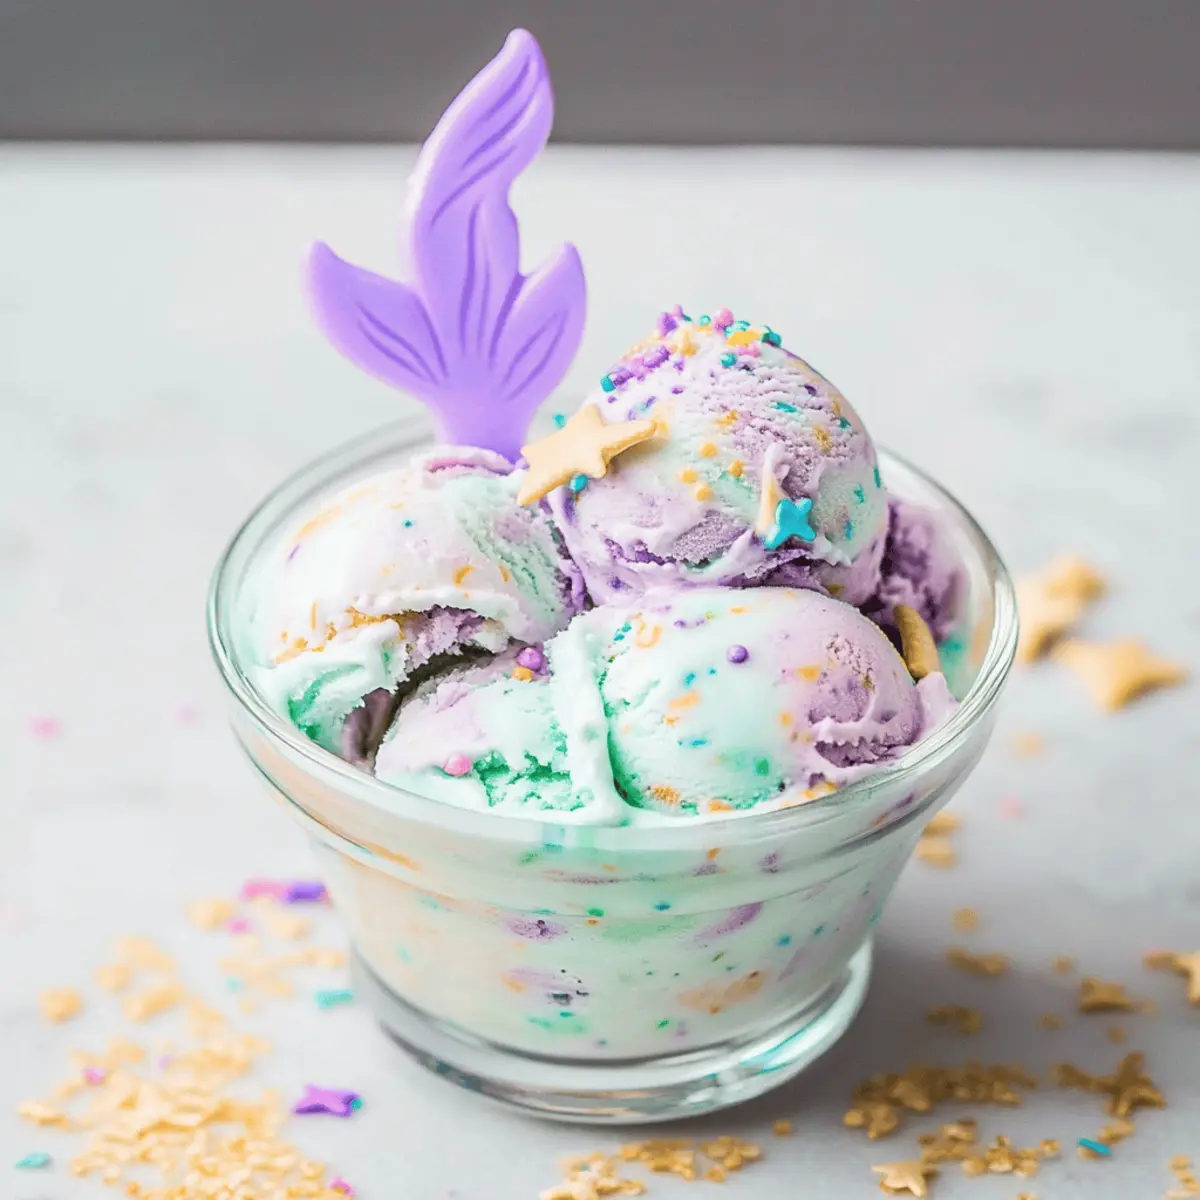
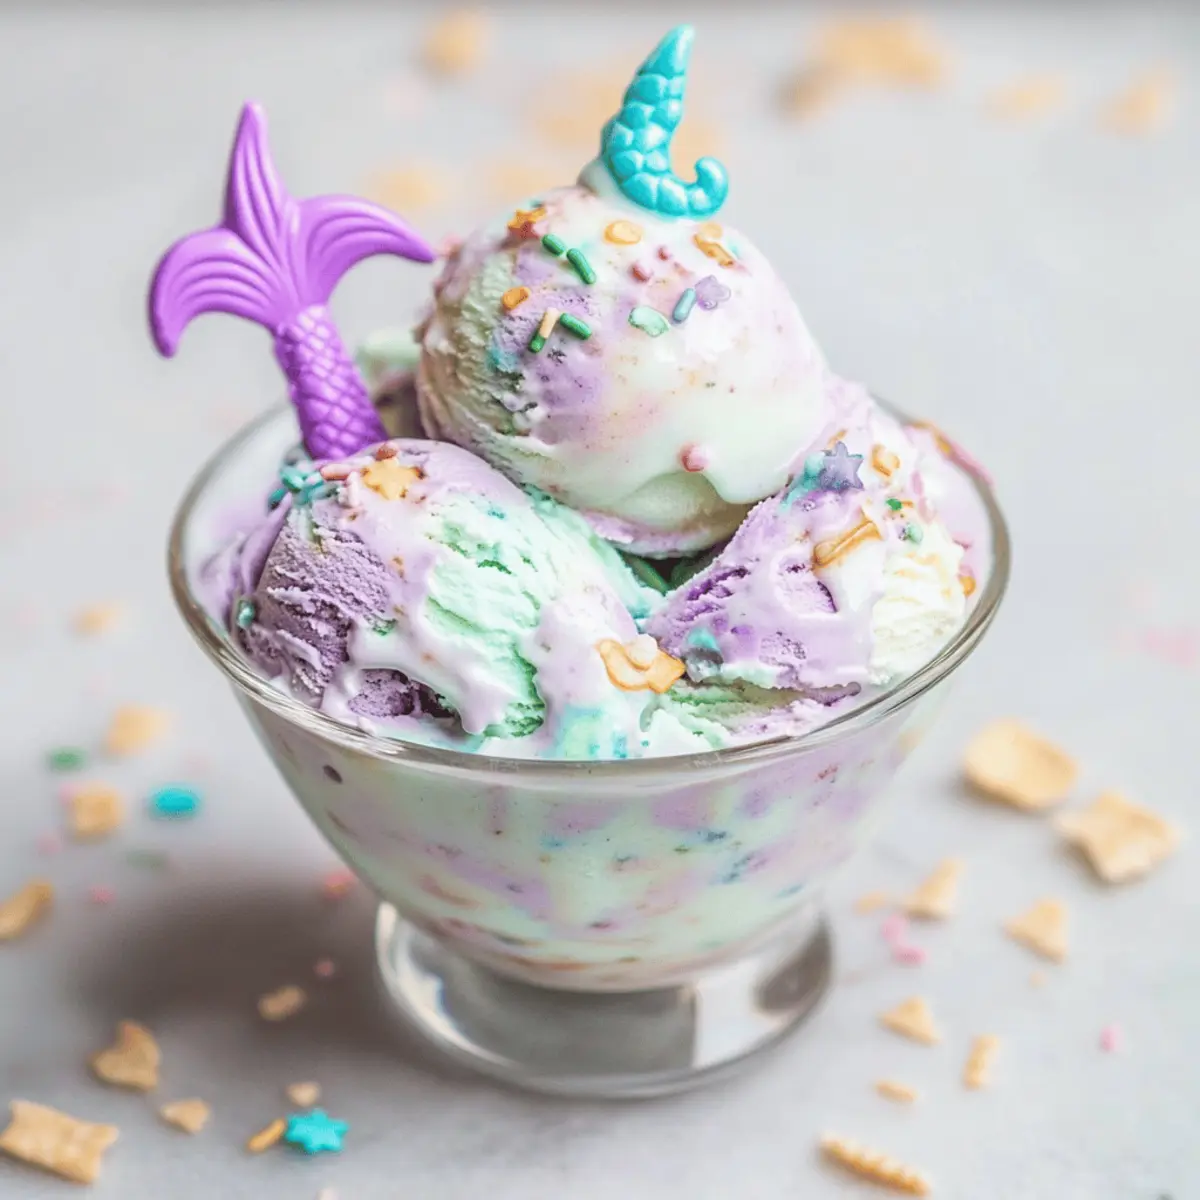
“Have you ever caught a glimpse of the ocean and felt a rush of joy, as if you were diving into a magical world? With my No-Churn Mermaid Ice Cream, you can experience that same enchantment in your kitchen! This vibrant dessert, perfect for parties or a refreshing pick-me-up on a warm day, is incredibly easy to whip up and requires just a few basic ingredients. Not only is it customizable for any color theme, but it also brings out the inner child in everyone, making it an irresistible crowd-pleaser. So, are you ready to add a splash of whimsy to your dessert lineup?”
Why is Mermaid Ice Cream So Magical?
Endless Customization: This recipe offers a chance to unleash your creativity with colors and flavors. Kid-Friendly Fun: Perfect for little hands to help, making ice cream-making a family bonding experience. No-Churn Ease: Skip the ice cream maker! Just whip, mix, and freeze, making this a no-fuss option. Party Perfect: Its vibrant hues and whimsical design steal the show at any gathering, just like a Woman Chicken Rice casserole! Memorable Treat: Each scoop transports you to an underwater wonderland, creating cherished memories with every bite.
Mermaid Ice Cream Ingredients
For the Ice Cream Base
- Heavy Whipping Cream – Essential for achieving a rich, creamy texture that makes this dessert truly indulgent.
- Sweetened Condensed Milk – Adds sweetness and creaminess, though you can substitute with evaporated milk and sugar for a lighter version.
- Vanilla Extract – Enhances the overall flavor; try swapping with flavored extracts for different taste profiles.
For Color
- Pastel Food Coloring Gel – Use this to create vibrant, ocean-inspired swirls; gel ensures beautiful colors without altering the mixture’s moisture.
For the Topping
- Mermaid Sprinkles – These playful decorations are the perfect finishing touch, adding whimsy and fun to your Mermaid Ice Cream.
Step‑by‑Step Instructions for Mermaid Ice Cream
Step 1: Whip the Cream
In a large mixing bowl, pour in 2 cups of heavy whipping cream. Using a hand mixer or stand mixer, beat on medium-high speed for about 3-5 minutes, or until stiff peaks form. You’ll know it’s ready when the cream holds its shape and looks thick and airy, which is essential for your luscious Mermaid Ice Cream base.
Step 2: Combine Ingredients
In a separate bowl, combine one 14-ounce can of sweetened condensed milk with 1 teaspoon of vanilla extract. Gently fold this mixture into the whipped cream using a spatula, ensuring you incorporate it without deflating the cream. This blending enhances the flavor and creaminess of your Mermaid Ice Cream to perfection.
Step 3: Divide and Color
Carefully divide the creamy mixture into three smaller bowls. Add a few drops of different pastel food coloring gels to each bowl—think ocean hues like teal, purple, and light pink. Stir gently until the colors are fully blended, creating vibrant shades that will make your Mermaid Ice Cream visually stunning.
Step 4: Layer the Mixture
Prepare a 9-inch loaf pan by lining it with parchment paper or lightly greasing it. Begin by spooning one color of the ice cream mixture into the bottom of the pan, followed by another color on top, and then the last color. Repeat this process until all the mixtures are layered, creating a beautiful, marbled effect with varied colors throughout.
Step 5: Swirl for Effect
Using a toothpick or a knife, gently swirl through the layered mixtures in the loaf pan. Aim for a soft marble effect without over-mixing; you want to see the different colors of your Mermaid Ice Cream still distinct. This step adds a magical touch that captures the essence of the ocean.
Step 6: Add Sprinkles and Freeze
Sprinkle a handful of decorative mermaid sprinkles on top of your layered mixture for that final whimsical touch. Cover the loaf pan with plastic wrap or a lid and place it in the freezer for a minimum of 6 hours, or overnight, until the ice cream is firm and scoopable. Get ready for a delightful treat!
Make Ahead Options
These No-Churn Mermaid Ice Creams are perfect for busy home cooks looking to save time with delicious treats! You can prepare the ice cream base and layer the colored mixtures up to 24 hours in advance. Just whip the heavy cream and fold in the sweetened condensed milk and vanilla, then divide and color the mixture. Layer in the loaf pan, swirl for that magical effect, and top with sprinkles. Cover the pan tightly and freeze overnight. To maintain the vibrant colors and creamy texture, store it in an airtight container once set. When you’re ready to serve, simply scoop and enjoy—it’s just as delightful as when freshly made!
What to Serve with No-Churn Mermaid Ice Cream?
Indulging in vibrant, creamy dessert magic opens up a world of delightful pairings to complete your meal!
-
Crunchy Waffle Cones: Serve the ice cream in waffle cones for a delightful crunch that contrasts beautifully with the smooth texture of the ice cream.
-
Fruit Kabobs: Fresh, colorful fruit skewers add a refreshing burst of sweetness that balances the richness of the creamy mermaid ice cream.
-
Chocolate Sauce: Drizzle warm, luscious chocolate sauce over the ice cream for a decadent touch that every chocolate lover will adore. The warm sauce complements the cold dessert in the most delicious way.
-
Mini Cupcakes: Adorn your table with bite-sized cupcakes topped with sprinkles to match the ice cream. They make for an adorable visual display and a fun flavor twist.
-
Sparkling Lemonade: Serve this refreshing drink alongside your dessert for a little fizz that cuts through the creaminess, brightening every bite.
-
Seaweed Salad: For a contrasting savory element, a light seaweed salad introduces fresh, slightly briny flavors, taking your meal underwater in a unique way!
-
Mermaid-Themed Cookies: Bake some fun cookies in mermaid shapes to enhance the whimsical theme of your gathering. It’s an added treat that children will love.
-
Berry Sorbet: For the fruit lovers, a berry sorbet will make a bright and flavorful pairing, refreshing the palate while echoing the colors found in the ice cream.
Embrace the magic of your No-Churn Mermaid Ice Cream with one (or more!) of these delightful accompaniments!
How to Store and Freeze Mermaid Ice Cream
Fridge: Keep your Mermaid Ice Cream in the fridge for up to 3 days, but it’s best enjoyed frozen for optimal creaminess.
Freezer: Store your Mermaid Ice Cream in an airtight container for up to 2 months. For added protection against freezer burn, cover the surface with plastic wrap before sealing the lid.
Reheating: If the ice cream becomes too hard, let it sit at room temperature for 5-10 minutes to soften before scooping. Enjoy the vibrant delight of Mermaid Ice Cream!
Serving Tip: Always scoop with a warm spoon or scoop to ensure smooth, effortless servings after freezing.
Expert Tips for Mermaid Ice Cream
• Stiff Peaks: Whip the heavy cream until stiff peaks form; this is key for achieving a creamy texture without ice crystals in your Mermaid Ice Cream.
• Color Caution: Start with a few drops of food coloring and mix well. You can always add more for vibrant hues, but this avoids over-saturation and a muddy look.
• Swirling Secrets: Use a gentle hand when swirling the colors together. Over-mixing can create a muddy appearance instead of distinct ocean-inspired swirls.
• Freezer Freshness: To prevent freezer burn, wrap your Mermaid Ice Cream tightly in plastic wrap before sealing it in an airtight container.
• Taste Variation: Feel free to customize flavors! Try adding pureed fruits or flavored extracts to change things up while keeping the core Mermaid Ice Cream recipe intact.
Mermaid Ice Cream Variations
Feel free to take this enchanting dessert to the next level by getting creative with your ingredients and themes!
-
Colorful Themes: Adjust the food coloring to match your event—think vibrant fall leaves for Thanksgiving or spooky shades for Halloween. These variations offer a chance to create a stunning centerpiece for any occasion.
-
Fruit-Infused Delight: Fold in pureed fruits like strawberry, mango, or blueberry for a refreshing twist. The fruit not only adds flavor but also enhances the colorful aesthetic of your ice cream.
-
Chocolatey Indulgence: Add chocolate syrup into the creamy mixture before layering for a luxurious chocolate mermaid treat. This adds depth to the flavor and pairs beautifully with your pastel hues!
-
Nutty Surprise: Stir in finely chopped nuts for a delightful crunch. Pecans or hazelnuts can introduce a lovely texture contrast to the creamy base.
-
Frozen Fruit Swirls: Layer in dollops of fruit puree between ice cream layers for a refreshing twist. This adds a burst of fruity flavor with every scoop!
-
Dairy-Free Option: Replace heavy cream with coconut cream and sweetened condensed milk with coconut sweetened condensed milk for a tropical spin. This is a delightful alternative for those avoiding dairy!
-
Spice It Up: Incorporate a dash of cinnamon or nutmeg to the base for a warm flavor twist. It can be surprising yet comforting, reminiscent of seasonal desserts.
-
Crunchy Toppings: Top with crushed graham crackers or cookie crumbs for added texture. It’s a great way to introduce a playful and crunchy layer to each scoop.
With these variations, you can tailor your Mermaid Ice Cream to suit any taste, occasion, or celebration. And if you’re looking for more deliciously fun ideas, consider trying a classic Smoked Salmon Cream for an impressive appetizer or maybe cool down with an Iced Coffee Breakfast for the perfect summer refreshment!
No-Churn Mermaid Ice Cream Recipe FAQs
How do I know if my heavy whipping cream is fresh enough?
Absolutely! Look for heavy whipping cream that has a date well into the future and comes in a non-dented container. Fresh cream should be smooth, and you should avoid any that smells sour or has a thick consistency. If it has dark spots or an unexpected odor, it’s best to discard it.
How long can I store my No-Churn Mermaid Ice Cream?
You can store your Mermaid Ice Cream in an airtight container for up to two months in the freezer. To maintain its delicious flavor and texture, cover the surface with plastic wrap before sealing the lid. This prevents freezer burn and keeps it tasting fresh.
Can I freeze my Mermaid Ice Cream if I have leftovers?
Yes! Simply transfer the leftover ice cream into an airtight container (if it isn’t already) and place a layer of plastic wrap over the surface before sealing it to prevent freezer burn. It can stay fresh for up to two months in the freezer.
What if my ice cream texture turns out icy?
Very! If you find your ice cream has icy patches, it may be due to insufficient whipping of the cream. Ensure you whip it until stiff peaks form—this is critical for a smooth texture. If it still turns out icy, try letting it sit at room temperature for 5-10 minutes to soften before scooping.
Are there any dietary considerations for my pets regarding this recipe?
Definitely! Ingredients like heavy cream and sweetened condensed milk can be harmful to pets, particularly cats and dogs, due to their lactose content. It’s best to avoid giving them your No-Churn Mermaid Ice Cream and instead find pet-safe treats to share.
Can I customize the colors and flavors for different occasions?
Absolutely! Feel free to get creative with color and flavor by using different food coloring or even adding fruit purees to each layer. This makes your Mermaid Ice Cream versatile for any theme or season—think vibrant autumn colors or spooky hues for Halloween parties!
Magical Mermaid Ice Cream That’s No-Churn and Kid-Approved
Ingredients
Equipment
Method
- In a large mixing bowl, pour in 2 cups of heavy whipping cream. Beat on medium-high speed for about 3-5 minutes until stiff peaks form.
- In a separate bowl, combine 14 ounces of sweetened condensed milk with 1 teaspoon of vanilla extract. Gently fold this mixture into the whipped cream.
- Divide the creamy mixture into three smaller bowls. Add drops of different pastel food coloring gels to each bowl and stir gently.
- Prepare a 9-inch loaf pan. Layer the ice cream mixture in the pan, alternating colors until all mixtures are used.
- Using a toothpick, gently swirl through the layered mixtures to create a soft marble effect.
- Sprinkle decorative mermaid sprinkles on top. Cover with plastic wrap and freeze for a minimum of 6 hours or overnight.
Leave a Reply