
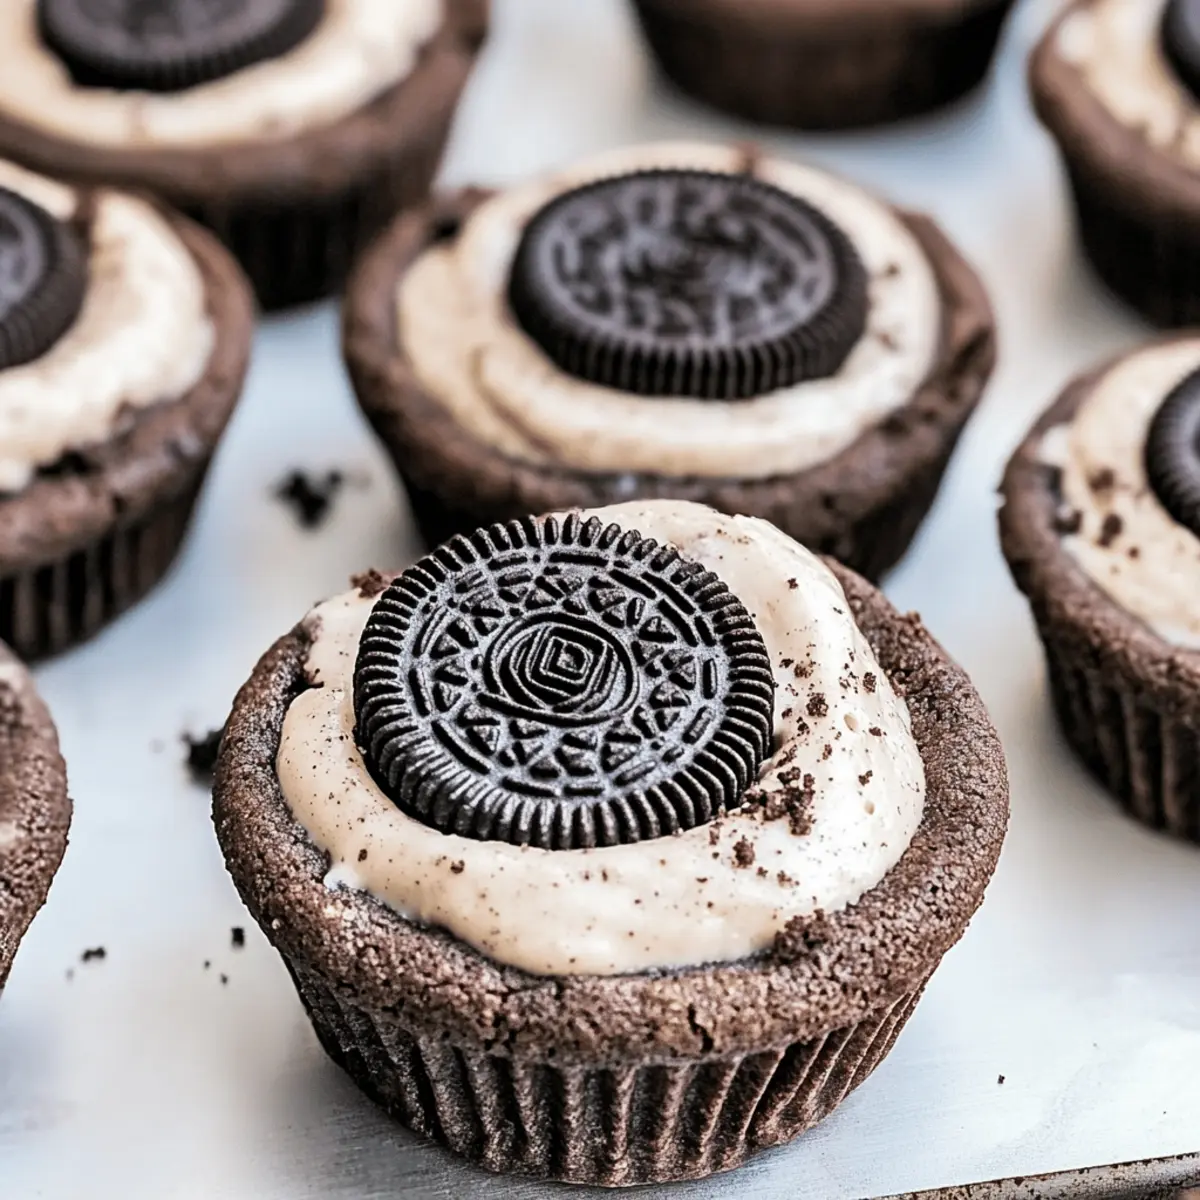
The aroma of freshly baked cookies wafts through the air, drawing everyone to the kitchen, eager for a taste of those indulgent treats. If you’re like me and have a weakness for Oreos, then you’re in for a delightful surprise with these Oreo Cheesecake Cookie Cups. This easy recipe brings together the beloved flavors of Oreos and creamy cheesecake into one irresistible dessert. Not only are these cookie cups quick to prepare, but they also offer an incredible contrast of textures that’ll leave your sweet tooth satisfied. Whether you’re hosting a gathering or just treating yourself, these little delights will elevate your dessert game. Curious about how to create these crowd-pleasers? Let’s dive into the delicious details!
Why Are Oreo Cheesecake Cookie Cups Amazing?
Irresistible combination: The blend of creamy cheesecake and chocolatey Oreo cookie creates a dessert experience like no other.
Quick & simple: These cookie cups come together in a breeze, perfect for those who want a homemade treat without hours in the kitchen.
Crowd-pleaser: Whether it’s a casual get-together or a special occasion, everyone will be reaching for seconds, making them a hit at any event.
Versatile treats: Swap out regular Oreos for flavored varieties or try a different cookie base for a fun twist.
A treat to remember: With their beautiful presentation, these cookie cups will not only satisfy your cravings but also impress your guests. Try serving them alongside delicious options like Biscoff Cookie Butter or Strawberry Crunch Cheesecake for an incredible dessert spread!
Oreo Cheesecake Cookie Cups Ingredients
For the Cookie Cups
- All-Purpose Flour – Provides structure to the cookie cups; can substitute with a gluten-free flour blend for a gluten-free option.
- Dutch-Processed Cocoa Powder – Contributes to the chocolate flavor and color; regular cocoa powder can replace it, but the flavor will vary.
- Black Cocoa Powder – Deepens the “Oreo” flavor and color; can be omitted or replaced with more Dutch cocoa, though the taste will change.
- Baking Soda – Helps the cookie cups rise and achieve that perfect texture.
- Salt – Enhances flavors and helps balance the sweetness.
- Unsalted Butter – Adds richness and creates a tender texture; ensure it’s at room temperature for easy mixing.
- Granulated Sugar – Sweetens and contributes to the crispy edges of the cookie cups.
- Light Brown Sugar – Adds moisture and depth of flavor to the cookie cups.
- Large Eggs – Binds the ingredients together and adds moisture; be sure they’re at room temperature for better mixing.
- Vanilla Extract – Adds a warm, inviting flavor to the cookie mixture.
For the Cheesecake Filling
- Heavy Whipping Cream – Used to create a stable and airy texture in the cheesecake filling.
- Cream Cheese – Provides a rich base for the filling; must be softened for easy blending.
- Granulated Sugar – Sweetens the cheesecake filling for that perfect dessert balance.
- Oreo Cookie Crumbs – Add flavor and texture to the cheesecake filling; crushed Oreos can also be used if crumbs are unavailable.
These delightful Oreo Cheesecake Cookie Cups are just waiting to come to life in your kitchen!
Step‑by‑Step Instructions for Oreo Cheesecake Cookie Cups
Step 1: Preheat the Oven
Begin by preheating your oven to 350°F (175°C). While the oven warms up, take a muffin tin and lightly spray it with cooking spray to ensure that your Oreo Cheesecake Cookie Cups will easily release after baking. Preparing this ahead of time will help streamline your process and allow for smooth assembly.
Step 2: Mix Dry Ingredients
In a large mixing bowl, whisk together the all-purpose flour, Dutch-processed cocoa powder, black cocoa powder, baking soda, and salt. This mixture will create the base for your cookie cups. Once blended, set the bowl aside and prepare for the next step to create a harmonious dough that embodies the rich Oreo flavor.
Step 3: Cream Butter and Sugars
In another bowl, cream together the room temperature unsalted butter, granulated sugar, and light brown sugar until the mixture is light and fluffy, about 2-3 minutes. You can use an electric mixer or mix by hand with a spatula or wooden spoon. This step is essential for achieving that tender texture that makes these Oreo Cheesecake Cookie Cups irresistible.
Step 4: Incorporate Eggs and Vanilla
Add the large eggs to your creamed butter and sugar mixture, one at a time, ensuring each is well incorporated before adding the next. Then, stir in the vanilla extract until fully combined. This rich mixture is what will bring your cookie cups to life, infusing them with delicious flavor.
Step 5: Combine Dry and Wet Mixtures
Gradually incorporate the dry ingredient mixture into the wet mixture, stirring gently until just combined. Be careful not to overmix; a few flour streaks are perfectly fine. We want to maintain the tender aspect of the dough while making sure that all ingredients for the Oreo Cheesecake Cookie Cups blend harmoniously together.
Step 6: Scoop and Flatten Dough
Using a cookie scoop or spoon, portion the dough into the prepared muffin tins, filling each cavity about two-thirds full. Press down gently to flatten the dough, creating a slight indentation in the center. This will result in the perfect shape for your cookie cups and help form the ideal base for the cheesecake filling.
Step 7: Bake the Cookie Cups
Place the muffin tin in the preheated oven and bake for 10-13 minutes. Keep an eye on them; the cookie cups should be set but still soft and slightly puffy in the center. This is the magic moment where your Oreo Cheesecake Cookie Cups start to transform in the oven, releasing that irresistible aroma.
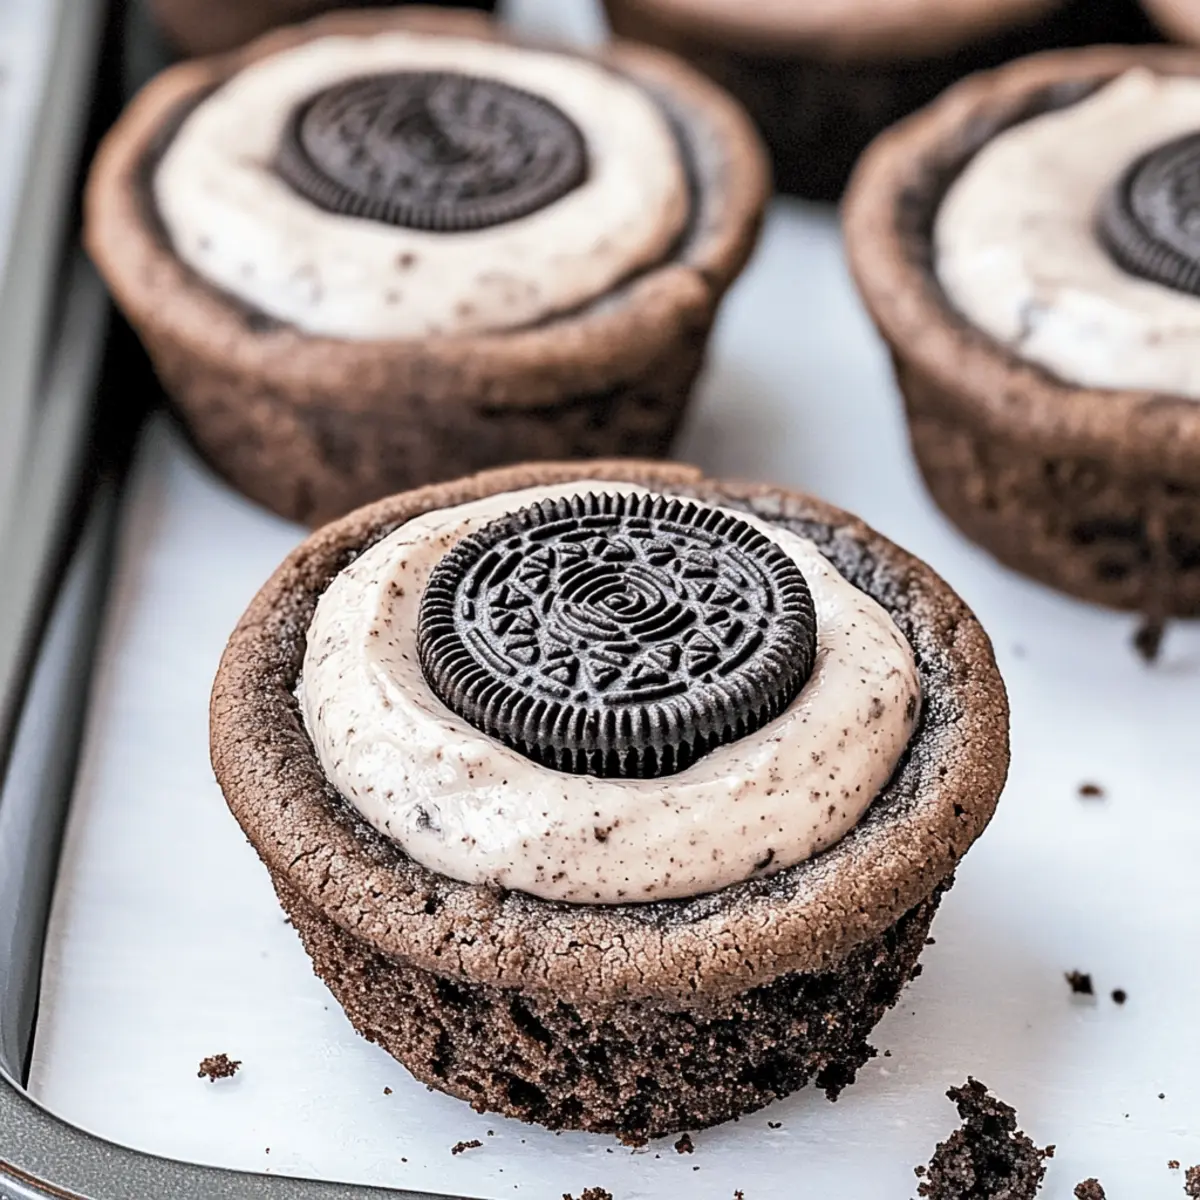
Step 8: Form the Wells and Cool
As soon as they come out of the oven, use a small container or your fingers to gently press down in the center of each cookie to form a well. Let them cool in the tin for about 10 minutes, then transfer the cookie cups to a wire rack to cool completely. This step ensures that the cookies will hold their shape for packing in the creamy cheesecake filling.
Step 9: Prepare the Cheesecake Filling
In a mixing bowl, whip the heavy cream until stiff peaks form. In another bowl, beat the softened cream cheese and granulated sugar together until smooth. Once fully blended, mix in the Oreo cookie crumbs to give your cheesecake filling that delightful Oreo flavor that complements the cookie cups perfectly.
Step 10: Fold and Fill
Gently fold the whipped cream into the cream cheese mixture until fully combined. Be careful not to deflate the whipped cream. Once your filling is smooth and creamy, it’s time to pipe or spoon this delicious concoction into the cooled cookie cups, creating the dreamy filling for your Oreo Cheesecake Cookie Cups.
Step 11: Chill to Set
After filling the cookie cups with the cheesecake filling, place them in the refrigerator for at least 1-2 hours to set. This chilling time allows the flavors to meld beautifully, ensuring that your Oreo Cheesecake Cookie Cups are perfectly enjoyable when it’s time to indulge.
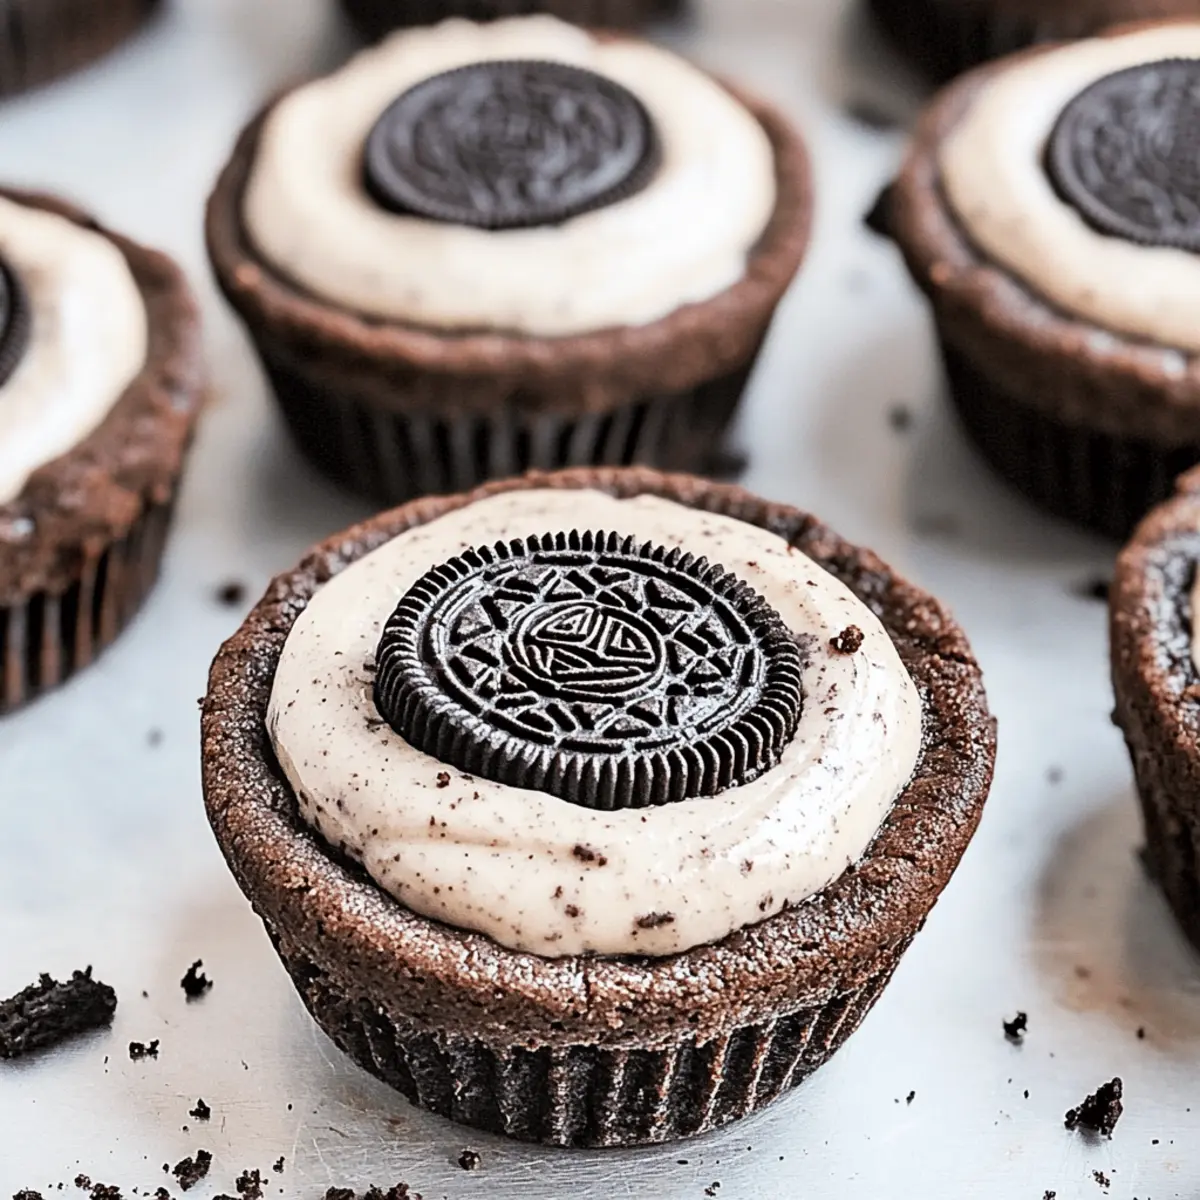
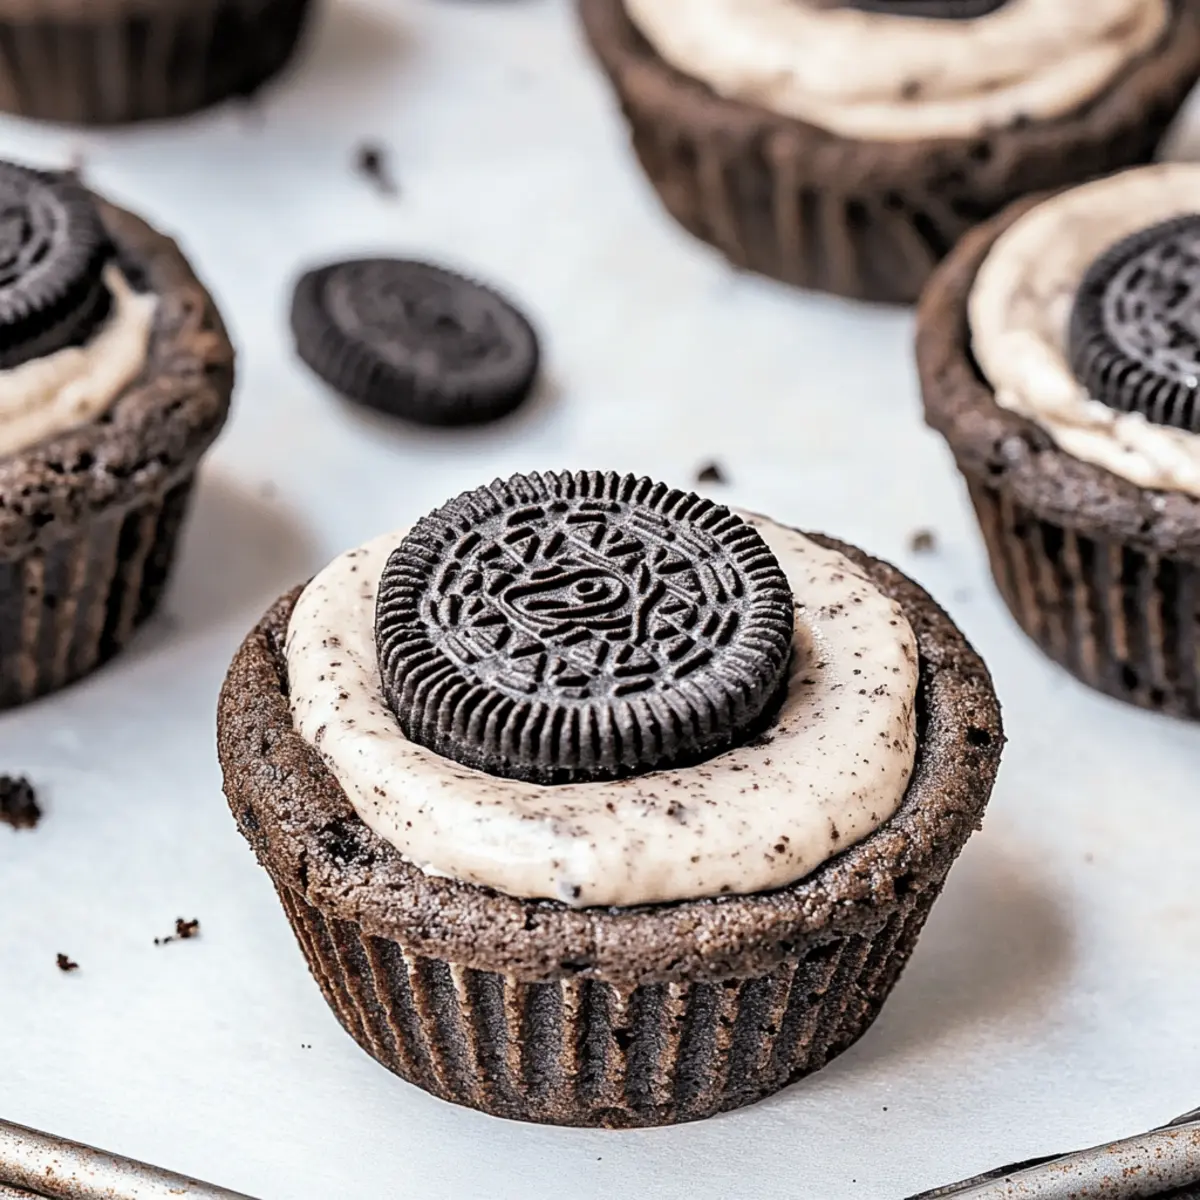
Step 12: Garnish and Serve
Before serving, you can optionally sprinkle additional Oreo cookie crumbs on top of each filled cookie cup for a delightful finishing touch. Serve these chilled, and watch as family and friends dive into these delectable Oreo Cheesecake Cookie Cups, savoring every delightful bite!
Expert Tips for Oreo Cheesecake Cookie Cups
- Room Temperature Ingredients: Ensure that all ingredients, especially cream cheese and eggs, are at room temperature for optimal mixing and a smooth cheesecake filling.
- Baking Time Awareness: Keep a close watch on the cookie cups while they bake. They should be soft in the center but set on the edges to avoid overbaking.
- Creating Perfect Wells: When shaping the wells, press gently but firmly to create enough space for the cheesecake filling, ensuring a delightful balance of cookie and cream.
- Chilling is Key: Allow the filled cookie cups to chill for at least 1-2 hours before serving. This helps the cheesecake filling firm up and flavors meld perfectly.
- Serving Suggestions: For an extra touch, sprinkle additional Oreo cookie crumbs on top before serving. It not only adds flavor but a beautiful presentation to your Oreo Cheesecake Cookie Cups!
What to Serve with Oreo Cheesecake Cookie Cups
When indulging in these creamy delights, consider delightful accompaniments to create a memorable dessert spread.
- Fresh strawberries: Their juicy sweetness contrasts beautifully with the rich creaminess of the cookie cups, adding a refreshing touch.
- Vanilla ice cream: A scoop of this classic dessert adds an extra layer of creaminess that pairs perfectly with the Oreo flavors.
- Chocolate syrup drizzle: A decadent touch that enhances the chocolate notes, making every bite of your cookie cups even more indulgent.
- Coffee or espresso: A warm cup brings out the sweetness of the cookie cups while providing a delightful flavor contrast that tea simply can’t match.
- Whipped cream topping: Light and airy, a dollop on top of each cookie cup brings balance and elevates their presentation for serving.
- Mini chocolate-covered pretzels: Their salty crunch offers a textural contrast and makes for a fun, sweet-and-salty pairing.
- Chilled milk: Nothing beats the classic combination of milk and cookies—especially with the Oreo-inspired flavors of these cookie cups!
- Caramel sauce: Drizzling on top adds a rich, buttery sweetness that complements the chocolate and cream beautifully.
Make Ahead Options
These Oreo Cheesecake Cookie Cups are perfect for meal prep lovers! You can prepare the cookie cups up to 24 hours in advance by following the baking instructions and cooling them completely. After baking, simply store the cooled cookie cups in an airtight container at room temperature, ensuring they retain their delicious texture. For the cheesecake filling, it can be made and stored in the refrigerator for up to 3 days. When you’re ready to serve, fill the cookie cups with the chilled cheesecake mixture and let them rest in the fridge for an hour to meld the flavors. This way, you’ll have a wonderful dessert ready with minimal effort on busy weeknights!
Oreo Cheesecake Cookie Cups Variations
Feel free to get creative with your Oreo Cheesecake Cookie Cups and make them uniquely yours!
- Gluten-Free: Substitute all-purpose flour with gluten-free flour blend for a gluten-free treat without compromising flavor.
- Flavored Oreos: Try swapping regular Oreos for flavors like mint or peanut butter for an exciting twist that brings new life to your cookie cups.
- Chocolate Ganache: Top your cookie cups with a layer of rich chocolate ganache for an indulgent dessert finish.
- Different Cookie Base: Use crushed chocolate chip or graham crackers to create a unique base for your filling, giving a delightful texture twist.
- Peanut Butter Swirl: Fold in peanut butter into your cheesecake filling for a creamy, nutty surprise that pairs beautifully with Oreos.
- Add Instant Coffee: Mix a teaspoon of instant coffee granules into the cream cheese filling for a delicious coffee-enhanced flavor that complements the chocolate.
- Adjust Sweetness: Reduce the granulated sugar in the cheesecake filling for a less sweet, creamier texture that lets the Oreo flavor shine through.
- Spiced Up Flavor: Add a pinch of cinnamon or nutmeg to the dough for a warm twist that makes your cookie cups feel extra cozy.
These variations could transform your Oreo Cheesecake Cookie Cups into delightful surprises. For another quick and delicious treat, consider whipping up some Biscoff Cookie Butter cookies or indulge in a slice of Strawberry Crunch Cheesecake alongside your cookie cups!
How to Store and Freeze Oreo Cheesecake Cookie Cups
Fridge: Store in an airtight container for up to 3 days. This will keep the cookie cups fresh and the cheesecake filling creamy.
Freezer: For longer storage, freeze the cookie cups in an airtight container for up to 4 weeks. Make sure to separate layers with parchment paper to avoid sticking.
Thawing: When ready to enjoy, thaw in the refrigerator overnight for the best texture, allowing the cheesecake filling to become creamy again.
Reheating: If desired, you can gently warm them in the microwave for about 10-15 seconds before serving, but avoid overheating to keep the cheesecake filling from melting.
Oreo Cheesecake Cookie Cups Recipe FAQs
How do I select the best ingredients for Oreo Cheesecake Cookie Cups?
Absolutely! For the best results, make sure to choose fresh, high-quality ingredients. When selecting cream cheese, look for a full-fat variety, as it provides the richest flavor and texture. For the cookies, use genuine Oreos or similar cookies to ensure that you capture that authentic Oreo taste. Lastly, eggs should be large and at room temperature; this ensures they blend well into the batter for a perfectly moist cookie cup.
What is the best way to store Oreo Cheesecake Cookie Cups?
Simply store your Oreo Cheesecake Cookie Cups in an airtight container in the refrigerator for up to 3 days. This helps to keep the cookie cups fresh while maintaining the creaminess of the cheesecake filling. If they’ll be enjoyed later, I recommend placing parchment paper between layers to avoid them sticking together.
Can I freeze Oreo Cheesecake Cookie Cups?
Yes, you can freeze these delightful treats! To store them, place the filled cookie cups in an airtight container lined with parchment paper between layers to prevent sticking. They can be frozen for up to 4 weeks. When you’re ready to enjoy them, thaw in the refrigerator overnight for the best texture, allowing the filling to regain its creaminess.
What should I do if my cookie cups are overbaked?
Oh no! If your cookie cups turn out overbaked, they’re still salvageable. First, allow them to cool completely, as they may soften a bit after cooling. If they’re too hard, you can consider turning them into a parfait by layering crumbled cookie cups with cream filling and some extra Oreos. Just be careful and watch them closely the next time you bake—they should be set but soft in the center!
Are there any dietary considerations for Oreo Cheesecake Cookie Cups?
Certainly! If you’re catering to specific dietary needs, you can easily adjust the recipe. For a gluten-free version, you can substitute the all-purpose flour with a gluten-free flour blend, and the cookies can be replaced with gluten-free alternatives to Oreos. Additionally, if you’re serving pets, please remember that chocolate can be harmful to dogs, so keep these treats out of their reach!
Decadent Oreo Cheesecake Cookie Cups for Sweet Indulgence
Ingredients
Equipment
Method
- Preheat your oven to 350°F (175°C) and spray a muffin tin with cooking spray.
- In a large mixing bowl, whisk together all-purpose flour, Dutch-processed cocoa powder, black cocoa powder, baking soda, and salt.
- Cream together the unsalted butter, granulated sugar, and light brown sugar until light and fluffy.
- Add the eggs one at a time, mixing well, then stir in the vanilla extract.
- Gradually incorporate the dry mixture into the wet mixture, stirring gently until just combined.
- Scoop the dough into the muffin tin, filling each cavity about two-thirds full and creating a slight indentation.
- Bake for 10-13 minutes until set but still soft in the center.
- Immediately press down in the center of each cookie to form a well and let cool for about 10 minutes.
- Whip the heavy cream until stiff peaks form. Beat the cream cheese and granulated sugar until smooth, then mix in the Oreo cookie crumbs.
- Fold the whipped cream into the cream cheese mixture until fully combined, being careful not to deflate it.
- Pipe or spoon the cheesecake filling into the cooled cookie cups.
- Chill in the refrigerator for at least 1-2 hours to set.
- Optionally, sprinkle additional Oreo cookie crumbs on top before serving.
Leave a Reply