
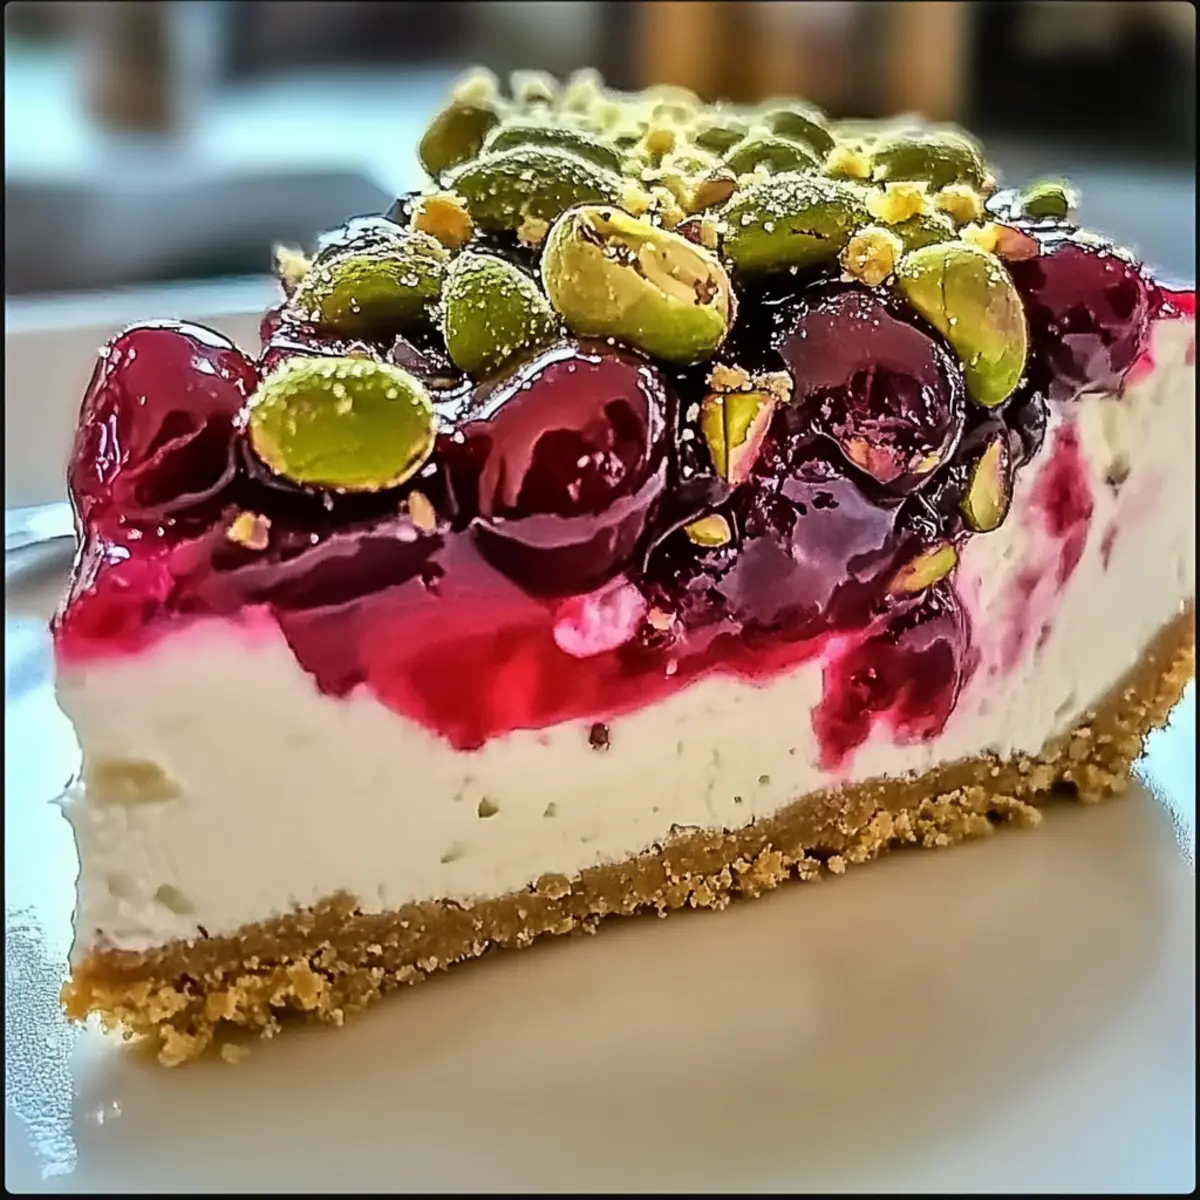
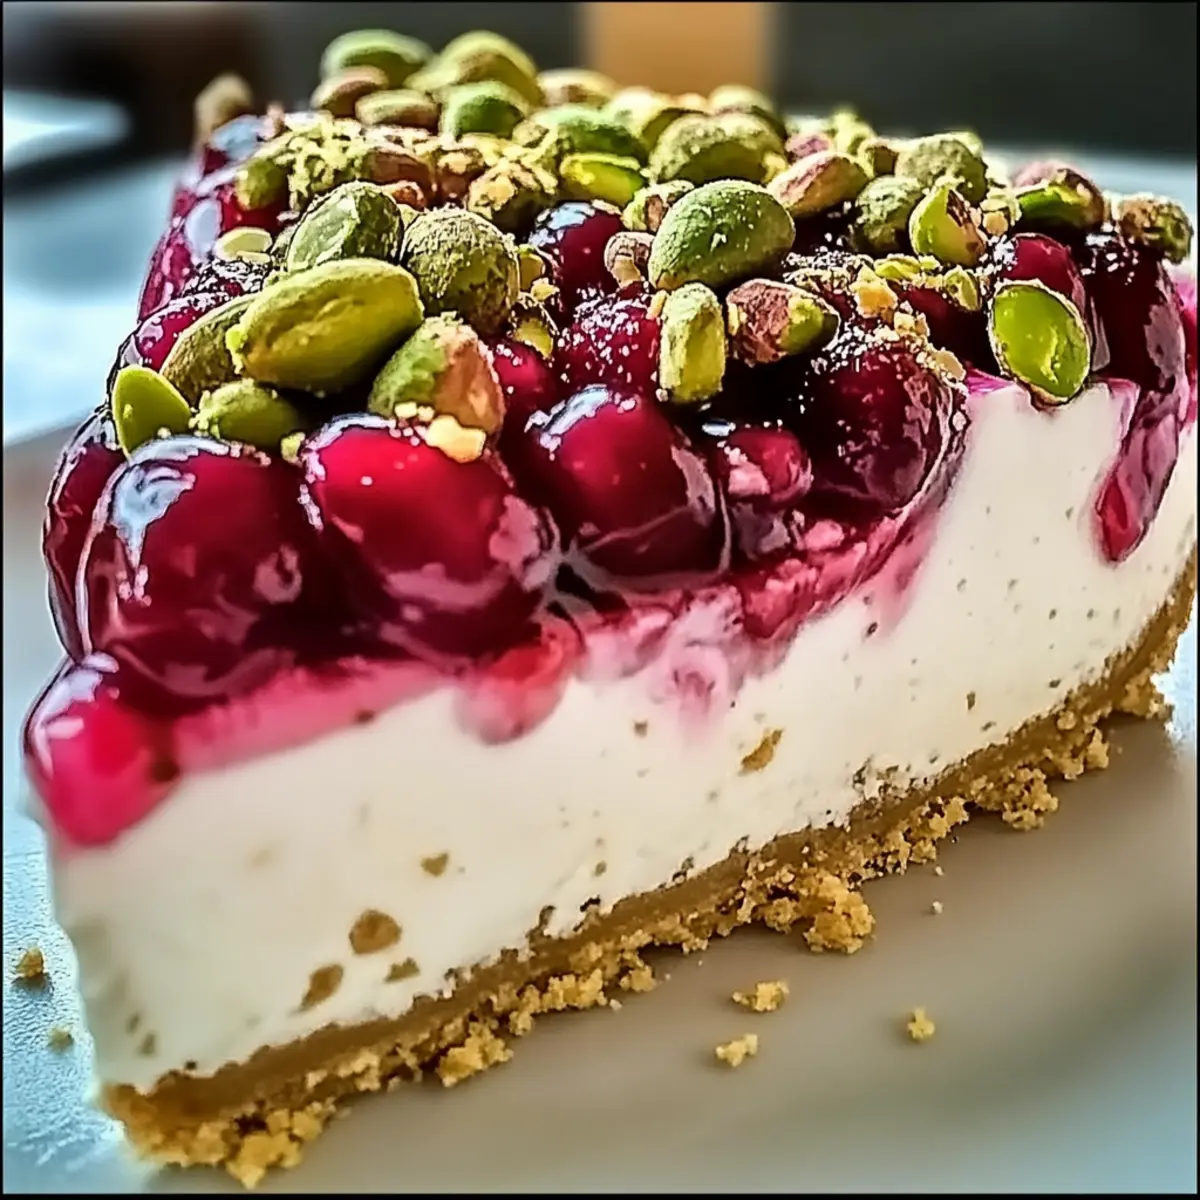
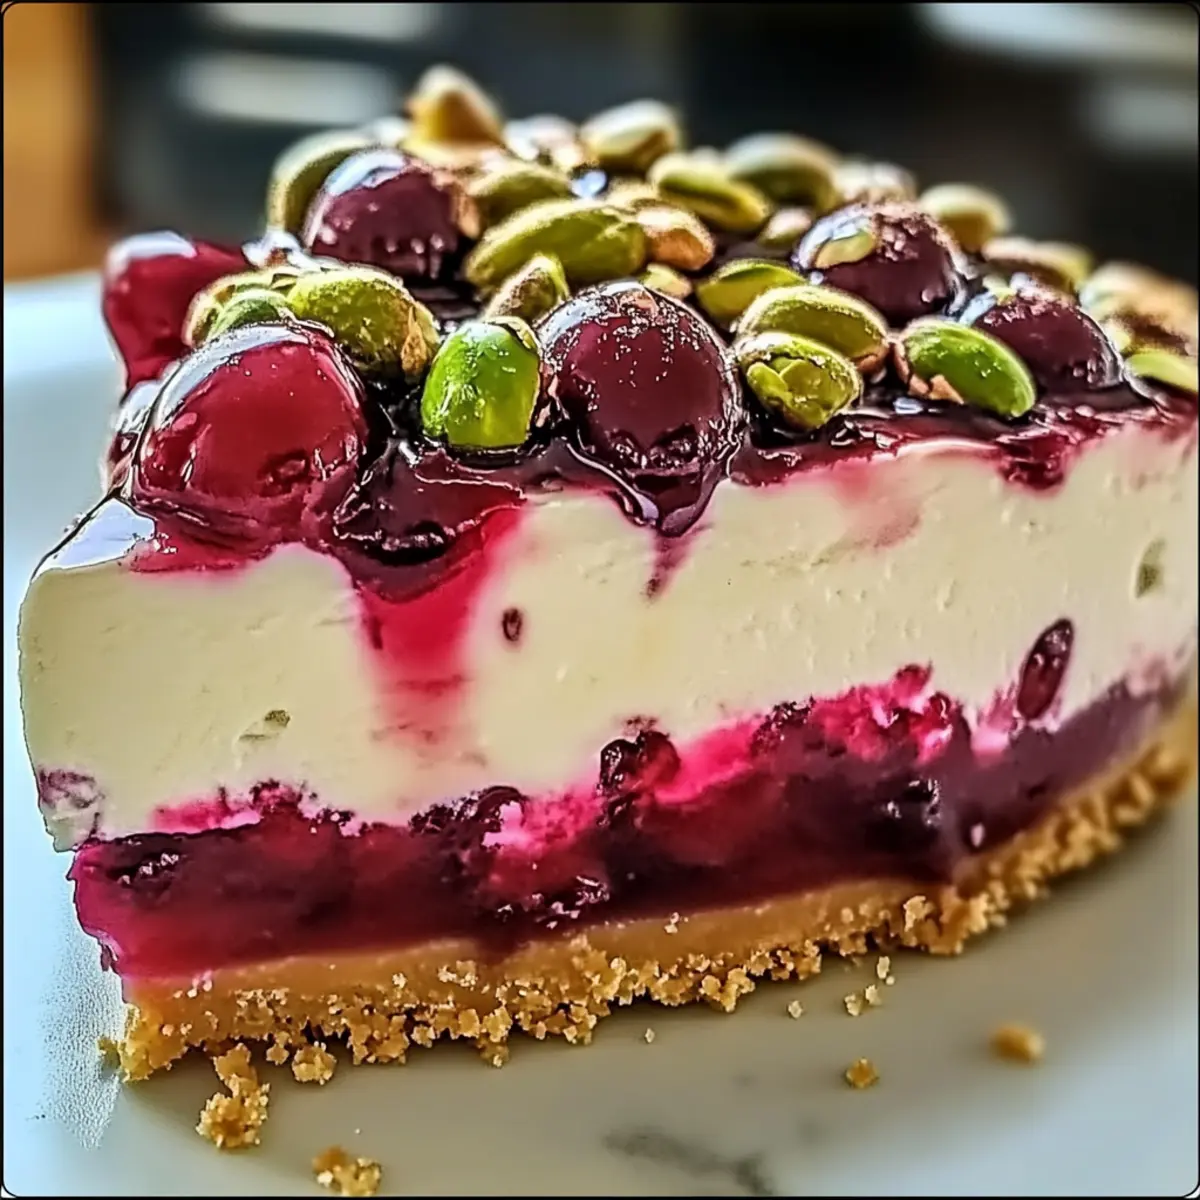
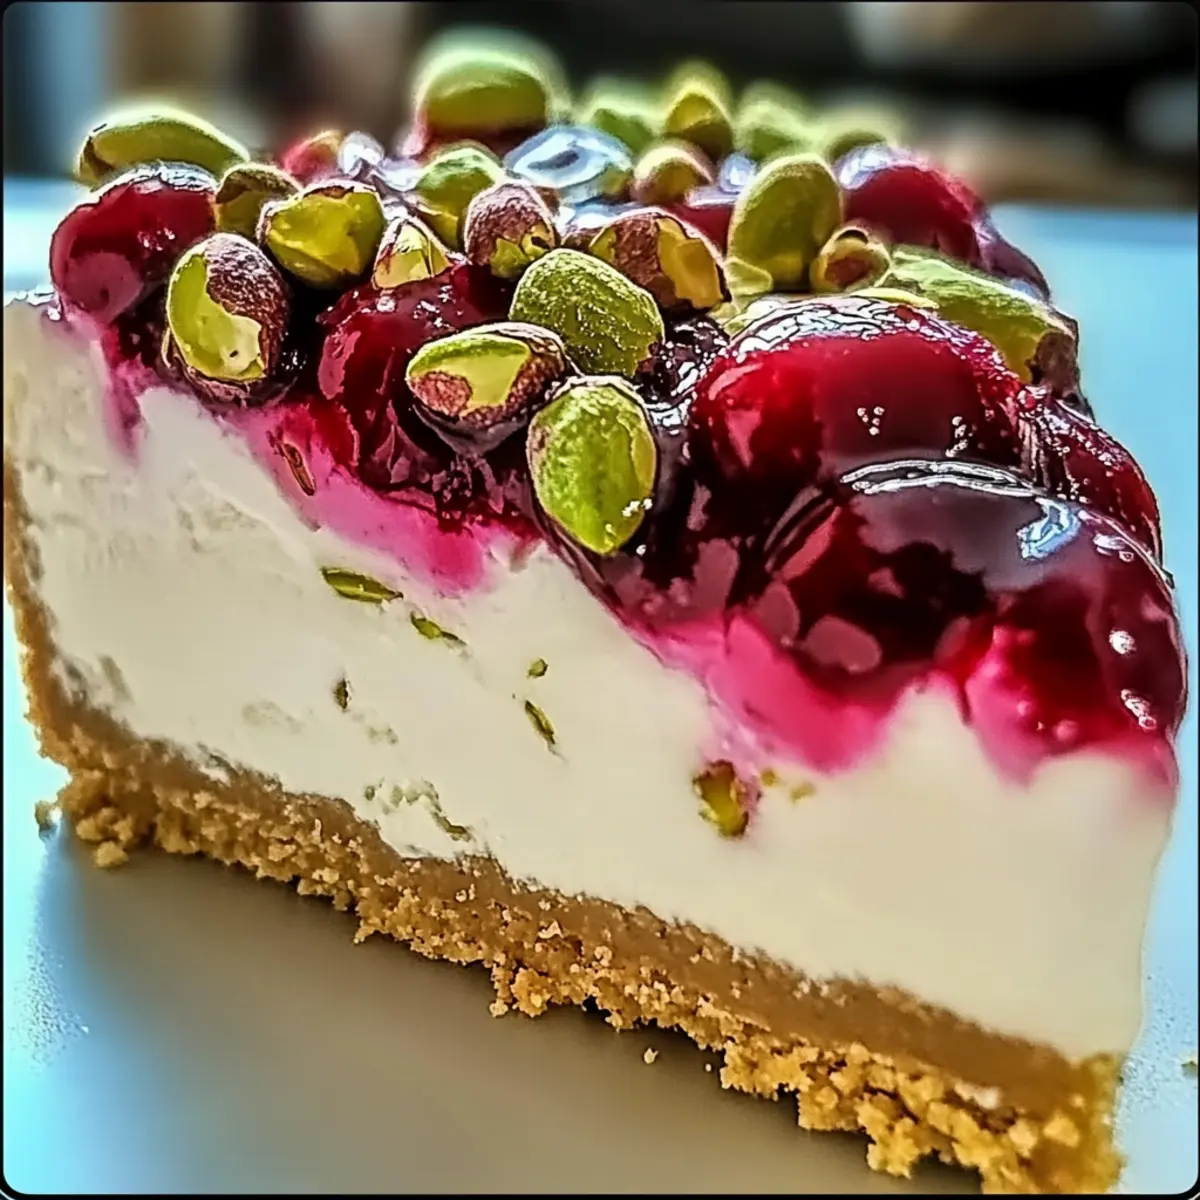
A gentle smile crept across my face as I pulled my Cherry Pistachio Cheesecake from the fridge, the vibrant colors of tart cherry pie filling gleaming against the creamy, pistachio-infused surface. This dessert blends simplicity and sophistication beautifully, making it an ideal showstopper for any gathering or a delightful treat just for you. The no-bake nature of this cheesecake means it comes together effortlessly, allowing busy home chefs to indulge in a little whimsy without the stress. Plus, the harmony of flavors and textures—from the crunchy graham cracker crust to the silky filling—transforms any occasion into something special. Are you curious about how to make this dreamy dessert? Let’s dive into the details!
Why Is This Cheesecake So Irresistible?
Simplicity at Its Finest: Making this Cherry Pistachio Cheesecake is shockingly easy, perfect for those who are short on time but big on flavor.
Versatile Ingredients: You can swap out fruit toppings or add extra nuts, giving you the freedom to customize each bite.
Crowd-Pleasing Delight: Whether you’re serving it at a family gathering or an afternoon tea, its stunning appearance and taste never fail to impress.
No-Bake Luxury: The fact that it’s a no-bake dessert means you can prepare this cheesecake without the fuss of turning on your oven, making it a stellar choice for hot days.
Perfect for Any Occasion: From birthdays to casual get-togethers, this cheesecake makes every moment feel special.
Pair it with a side of lightly sweetened whipped cream or serve alongside a slice of Blueberry Crumble Cheesecake for a delightful dessert duo!
Cherry Pistachio Cheesecake Ingredients
For the Crust
• Graham Cracker Crumbs – Provides a sweet and buttery base for the cheesecake; can be substituted with crushed cookies.
• Ground Pistachios – Adds a nutty flavor to the crust; optional for those avoiding nuts.
• Granulated Sugar – Sweetens the crust; coconut sugar can be used as a substitute.
• Melted Butter – Binds the crust ingredients together and adds richness.
For the Filling
• Cream Cheese – Ensures a smooth texture; be sure it’s at room temperature.
• Granulated Sugar – Sweetens the cheesecake filling; consider granulated erythritol for a lower-calorie option.
• Eggs – Provides structure and stability to the cheesecake.
• Sour Cream – Contributes creaminess and a slight tang to the filling.
• Pistachio Pudding Mix – Intensifies the pistachio flavor; optional for extra richness.
• Vanilla Extract – Adds depth of flavor to the filling.
For the Topping
• Cherry Pie Filling – Provides both flavor and a beautiful visual appeal; can be replaced with fresh fruit for a fresher taste.
• Chopped Pistachios – Optional topping for extra crunch and a pop of color.
Feel free to gather these ingredients and get ready to whip up your Cherry Pistachio Cheesecake that will beautifully grace any table!
Step‑by‑Step Instructions for Cherry Pistachio Cheesecake
Step 1: Preheat the Oven
Begin by preheating your oven to 325°F (160°C). While the oven heats, prepare a 9-inch springform pan by greasing it or lining the bottom with parchment paper. This will ensure your Cherry Pistachio Cheesecake can be easily released after baking.
Step 2: Make the Crust
In a mixing bowl, combine graham cracker crumbs, ground pistachios, granulated sugar, and melted butter until the mixture resembles wet sand. Press this mixture firmly into the bottom of the prepared springform pan, creating an even layer. Bake the crust for 8 minutes until it is slightly firm, then remove from the oven and let it cool completely.
Step 3: Prepare the Filling
Using an electric mixer, beat the cream cheese and granulated sugar in a large bowl until smooth and creamy, about 2-3 minutes. Slowly add the eggs one at a time, mixing gently after each addition to avoid incorporating too much air. Then blend in the sour cream, pistachio pudding mix, and vanilla extract until well combined, ensuring a silky texture.
Step 4: Bake the Cheesecake
Pour the creamy filling over the cooled crust, smoothing the top with a spatula for an even surface. Place the springform pan in the preheated oven and bake the Cherry Pistachio Cheesecake for 45-50 minutes, or until the edges are set but the center is still slightly jiggly. This ensures a perfect creamy consistency.
Step 5: Cool Gradually
Once baked, turn off the oven and crack the oven door open slightly. Allow the cheesecake to cool in the oven for 1 hour, which helps prevent cracks from forming on the top. Afterward, carefully remove it from the oven and let it come to room temperature before refrigerating.
Step 6: Chill
Place your cheesecake in the refrigerator and chill for at least 4 hours, but preferably overnight. This chilling time allows the flavors of the Cherry Pistachio Cheesecake to meld beautifully and the texture to set perfectly.
Step 7: Top and Serve
When you’re ready to serve, spread a generous layer of cherry pie filling over the top of the chilled cheesecake. For an appealing finish, sprinkle some chopped pistachios on top. Slice into pieces and enjoy this delightful dessert that beautifully showcases the flavors of cherry and pistachio.
Storage Tips for Cherry Pistachio Cheesecake
Fridge: Store leftovers in an airtight container in the refrigerator for up to 5 days to maintain freshness and flavor.
Freezer: For longer storage, wrap the cheesecake tightly in plastic wrap and aluminum foil; it can last up to 2 months in the freezer.
Thawing: To enjoy your Cherry Pistachio Cheesecake from frozen, thaw it overnight in the refrigerator before serving for the best texture.
Serving Cold: This cheesecake is best served chilled, so allow it to fully chill after storing, enhancing the flavors and texture for every delightful bite.
Make Ahead Options
These Cherry Pistachio Cheesecakes are perfect for busy home cooks looking to save time while still serving a delightful dessert! You can prepare the crust and filling up to 24 hours in advance. Just make the crust and let it cool completely, then store it tightly wrapped in plastic wrap at room temperature. You can also prepare the filling and refrigerate it (in a covered bowl) until you’re ready to pour it onto the crust. To finish, simply bake the cheesecake the next day, let it cool gradually, and chill it. This way, your cheesecake will remain just as delicious and creamy when served, making your preparations a breeze!
What to Serve with Cherry Pistachio Cheesecake
Creating a memorable meal means pairing this luscious dessert with just the right accompaniments to enhance its delightful flavors and textures.
-
Creamy Whipped Cream: A dollop of lightly sweetened whipped cream adds a cloud-like texture, balancing the rich cheesecake perfectly.
-
Fresh Berries: Fresh raspberries or blueberries introduce a pop of color and a tart freshness, contrasting nicely with the sweet filling.
-
Chocolate Drizzle: A drizzle of warm chocolate sauce elevates this dessert, creating a luxurious combination with the pistachio flavors.
-
Mint Leaves: A few fresh mint leaves on top not only beautify the presentation but also provide a refreshing contrast to the cheesecake’s sweetness.
-
Coffee: A cup of rich, freshly brewed coffee is the perfect companion, bringing a depth that complements the creamy, nutty notes of the cheesecake.
-
Fortified Wine: Pairing with a glass of sweet dessert wine enhances the overall experience, enriching the lush flavors of cherry and pistachio beautifully.
-
Cheesecake Trio: Serve slices of other cheesecakes, such as plain and chocolate cheesecake, for a delightful dessert sampler that your guests will love.
Cherry Pistachio Cheesecake Variations
Feel free to let your culinary creativity shine by customizing this delicious cheesecake to suit your taste!
-
Fresh Fruit Topping: Replace the cherry pie filling with fresh cherries, raspberries, or blueberries for a vibrant twist. The natural sweetness and texture of fresh fruit create a lovely balance with the creamy filling.
-
Almond Extract: Add a teaspoon of almond extract for a richer pistachio flavor that deepens the overall taste. It adds a wonderful nutty aroma that will elevate the entire cheesecake.
-
Mini Cheesecakes: Transform this recipe into mini cheesecakes by using muffin tins. These adorable bite-sized treats make perfect individual servings for parties or gatherings.
-
Dairy-Free Option: Swap cream cheese for a dairy-free alternative, like plant-based cream cheese or coconut yogurt, without sacrificing flavor or texture. Your vegan friends will be thrilled!
-
Chocolate Chip Surprise: Incorporate mini chocolate chips into the filling for a luscious chocolate twist that adds richness to every creamy bite. This unexpected touch can make your cheesecake even more alluring.
-
Nutty Crust Alternative: If you’re looking for a gluten-free option, use almond flour mixed with coconut oil for the crust. This not only keeps it gluten-free but adds a delightful nuttiness to the base.
-
Spiced Flavors: Consider adding a pinch of cinnamon or nutmeg to the crust for an unexpected warm, spicy flavor. Just a hint can significantly enhance the overall taste experience.
-
Layered Delight: For a fun presentation, layer the cheesecake with alternating colors of cherry and pistachio pudding between the filling layers. This will create a stunning visual appeal to complement the delicious taste.
For more delightful ideas to explore, don’t forget to check out my recipes for Strawberry Crunch Cheesecake and Choco Cheesecake Cookie Bites! Happy baking!
Expert Tips for Cherry Pistachio Cheesecake
-
Room Temperature Cream Cheese: Ensure your cream cheese is at room temperature to avoid lumps in your filling, guaranteeing a smooth Cherry Pistachio Cheesecake.
-
Gentle Mixing Required: Mix the eggs in gently to prevent incorporating too much air, which can cause your cheesecake to crack while baking.
-
Cool Gradually: Never skip the gradual cooling step in the oven. It’s essential to prevent surface cracks in your cheesecake.
-
Neat Slicing Trick: For perfectly clean slices, dip a knife in warm water and wipe it dry between cuts. This gives your Cherry Pistachio Cheesecake a polished look on the plate.
-
Check Baking Time: Every oven is different, so keep an eye on your cheesecake towards the end of the baking time. It should be slightly jiggly in the center for the best texture.
Cherry Pistachio Cheesecake Recipe FAQs
How do I choose ripe cherries for the topping?
Absolutely! Look for cherries that are firm and plump, with a deep color. Avoid any that have dark spots or feel soft, as they may be overripe. Fresh cherries typically have a sweet-tart balance that makes them a delightful addition to your cheesecake.
What’s the best way to store leftovers?
Very! To keep your Cherry Pistachio Cheesecake fresh, store any leftovers in an airtight container in the refrigerator for up to 5 days. Make sure it’s well-covered to prevent drying out and to keep those luscious flavors intact.
Can I freeze the cheesecake for later enjoyment?
Absolutely! To freeze, wrap the cheesecake tightly in plastic wrap, followed by aluminum foil to prevent freezer burn. It will keep for up to 2 months this way. When you’re ready to enjoy it, thaw overnight in the fridge. This method preserves the creamy texture beautifully!
What can I do if my cheesecake cracks during baking?
Oh, those pesky cracks can occasionally happen! To avoid them, remember to bake your cheesecake at a gentle temperature and mix your ingredients carefully—especially the eggs. If it does crack, don’t fret! You can cover it with cherry pie filling for a beautiful presentation.
Are there any allergenic ingredients in this recipe?
Yes! The Cherry Pistachio Cheesecake contains dairy (cream cheese and butter) and nuts (pistachios) which are common allergens. If you’re serving guests with dietary restrictions, consider using a dairy-free cream cheese alternative and omit the nuts for a nut-free version. Always check with guests about allergies first!
Indulge in Cherry Pistachio Cheesecake Bliss Tonight
Ingredients
Equipment
Method
- Preheat the oven to 325°F (160°C) and prepare a greased 9-inch springform pan.
- Combine graham cracker crumbs, ground pistachios, granulated sugar, and melted butter until resembling wet sand. Press into the bottom of the springform pan and bake for 8 minutes.
- Beat the cream cheese and granulated sugar in a large bowl until smooth, then add eggs one at a time. Blend in sour cream, pistachio pudding mix, and vanilla extract.
- Pour filling over the cooled crust and smooth the top; bake for 45-50 minutes until edges are set and center is jiggly.
- Turn off the oven, crack the door, and let the cheesecake cool for 1 hour, then bring to room temperature before refrigerating.
- Chill in the refrigerator for at least 4 hours or overnight.
- Spread cherry pie filling over the top and sprinkle with chopped pistachios. Slice and enjoy!
Leave a Reply