
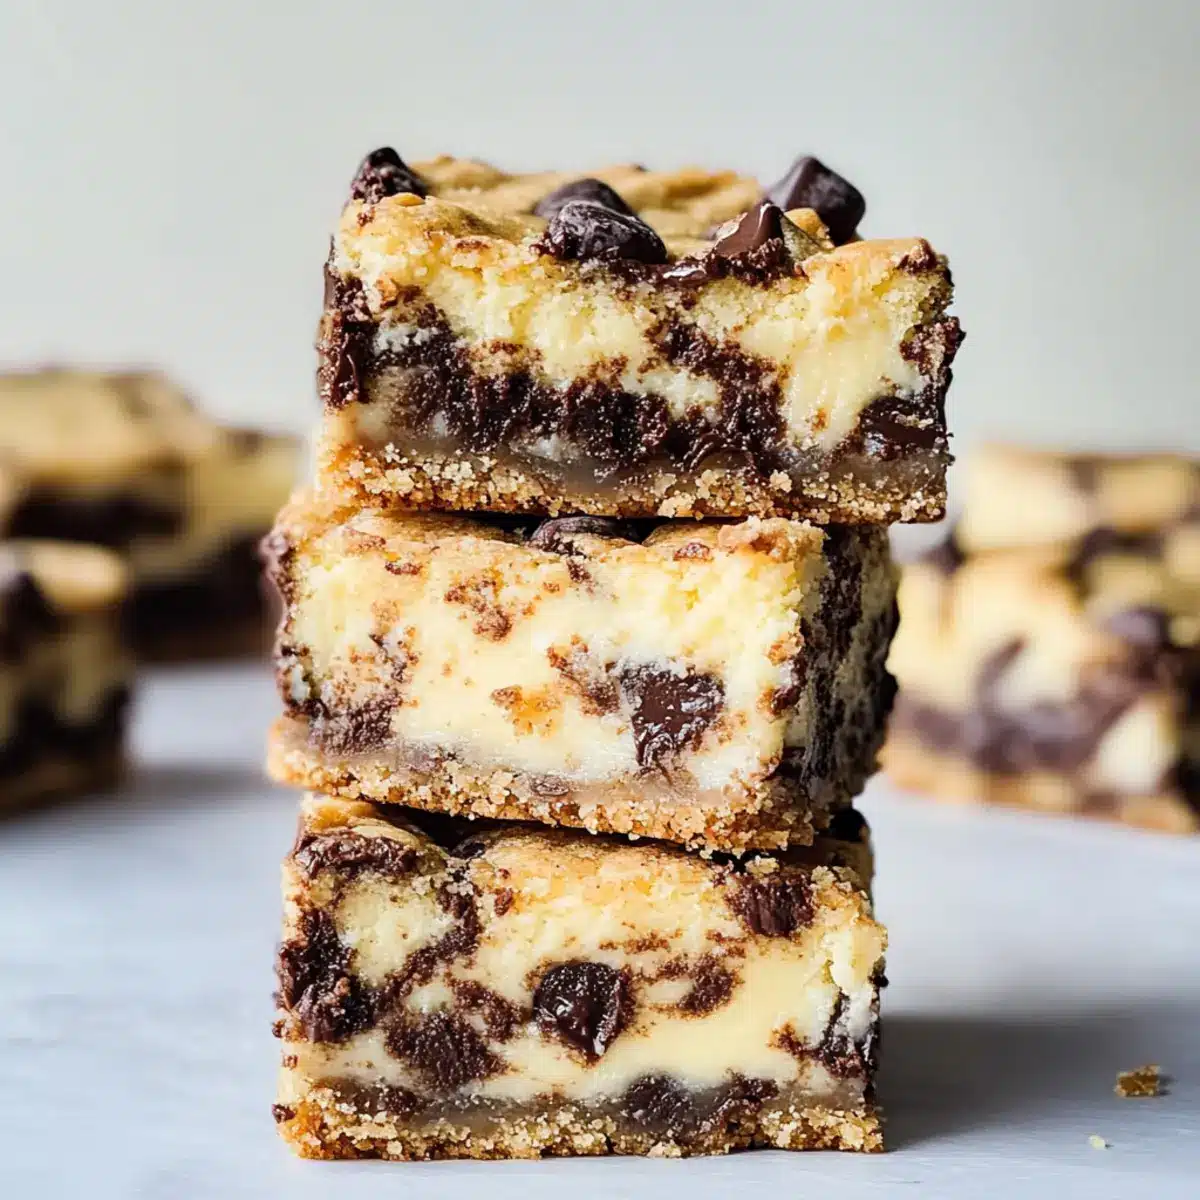
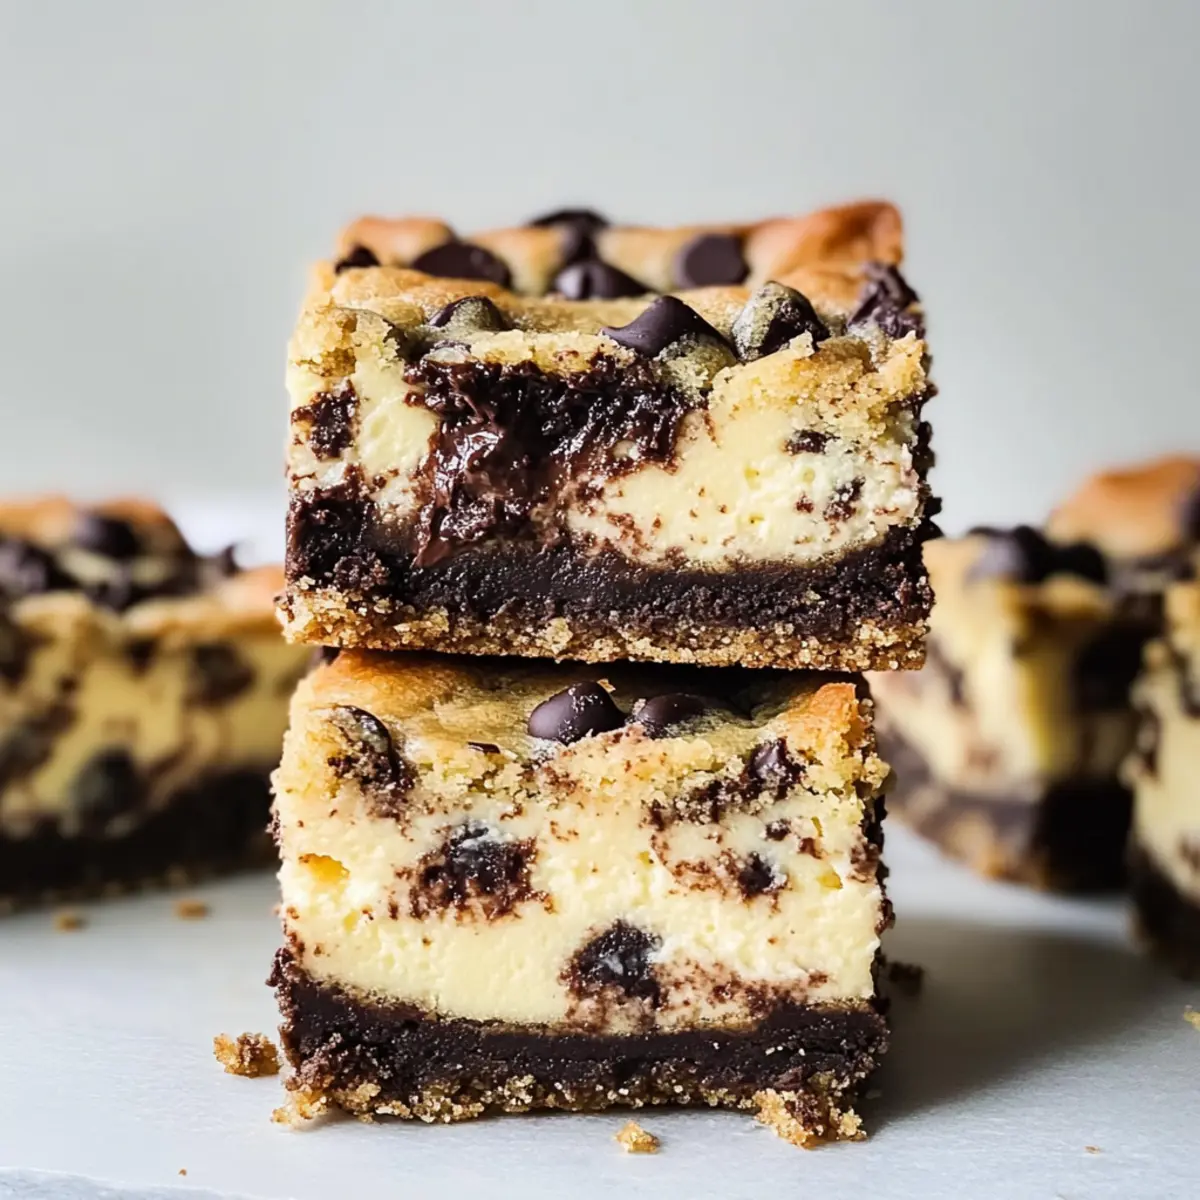
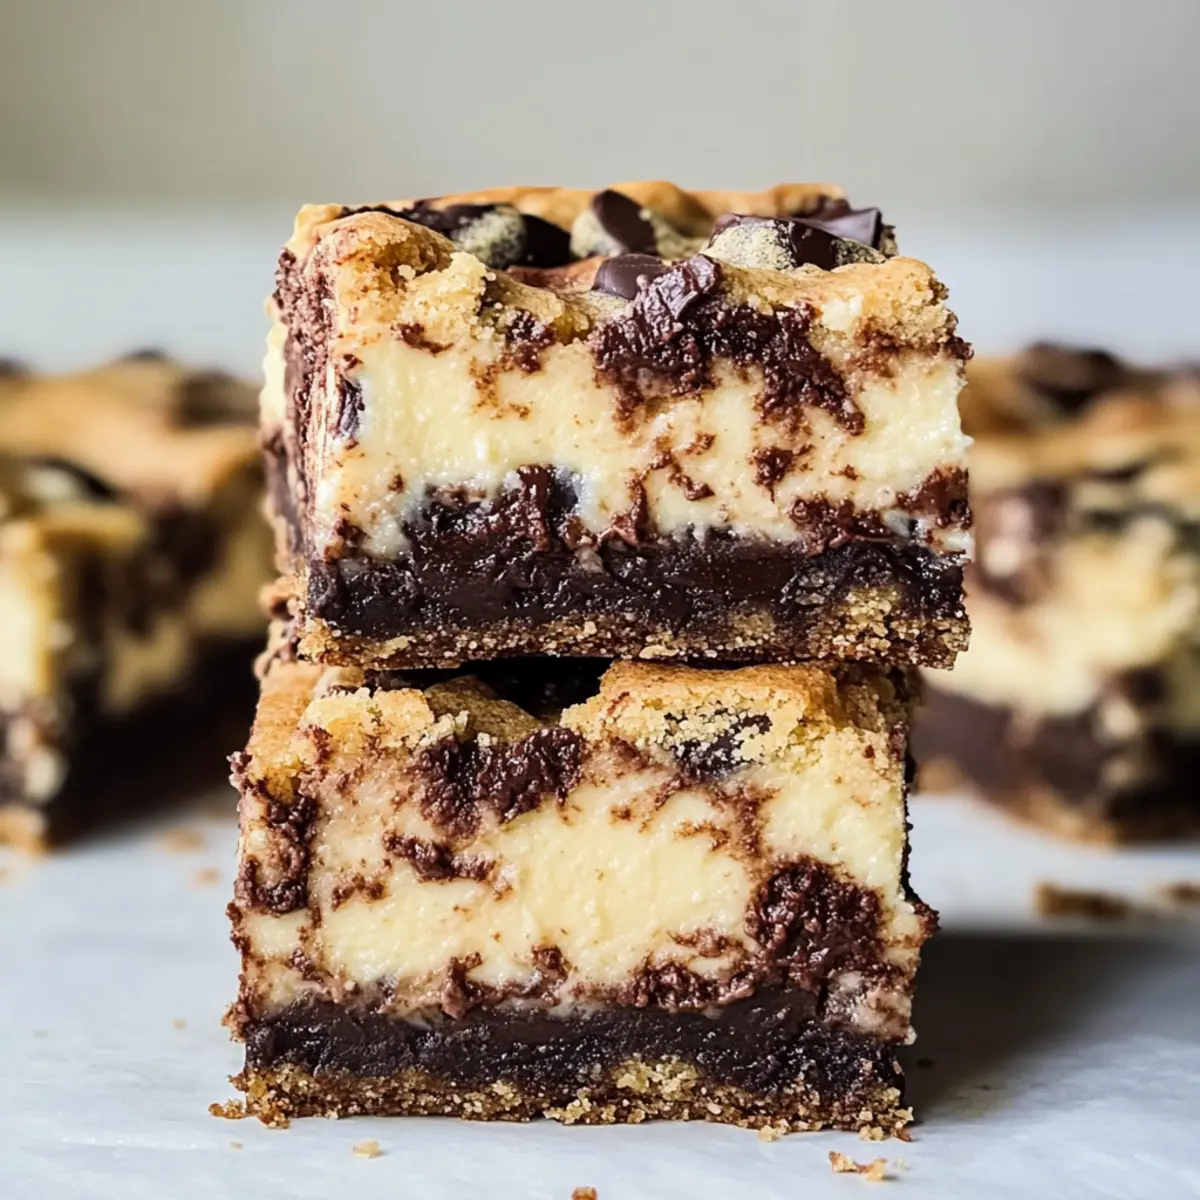
As the sweet aroma of freshly baked treats wafts through the kitchen, I can’t help but smile—it’s time to whip up a batch of Chocolate Chip Cookie Cheesecake Bars. Imagine sinking your teeth into a heavenly layer of velvety cheesecake cradled by a crispy, chewy cookie crust, each bite a delightful contrast that dances on your palate. What I love most about this recipe is its effortless preparation, making it perfect for both seasoned bakers and those just starting their culinary adventures. Plus, these bars are a guaranteed crowd-pleaser, whether you’re treating your family or impressing guests at your next gathering. Are you ready to indulge in a dessert that resembles your favorite chocolate chip cookie but with a creamy twist? Let’s dive into this delicious adventure together!
Why Are These Cheesecake Bars So Irresistible?
Unforgettable Flavors: Experience the delightful marriage of creamy cheesecake and classic chocolate chip cookies, all in one bite!
Easy to Make: With just a few steps, even novice bakers can whip these up quickly, making this recipe a go-to for busy weeknights or weekend gatherings.
Crowd Favorite: Perfect for potlucks or parties, these bars will have everyone asking for seconds, just like the beloved Oreo Cheesecake Cookie or Caramel Chocolate Chip.
Versatile: Feel free to mix in your favorite nuts or experiment with flavors to suit your taste—imagine a hint of almond extract or crunchy pecans!
Perfect for Sharing: The easy-to-slice bars mean you can share the love without fret; they’re just as delightful to bake as they are to enjoy with friends and family!
Chocolate Chip Cookie Cheesecake Bars Ingredients
For the Cookie Crust
- Unsalted Butter – Provides richness and moisture; use room temperature for optimal blending.
- Granulated Sugar – Sweetens the cookie batter; can be substituted with coconut or raw sugar for a unique twist.
- Brown Sugar – Adds depth and moisture to the cookie layer; light or dark can be used interchangeably.
- All-Purpose Flour – Gives structure to the bars; gluten-free flour can be used for a gluten-free version—though texture may vary.
- Baking Soda – A leavening agent that ensures a light, fluffy texture for the cookie layer.
- Salt – Enhances flavor in both layers.
- Semi-Sweet Chocolate Chips – Adds delightful chocolate flavor; bittersweet chocolate can be used for a less sweet bar.
For the Cheesecake Filling
- Cream Cheese – Provides creaminess and texture; full-fat is recommended, and it should be softened for easy mixing.
- Granulated Sugar – Sweetens the cheesecake filling; avoid over-sweetening to balance with the cookie crust.
- Eggs – Bind ingredients together; use room temperature eggs for even mixing.
- Vanilla Extract – Essential for flavor; no good substitute.
Remember, these ingredients come together to create the magic of Chocolate Chip Cookie Cheesecake Bars that will leave everyone wanting more!
Step‑by‑Step Instructions for Chocolate Chip Cookie Cheesecake Bars
Step 1: Prepare Cookie Dough
In a large mixing bowl, whisk together 2 cups of all-purpose flour, 1 teaspoon of baking soda, and a pinch of salt. In a separate bowl, cream together 1 cup of room temperature unsalted butter, ¾ cup of granulated sugar, ¾ cup of brown sugar, and 1 teaspoon of vanilla extract until light and fluffy. Beat in 2 eggs, one at a time, then gradually mix in the dry ingredients until just combined. Carefully fold in 1 cup of semi-sweet chocolate chips. Chill the dough in the refrigerator for 30 minutes.
Step 2: Prepare Cream Cheese Filling
While the cookie dough is chilling, preheat your oven to 350°F (175°C). In a medium bowl, beat 16 ounces of softened cream cheese and ½ cup of granulated sugar together until smooth and creamy. Add 2 eggs, 1 teaspoon of vanilla extract, and a pinch of salt, mixing until fully integrated. This creamy cheesecake filling will create a rich layer between the cookie crust.
Step 3: Assemble Bars
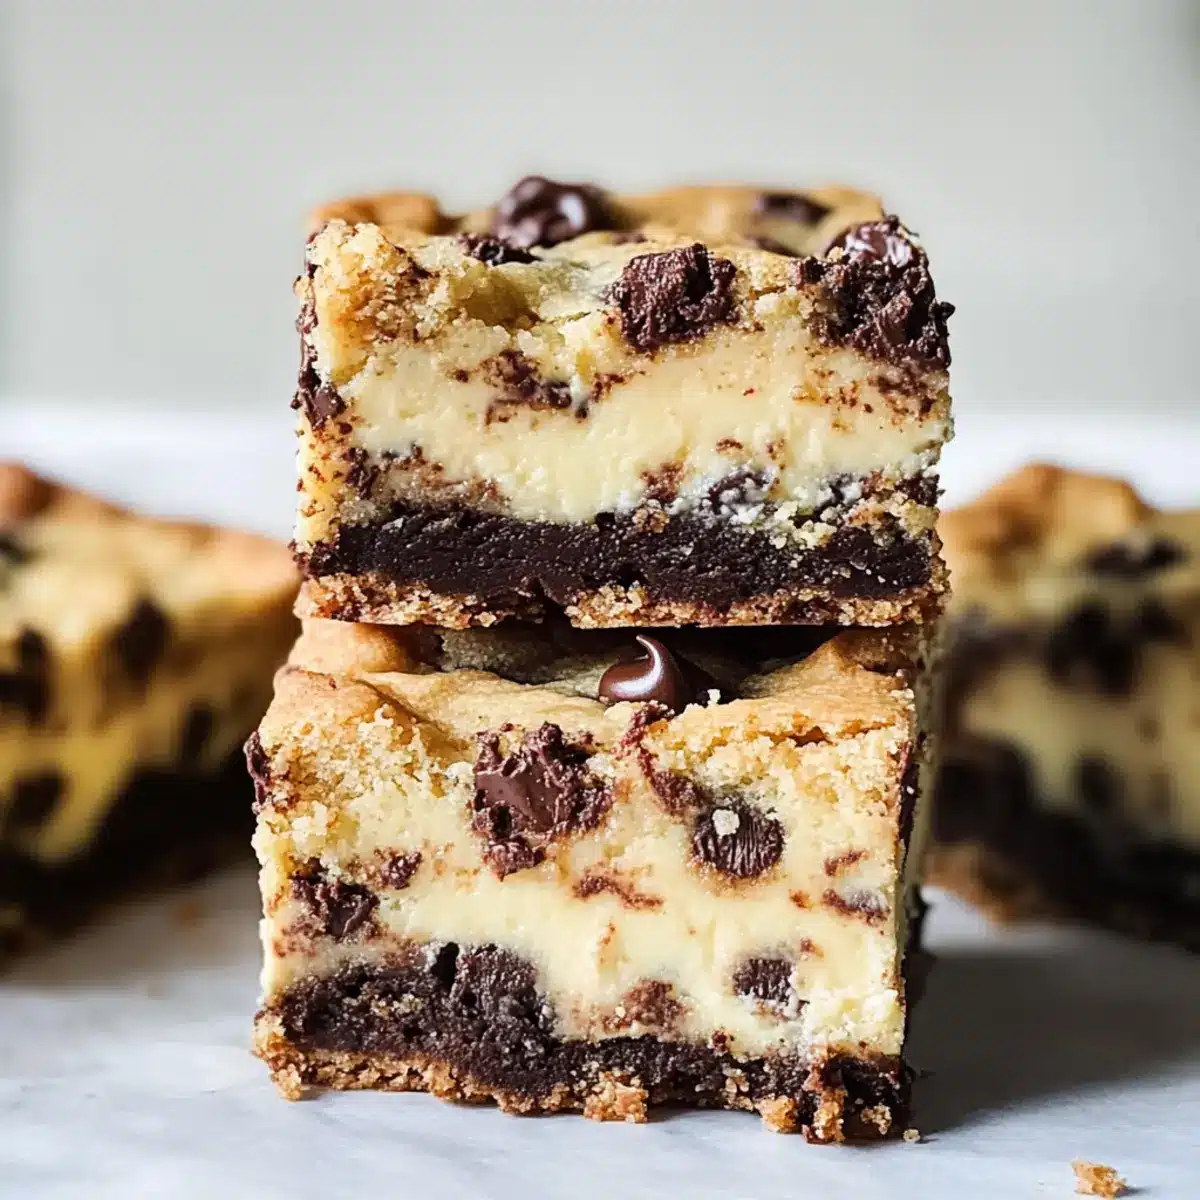
Grease a 9×13-inch baking pan with cooking spray or line it with parchment paper for easy removal. Press about two-thirds of the chilled cookie dough evenly into the bottom of the pan, creating a sturdy base. Pour the cream cheese filling over the cookie crust and spread it out gently. Using small spoonfuls, drop the remaining cookie dough over the cheesecake layer, letting some filling peek through, and sprinkle with any leftover chocolate chips for added sweetness.
Step 4: Bake
Place the assembled Chocolate Chip Cookie Cheesecake Bars in your preheated oven and bake for about 45 minutes. You’ll know they’re done when the edges turn golden brown and firm up, while the center should remain slightly jiggly. Be careful not to overbake, as the bars will continue to set as they cool.
Step 5: Cool and Slice
Once baked, remove the pan from the oven and let it cool on a wire rack for at least an hour. This cooling period allows the bars to firm up and makes slicing easier. Once cooled, carefully slice the bars into squares, revealing the luscious layers of cookie and cheesecake. Enjoy these delectable Chocolate Chip Cookie Cheesecake Bars with family and friends!
Expert Tips for Chocolate Chip Cookie Cheesecake Bars
-
Room Temperature Ingredients: Always use room temperature butter and cream cheese for smoother mixing. Cold ingredients can lead to lumps in your cheesecake filling.
-
Chill Cookie Dough: Don’t skip chilling the cookie dough for at least 30 minutes. This helps the bars maintain their structure while baking and prevents spreading.
-
Avoid Overmixing: When combining the cookie ingredients, mix just until combined to keep your bars chewy. Overmixing can result in a dense texture.
-
Check for Doneness: Look for a slight jiggle in the center of the bars for perfect doneness. They will continue to set while cooling, ensuring a creamy filling that isn’t undercooked.
-
Perfect Slicing: To slice cleanly, wait until the bars are fully cooled. Use a sharp knife, and you can even warm it slightly for neat edges!
-
Storage Reminder: Store leftover Chocolate Chip Cookie Cheesecake Bars in an airtight container in the fridge to maintain freshness and creaminess.
What to Serve with Chocolate Chip Cookie Cheesecake Bars
These delightful bars are perfect for creating a memorable snack or dessert spread that will impress your family and friends alike.
-
Fresh Berries: Juicy strawberries or raspberries add a vibrant, tart contrast to the sweet richness of the bars. The bright flavors elevate every bite!
-
Vanilla Ice Cream: A scoop of creamy vanilla ice cream creates a luscious combination with the cheesecake filling. The temperature difference adds a delightful surprise.
-
Coffee or Espresso: A warm cup of coffee or a rich shot of espresso balances the sweetness beautifully. The bitterness complements the creamy layers.
-
Chocolate Sauce Drizzle: A drizzle of warm chocolate sauce brings an indulgent touch, amplifying the chocolate chip flavor with a touch of elegance.
-
Whipped Cream: Light and fluffy whipped cream provides an airy texture that enhances the richness of the bars. Top each slice for a lovely presentation!
-
Nutty Granola: A sprinkling of crunchy granola adds a contrasting texture and a hint of nuttiness, heightening the overall experience. It also makes for a fun topping!
-
Mint Tea: A refreshing glass of mint tea cleanses the palate, allowing you to savor each layer of flavor in the cheesecake bars. It’s a soothing complement!
-
Caramel Sauce: Drizzling caramel sauce over the top creates a sweet and sticky finish, making these bars even more indulgent and decadent. Perfect for sweet lovers!
-
Peanut Butter Sauce: For a nutty twist, try a warm peanut butter sauce that brings a unique flavor profile, marrying beautifully with the chocolate and cheesecake.
-
Chocolate Milk: Pairing with a glass of rich chocolate milk can turn this into a nostalgic treat reminiscent of childhood favorites, adding an extra layer of sweetness!
How to Store and Freeze Chocolate Chip Cookie Cheesecake Bars
Room Temperature: Best enjoyed fresh, but bars can be kept at room temperature for up to 2 hours. If serving at a gathering, don’t leave them out too long to maintain the creamy texture.
Fridge: Store the Chocolate Chip Cookie Cheesecake Bars in an airtight container in the refrigerator for up to 3-5 days. They may soften slightly due to moisture from the cheesecake, but they’ll still be delicious!
Freezer: To freeze, wrap the bars tightly in plastic wrap and store in an airtight container for up to 1 month. Thaw them in the fridge overnight before serving for the best flavor and texture.
Reheating: If you crave a warm treat, gently reheat individual slices in the microwave for about 10-15 seconds, just until warmed through. Enjoy the cozy combination of cookie and cheesecake flavors!
Make Ahead Options
These Chocolate Chip Cookie Cheesecake Bars are perfect for meal prep, allowing you to enjoy homemade goodness with less stress during your busy week. You can prepare the cookie dough up to 24 hours in advance; just refrigerate it in an airtight container to maintain its texture and flavor. The cheesecake filling is best made on the same day to preserve its creamy consistency. When ready to bake, simply press the chilled cookie dough into the pan, add the freshly prepared filling, and proceed with the baking instructions. Trust me, this makes for a delightful dessert in no time, saving you precious moments in the kitchen!
Chocolate Chip Cookie Cheesecake Bars Variations
Feel free to get creative with your Chocolate Chip Cookie Cheesecake Bars and tailor them to your taste buds!
-
Nutty Delight: Add chopped nuts like pecans or walnuts to the cookie dough for an added crunch. This will take your bars to the next level of texture!
-
Oreo Twist: Swap out some of the chocolate chips for crushed Oreos. This brings a fun, familiar flavor to the cheesecake layer, reminiscent of a beloved dessert like the Oreo Chocolate Chip.
-
Dairy-Free: Use dairy-free cream cheese and butter substitutes to make these bars friendly for those avoiding dairy. They won’t miss out on the creamy deliciousness!
-
Flavor Infusion: Replace vanilla extract with almond extract for a nutty note that elevates the flavor profile. A little change can make the dessert feel entirely new!
-
Spicy Kick: Add a pinch of cinnamon or nutmeg to the cookie dough for a warm spiced flavor. This subtle heat will surprise and delight your guests!
-
Chocolate Lovers: Go big on chocolate by using dark or bitter-sweet chocolate chips instead. For true chocolate devotees, combining these with the creamy filling will be pure bliss.
-
Fruit Fusion: Toss in some fresh raspberries or strawberries into the cheesecake layer for a hint of tartness. It’s a fantastic match for the rich cookie and creaminess!
-
Cheesecake Variety: Experiment with flavored cream cheese, like strawberry or pumpkin, to create seasonal variants or to pair with other desserts, such as Raspberry Chocolate Chip muffins for a scrumptious dessert table!
Let your imagination run wild and make your Chocolate Chip Cookie Cheesecake Bars uniquely yours!
Chocolate Chip Cookie Cheesecake Bars Recipe FAQs
What kind of chocolate chips should I use for these bars?
Absolutely! Semi-sweet chocolate chips are ideal, as they provide a perfect balance of sweetness. However, if you prefer a less sweet dessert, bittersweet chocolate chips are a great alternative. For an exciting twist, try adding a mix of milk chocolate and dark chocolate chips for a flavor explosion!
How do I know when the cheesecake bars are done baking?
Perfect question! You’ll know your Chocolate Chip Cookie Cheesecake Bars are ready when the edges are golden brown, but the center remains slightly jiggly—this is key to achieving that creamy cheesecake texture. Keep in mind they will firm up as they cool, so don’t worry if the center looks a tad soft when you take them out of the oven.
Can I freeze these bars for later?
Yes, indeed! To freeze, wrap the cooled bars tightly in plastic wrap and place them in an airtight container. They can be frozen for up to 1 month. When you’re ready to enjoy them, simply thaw in the fridge overnight. This method helps preserve the creamy cheesecake and the cookie crust’s delightful texture.
How should I store leftover Chocolate Chip Cookie Cheesecake Bars?
For sure! Store your leftover bars in an airtight container in the refrigerator, where they’ll stay fresh for 3-5 days. They might soften slightly due to the moisture from the cheesecake, but they’ll still be wonderfully delicious! If you’re serving them at a party or potluck, let them sit at room temperature for about 30 minutes before serving for optimal flavor.
What can I do if my cheesecake filling is lumpy?
Very good question! Lumpy cheesecake filling can occur if your cream cheese is too cold. Always ensure that your cream cheese is at room temperature for smooth mixing. If you do find lumps, you can mix the filling longer, but take care not to overmix, as this can introduce more air and result in cracks. Aim for a creamy, homogeneous mixture before pouring it over the cookie crust!
Can I make these bars in advance?
Absolutely! The cookie dough can be prepared and refrigerated 1-2 days in advance. You can also make the cream cheese filling on the day of baking for best results. By preparing in advance, you’ll streamline your baking process and have these delightful bars ready for any occasion in no time!
Deliciously Dreamy Chocolate Chip Cookie Cheesecake Bars
Ingredients
Equipment
Method
- Prepare Cookie Dough: In a large mixing bowl, whisk together flour, baking soda, and salt. In a separate bowl, cream butter, granulated sugar, brown sugar, and vanilla until light and fluffy. Beat in eggs, one at a time, then mix in the dry ingredients until just combined. Fold in chocolate chips. Chill dough for 30 minutes.
- Prepare Cream Cheese Filling: Preheat oven to 350°F (175°C). In a medium bowl, beat cream cheese and granulated sugar until smooth. Add eggs, vanilla, and salt, mixing until integrated.
- Assemble Bars: Grease a baking pan or line with parchment paper. Press two-thirds of the chilled cookie dough into the bottom. Pour cream cheese filling over the crust, spread gently, and drop remaining cookie dough over top.
- Bake: Bake for about 45 minutes until edges are golden brown, and the center is slightly jiggly.
- Cool and Slice: Let cool on a wire rack for at least an hour. Once cooled, slice into squares and enjoy!
Leave a Reply