
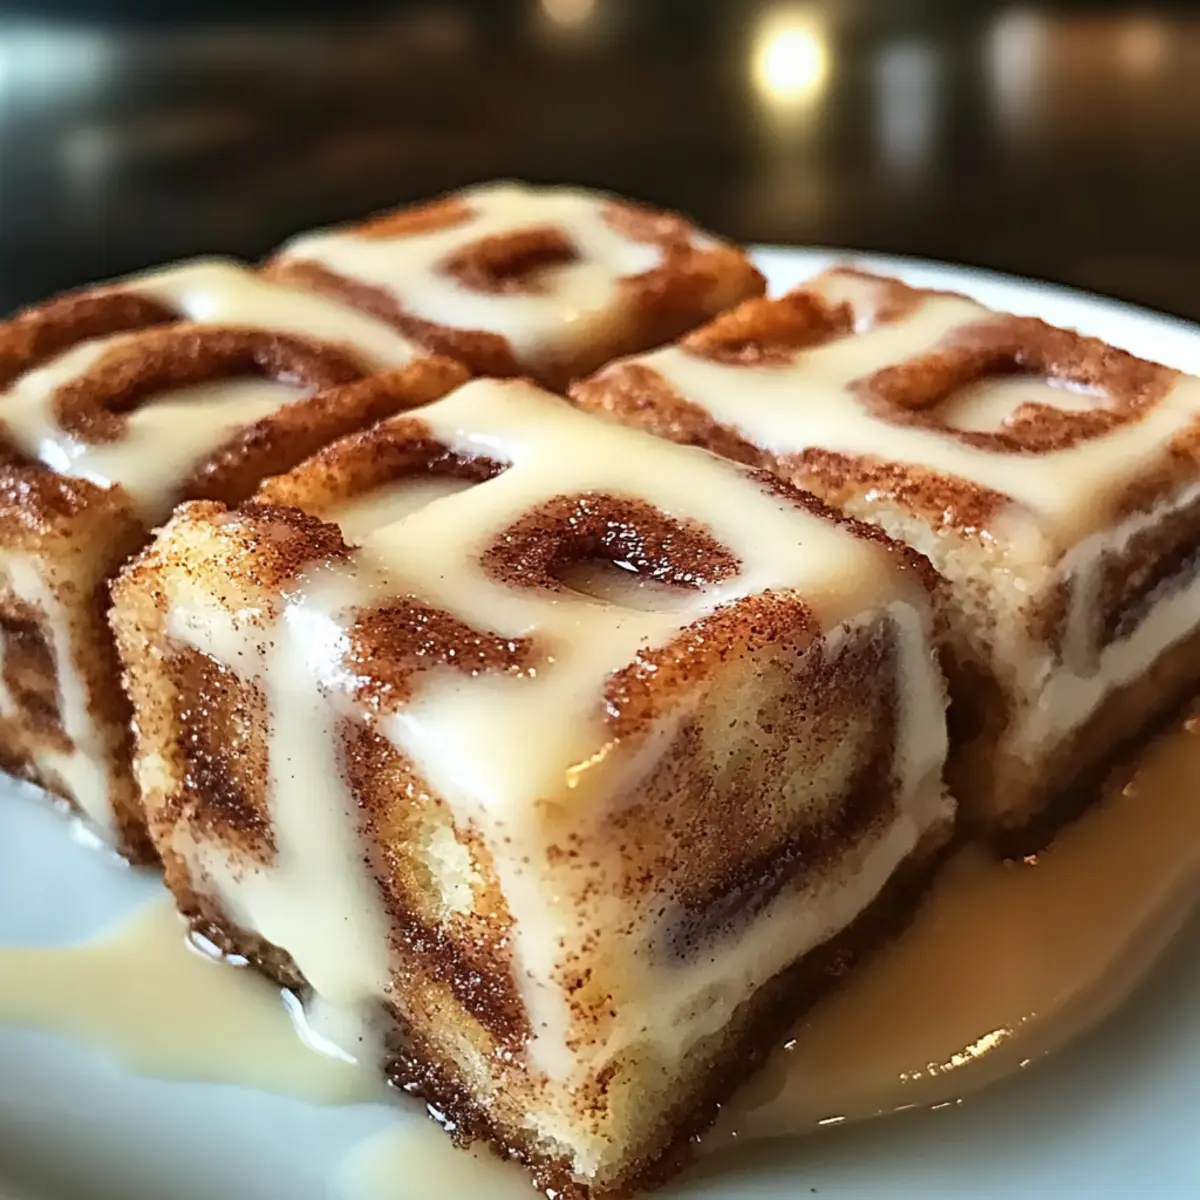
There’s nothing quite like the comforting scent of freshly baked treats wafting through the kitchen, instantly transporting me to cozy mornings with coffee and sweet indulgences. Enter my Cinnamon Roll Bliss Bars—quick to whip up and impossible to resist. These delightful bars come together in just 45 minutes, fusing the favorite flavors of a classic cinnamon roll into a chewy, easy-to-serve treat. Not only are they a hit for quick desserts, but they also work wonderfully for any gathering or cozy night in. Imagine saving the day with these blissful bars that promise smiles all around. Ready to impress your family and friends? Let’s dive into this sweet adventure together!
Why are Cinnamon Roll Bliss Bars irresistible?
Chewy, Delightful Texture: These bars offer a tender, chewy bite that captures the essence of a fresh cinnamon roll, making them the perfect combination of taste and ease.
Quick and Easy: Ready in just 45 minutes, this recipe is designed for the busy home cook who still wants to impress.
Crowd-Pleasing Treat: Ideal for gatherings, these bars are sure to draw compliments and smiles from friends and family alike.
Versatile Options: Feel free to customize with chocolate chips or nuts, or switch up the frosting for endless variations—think cream cheese frosting or even a rich chocolate ganache!
Perfect Pairing: Enjoy them alongside a warm cup of coffee or a scoop of ice cream for an extra indulgent experience. These Cinnamon Roll Bliss Bars truly shine at any occasion!
Cinnamon Roll Bliss Bars Ingredients
For the Bars
• Butter (softened) – Provides richness and moisture; substitute with margarine for a dairy-free option.
• Brown Sugar – Adds sweetness and a hint of moisture; light or dark brown sugar can be used interchangeably.
• Granulated Sugar – Balances sweetness in the batter.
• Eggs – Contributes moisture and structure; ensure at room temperature for better mixing.
• Sour Cream – Keeps the bars moist and adds tanginess; Greek yogurt can be a suitable substitute.
• Vanilla Extract – Enhances sweetness and overall flavor profile.
• All-Purpose Flour – Provides structure; for gluten-free bars, substitute with a gluten-free flour blend.
• Baking Powder & Baking Soda – Leavening agents that help the bars rise.
• Ground Cinnamon – The key flavoring ingredient in these Cinnamon Roll Bliss Bars.
• Salt – Enhances overall flavor balance.
For the Frosting
• Powdered Sugar – Essential for creating a creamy, sweet frosting.
• Milk – Mixed with powdered sugar to create the frosting; any milk variety, including non-dairy, can be used.
• Vanilla Extract (optional) – A splash will elevate the flavor of your frosting.
Step‑by‑Step Instructions for Cinnamon Roll Bliss Bars
Step 1: Preheat and Prepare
Begin by preheating your oven to 350°F (175°C) and greasing a 9×13 inch baking pan with butter or cooking spray. This ensures that your Cinnamon Roll Bliss Bars will easily release once baked. Set the pan aside and let the buttery aroma fill your kitchen as you get started on the batter!
Step 2: Cream the Butter and Sugars
In a large mixing bowl, cream together 1 cup of softened butter, 1 cup of brown sugar, and ½ cup of granulated sugar. Use an electric mixer on medium speed for about 2-3 minutes, until the mixture is light and fluffy. The goal is to incorporate air into the butter, creating a rich texture for your bars.
Step 3: Add Wet Ingredients
Next, add 2 room-temperature eggs, ½ cup of sour cream, and 2 teaspoons of vanilla extract to the creamed mixture. Mix on low speed until everything is just combined, ensuring a smooth batter without overmixing. The mixture should be creamy and slightly thick, perfect for those chewy Cinnamon Roll Bliss Bars.
Step 4: Whisk Dry Ingredients
In a separate medium bowl, whisk together 2 cups of all-purpose flour, 2 teaspoons of baking powder, 1 teaspoon of baking soda, 2 teaspoons of ground cinnamon, and ½ teaspoon of salt. This step is crucial for even distribution of the leavening agents, which will help your bars rise beautifully.
Step 5: Combine Dry and Wet Mixtures
Gradually add the dry ingredients to your wet mixture, stirring gently with a spatula until just combined. Avoid overmixing to ensure your Cinnamon Roll Bliss Bars remain tender and delicious. You’ll want to see a few small flour streaks to indicate it’s ready for the pan!
Step 6: Spread the Batter
Carefully spread the batter evenly into your prepared baking pan using a spatula. Ensure that the top is smooth and even, as this will create a plush texture across every inch of your Cinnamon Roll Bliss Bars. The batter will be thick, so take your time to spread it out.
Step 7: Cinnamon Sugar Topping
In a small bowl, combine 2 tablespoons of granulated sugar with 2 teaspoons of ground cinnamon. Sprinkle this cinnamon sugar mixture evenly over the batter in the pan, ensuring each bite will be packed with that signature cinnamon flavor of a classic cinnamon roll.
Step 8: Bake to Perfection
Place the baking pan in the preheated oven and bake for 25-30 minutes. Look for the edges to turn golden brown, and insert a toothpick in the center to check for doneness—when it comes out clean, your Cinnamon Roll Bliss Bars are ready to come out!
Step 9: Cool and Frost
Once baked, remove the pan from the oven and let it cool completely in the pan on a wire rack. Cooling is essential to prevent the frosting from melting into your warm bars. Once cooled, make your frosting by combining 2 cups of powdered sugar, 2-3 tablespoons of milk, and optional vanilla in a bowl, whisking until smooth.
Step 10: Frost and Serve
Finally, drizzle or spread the creamy frosting evenly over the cooled Cinnamon Roll Bliss Bars. Cut them into squares and serve. These are best enjoyed fresh but can also be stored in an airtight container for up to three days—if they last that long!
Make Ahead Options
These Cinnamon Roll Bliss Bars are perfect for busy home cooks looking to save time! You can prepare the batter and refrigerate it up to 24 hours in advance, keeping it fresh and ready to bake. Simply mix all the wet and dry ingredients as directed, then store the batter covered in the refrigerator. For added convenience, you can also pre-measure the cinnamon sugar topping and have it ready to sprinkle right before baking. When you’re ready to indulge, just spread the batter in the pan, sprinkle the topping, and bake as instructed. This makes for delicious, warm bars that feel freshly made, even when time is short!
What to Serve with Cinnamon Roll Bliss Bars
Warm Cinnamon Roll Bliss Bars bring sweetness and coziness to any dessert table, and the right pairings can elevate your treat to new heights.
- Fresh Berries: Refreshing raspberries or strawberries add a vibrant contrast and a burst of natural sweetness against the rich flavors of the bars.
- Coffee or Latte: A warm mug of coffee or frothy latte complements the sweet cinnamon and creamy frosting, making it a delightful afternoon pick-me-up.
- Vanilla Ice Cream: Serve warm bars with a scoop of vanilla ice cream, allowing the creamy coldness to melt into the cinnamony goodness for a luscious treat.
- Whipped Cream: Light, airy whipped cream adds a delightful dollop of sweetness, making each bite feel indulgent and festive.
- Chai Tea: The spiced notes of chai tea harmonize beautifully with cinnamon flavors, creating a cozy pairing perfect for an afternoon break.
- Nutmeg-Spiced Apples: Sautéed apples with a hint of nutmeg provide a comforting, aromatic touch that complements the bars’ flavors.
- Chocolate Drizzle: A simple swirl of chocolate ganache or sauce can turn your Cinnamon Roll Bliss Bars into a decadent dessert experience.
- Caramel Sauce: Drizzling warm caramel sauce over the bars adds a sweet, buttery dimension that will have everyone coming back for more.
How to Store and Freeze Cinnamon Roll Bliss Bars
Room Temperature: Store the bars in an airtight container at room temperature for up to 3 days to maintain freshness and flavor.
Fridge: For longer shelf life, keep the bars refrigerated; they will last up to a week. Allow them to come to room temperature before serving for the best taste.
Freezer: Freeze your Cinnamon Roll Bliss Bars for up to 2 months. Wrap individual portions tightly in plastic wrap and then in aluminum foil for protection against freezer burn.
Reheating: When ready to enjoy, thaw the bars in the fridge overnight, then warm them in the microwave for about 10-15 seconds for a fresh-baked experience!
Cinnamon Roll Bliss Bars Variations
Feel free to get creative with these options and transform your Cinnamon Roll Bliss Bars into a delightful new experience with every bake!
-
Dairy-Free: Substitute butter with margarine and use almond or oat milk for a rich, creamy frosting.
Transforming these bars into a dairy-free delight opens up a world of possibilities without losing the comforting flavors you love. -
Chocolate Lovers: Fold in 1 cup of chocolate chips into the batter for a decadent twist.
The melted chocolate chunks will create gooey pockets that complement the cinnamon perfectly, adding an irresistible sweetness. -
Nutty Crunch: Add ½ cup of chopped walnuts or pecans for added texture.
These nuts not only provide a delightful crunch but also enhance the warm, cozy flavors of cinnamon and sugar. -
Gluten-Free Adventure: Use a certified gluten-free flour blend instead of all-purpose flour for a gluten-free version.
This allows everyone to enjoy these bars without compromising on taste or texture—a true win-win! -
Spicy Variation: Mix in a pinch of nutmeg or even cayenne pepper for a surprising kick.
This adds a depth of flavor that can intrigue your taste buds and make your bars stand out at any gathering. -
Frosting Twist: Try cream cheese frosting instead of the standard vanilla frosting for a tangy complement.
The richness of cream cheese pairs beautifully with the sweetness of the bars, creating a luscious layer that no one can resist. -
Fruit Infusion: Stir in ½ cup of dried fruit like raisins or chopped dried apricots.
This addition not only boosts flavor but also brings a chewiness that contrasts nicely with the soft bars. -
Maple Bliss: Substitute granulated sugar with maple sugar for a unique, earthy sweetness.
The subtle flavor of maple syrup intertwines beautifully with cinnamon, offering a delicious twist on this classic treat.
For more inspiration, check out our Cinnamon Swirl Banana recipe, where you can experience another delicious twist on classic flavors!
Expert Tips for Cinnamon Roll Bliss Bars
-
Avoid Overmixing: Mixing too much can lead to tough bars. Use a gentle hand when combining the wet and dry ingredients for the best texture.
-
Cool Before Frosting: Let the bars cool completely before applying the frosting. This prevents it from melting and sliding off, keeping your bars beautifully topped!
-
Room Temperature Eggs: Ensure your eggs are at room temperature before mixing. This helps create a smoother batter, which is essential for moist Cinnamon Roll Bliss Bars.
-
Experiment with Toppings: Don’t hesitate to add mix-ins like chocolate chips or nuts for personal flair. These additions can elevate the flavor and texture even further.
-
Storage Tips: Keep your Cinnamon Roll Bliss Bars in an airtight container at room temperature for up to three days, or freeze them for up to two months for future indulgence!
Cinnamon Roll Bliss Bars Recipe FAQs
How do I select the best ingredients for my Cinnamon Roll Bliss Bars?
Absolutely! For the butter, make sure it’s softened to room temperature—this will help create that rich texture. When choosing eggs, room-temperature ones blend more easily into the batter. As for cinnamon, I recommend using fresh ground cinnamon for the best flavor, as older spices can lose their potency.
What’s the best way to store my Cinnamon Roll Bliss Bars?
To maintain freshness, store your bars in an airtight container at room temperature for up to 3 days. If you prefer longer storage, you can refrigerate them for up to a week. Just remember to allow them to come back to room temperature before serving for the best taste experience!
Can I freeze Cinnamon Roll Bliss Bars, and if so, how?
Certainly! To freeze your Cinnamon Roll Bliss Bars, wrap each individual bar tightly in plastic wrap, ensuring there’s no air trapped inside. Then, place them in a freezer bag or an airtight container to prevent freezer burn. They should stay good for up to 2 months. When you’re ready to enjoy them, simply thaw in the fridge overnight and microwave for about 10-15 seconds to refresh the taste.
What if my Cinnamon Roll Bliss Bars don’t rise as expected?
Very! If your bars didn’t rise properly, it might be due to expired leavening agents—check the dates on your baking powder and baking soda. Mixing the batter too much can also cause them to turn out dense. Remember, you want to mix until just combined for fluffy, tender bars!
Are there any dietary considerations for my Cinnamon Roll Bliss Bars?
Absolutely! These bars are vegetarian and can easily be adapted for various dietary needs. To make them dairy-free, substitute the butter with margarine or a plant-based butter alternative, and use a non-dairy milk for the frosting. If there are egg allergies, you can try replacing each egg with 1/4 cup of unsweetened applesauce or mashed bananas for a similar texture. Enjoy customizing!
Cinnamon Roll Bliss Bars: Quick, Chewy Treats for Any Occasion
Ingredients
Equipment
Method
- Preheat your oven to 350°F (175°C) and grease a 9x13 inch baking pan with butter or cooking spray.
- In a large mixing bowl, cream together the butter, brown sugar, and granulated sugar until light and fluffy.
- Add the eggs, sour cream, and vanilla extract to the creamed mixture and mix until just combined.
- In a separate bowl, whisk together the flour, baking powder, baking soda, ground cinnamon, and salt.
- Gradually add the dry ingredients to the wet mixture, stirring gently until just combined.
- Spread the batter evenly into the prepared baking pan.
- In a small bowl, mix the granulated sugar and ground cinnamon together, then sprinkle it over the batter.
- Bake in the preheated oven for 25-30 minutes or until golden brown.
- Cool the bars completely in the pan on a wire rack.
- Make the frosting by whisking together the powdered sugar, milk, and optional vanilla.
- Spread the frosting over the cooled bars, cut into squares, and serve.
Leave a Reply