
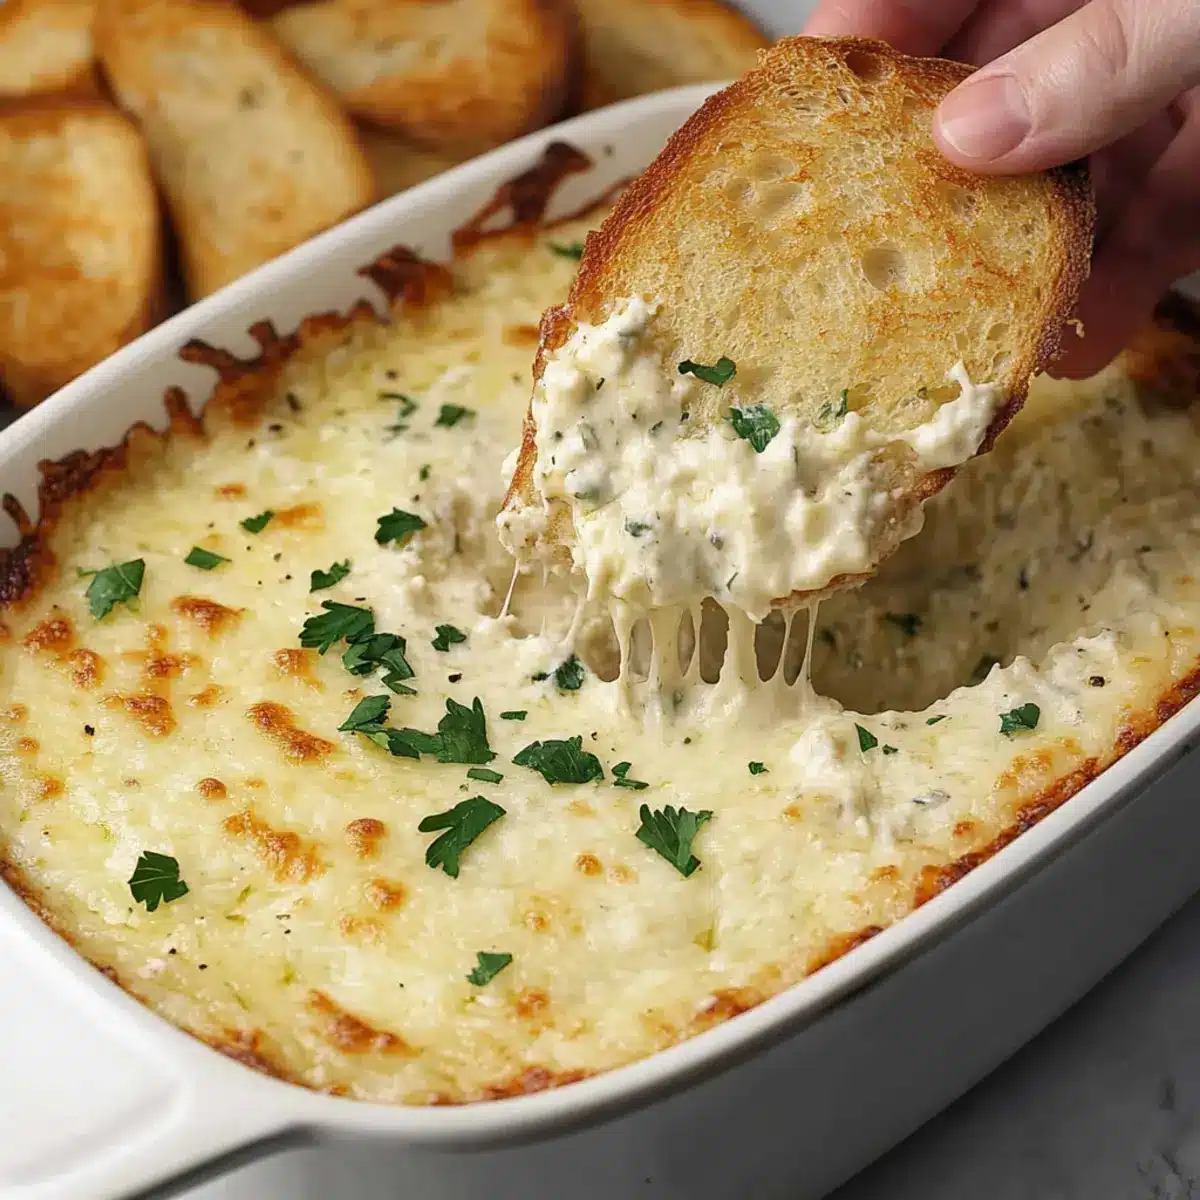
The savory aroma of roasted garlic wafts through my kitchen, instantly reviving fond memories of family gatherings and cozy evenings. If you’re on the hunt for a delightfully indulgent appetizer, this Cheesy Garlic Bread Dip is sure to impress your guests while satisfying your cravings for comfort food. This recipe not only celebrates the beloved flavors of garlic and cheese, but it’s also quick to whip up and perfect for make-ahead occasions. Picture a warm, creamy dip emerging from the oven, ready to be slathered onto crispy crostini or crunchy crackers. Trust me—you won’t be able to resist diving in! Are you ready to transform your get-togethers with this irresistible dip?
What makes this dip so special?
Unforgettable Flavor: With roasted garlic and a trio of cheeses, each bite bursts with deliciousness.
Quick to Make: Your guests won’t believe how effortlessly this scrumptious dip comes together before their eyes.
Versatile Dipping Joy: Serve warm with crostini or indulge alongside crackers, veggies, or even potato chips for endless options.
Crowd-Pleasing Appeal: Perfect for gatherings, this dip will have everyone raving and coming back for more.
Make-Ahead Convenience: Prep it in advance and bake when the time is right, making it an ideal choice for busy hosts!
If you love garlic bread, you’ll appreciate this delightful twist that pairs beautifully with Pan Fried Garlic or even a side of Spicy Garlic Butter for an elevated experience!
Garlic Bread Dip Ingredients
For the Dip
- Roasted Garlic – Enhances flavor with its mellow sweetness when roasted.
- Olive Oil – Adds moisture and depth to the roasted garlic.
- Cream Cheese – Creates a smooth base; ensure it’s at room temperature for easy mixing.
- Sour Cream – Contributes tanginess and creaminess; Greek yogurt can be an excellent substitute.
- Shredded Mozzarella Cheese – Delivers an irresistibly gooey texture when baked.
- Grated Parmesan Cheese – Adds a salty, nutty flavor; reserve some for the topping.
- Salt – Elevates the overall flavor; adjust according to your taste preference.
- Pepper – Introduces a hint of heat; freshly cracked pepper offers the best flavor.
- Fresh Chopped Parsley – Sprinkles of color and freshness, making it visually appealing.
- Crostini or Crackers – The perfect base for serving the dip; feel free to use pretzels, celery sticks, or potato chips as alternatives.
With these ingredients, you’re just a few steps away from whipping up a rich and creamy garlic bread dip that will have everyone asking for the recipe!
Step‑by‑Step Instructions for Garlic Bread Dip
Step 1: Roast the Garlic
Preheat your oven to 400°F (200°C). Take heads of garlic, trim about ¼ inch from their tops, drizzle them with olive oil, then wrap them tightly in aluminum foil. Bake for 40-50 minutes until the cloves are soft and golden brown. As the garlic roasts, your kitchen will fill with a delicious aroma, setting the stage for your garlic bread dip.
Step 2: Prepare the Dip Base
Once the garlic is perfectly roasted, reduce the oven temperature to 350°F (175°C). Carefully unwrap the foil and squeeze out the soft roasted garlic cloves into a mixing bowl. Use a fork to mash the cloves into a smooth paste, and remember to admire that beautiful caramelized color as you prepare this aromatic base for your garlic bread dip.
Step 3: Combine the Ingredients
To the bowl with the mashed garlic, add room-temperature cream cheese and sour cream. Mix thoroughly until the dip is smooth and creamy, ensuring no lumps remain. Then, stir in the shredded mozzarella and half of the grated Parmesan cheese along with salt and freshly cracked pepper to taste. This rich mixture will form the heart of your decadent garlic bread dip.
Step 4: Bake the Dip
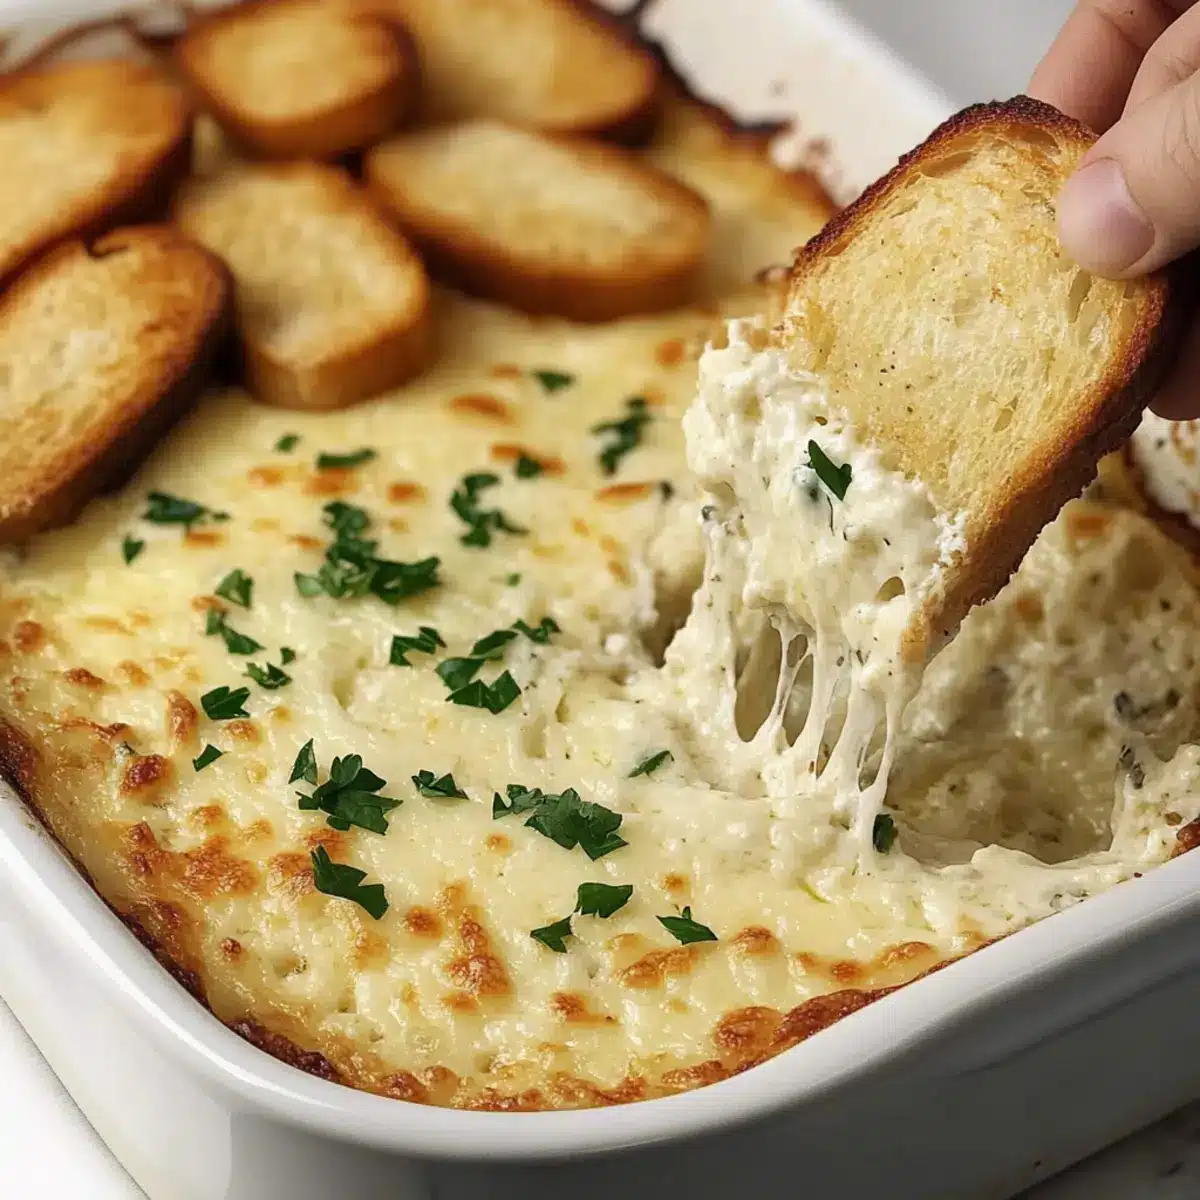
Transfer the creamy mixture into a baking dish, spreading it out evenly. Sprinkle the remaining grated Parmesan cheese on top for that perfect golden finish. Place the dish in the preheated oven and bake for 25-28 minutes, or until the dip is hot and bubbling with a lightly browned top. Your kitchen will smell heavenly as this cheesy garlic bread dip comes to life.
Step 5: Serve and Garnish
After baking, allow the dip to cool for about 5 minutes before garnishing with fresh chopped parsley for a pop of color and freshness. Serve warm alongside crispy crostini or your favorite crackers. Watching your guests dive into this creamy garlic bread dip will be one of the highlights of your gathering!
Expert Tips for Garlic Bread Dip
Room Temperature Cream Cheese: Ensure your cream cheese is at room temperature; this prevents clumps, giving the dip a smooth, velvety texture.
Perfectly Roasted Garlic: Avoid burning the garlic; check for softness at the 40-minute mark to get that sweet, caramelized flavor without bitterness.
Golden Crunch: For a delightful crust, broil the dip for 1-2 minutes after baking, but keep an eye on it to prevent burning.
Make-Ahead Magic: You can assemble your garlic bread dip up to two days in advance. Just refrigerate and bake when you’re ready, saving time for your gathering.
Creative Variations: Don’t hesitate to add sautéed spinach or sun-dried tomatoes for a unique twist, elevating the traditional garlic bread dip experience!
How to Store and Freeze Garlic Bread Dip
Fridge: Keep leftover garlic bread dip covered in an airtight container for up to 3 days. Reheat in the oven or microwave until warm.
Freezer: You can freeze the dip for up to 2 months. Store it in a freezer-safe container, and thaw in the fridge before reheating.
Reheating: When ready to serve, reheat the dip in the oven at 350°F (175°C) for about 15-20 minutes or until hot and bubbly.
Make-Ahead: For convenience, assemble the dip in advance, cover, and store in the fridge for up to 2 days before baking.
Garlic Bread Dip Variations & Substitutions
Customize your garlic bread dip experience with these exciting variations that will tantalize your taste buds and elevate your appetizer game!
-
Dairy-Free: Substitute cream cheese and sour cream with cashew cream or silken tofu for a creamy vegan alternative.
-
Herbed Delight: Add fresh chopped herbs like dill or thyme for a burst of fragrant flavor that complements the garlic beautifully.
-
Smoky Kick: Incorporate smoked paprika or a dash of liquid smoke to introduce a subtle, smoky flavor that complements the cheese.
-
Extra Cheesy: Mix in a blend of your favorite cheeses, like Gouda or cheddar, to enhance the gooeyness and create an irresistible flavor profile.
-
Veggie Boost: Stir in sautéed mushrooms or spinach for an added layer of nutrition and texture, making the dip even more satisfying.
-
Spicy Twist: Add crushed red pepper flakes or diced jalapeños for a delightful kick of heat that balances perfectly with the creamy dip.
-
Nutty Flavor: Fold in some finely chopped walnuts or pecans for a crunchy surprise and nutty flavor that elevates every bite.
-
Garlic Lovers’ Dream: Increase the amount of roasted garlic for an extra garlicky punch that true garlic lovers will adore.
While you’re enjoying this garlic bread dip, don’t forget to pair it with something delightful like Chimichurri Garlic Bread or even try it alongside some delicious Parmesan Bread Pudding for a memorable spread!
Make Ahead Options
Preparing this Garlic Bread Dip ahead of time is a game-changer for busy hosts! You can assemble the dip up to 2 days in advance; simply mix the roasted garlic, cream cheese, sour cream, mozzarella, and Parmesan as directed, transfer to a baking dish, cover it tightly with plastic wrap, and refrigerate. To keep it just as delicious, allow the dip to come to room temperature for about 30 minutes before baking; this helps it heat evenly and prevents a cold center. When you’re ready to serve, simply pop it into the oven at 350°F (175°C) for 25-28 minutes until hot and bubbling. Your guests will be none the wiser, and you’ll enjoy the extra time to focus on mingling!
What to Serve with Cheesy Garlic Bread Dip?
The perfect accompaniment can elevate your creamy garlic dip into a feast of flavors and textures that will have everyone returning for more.
-
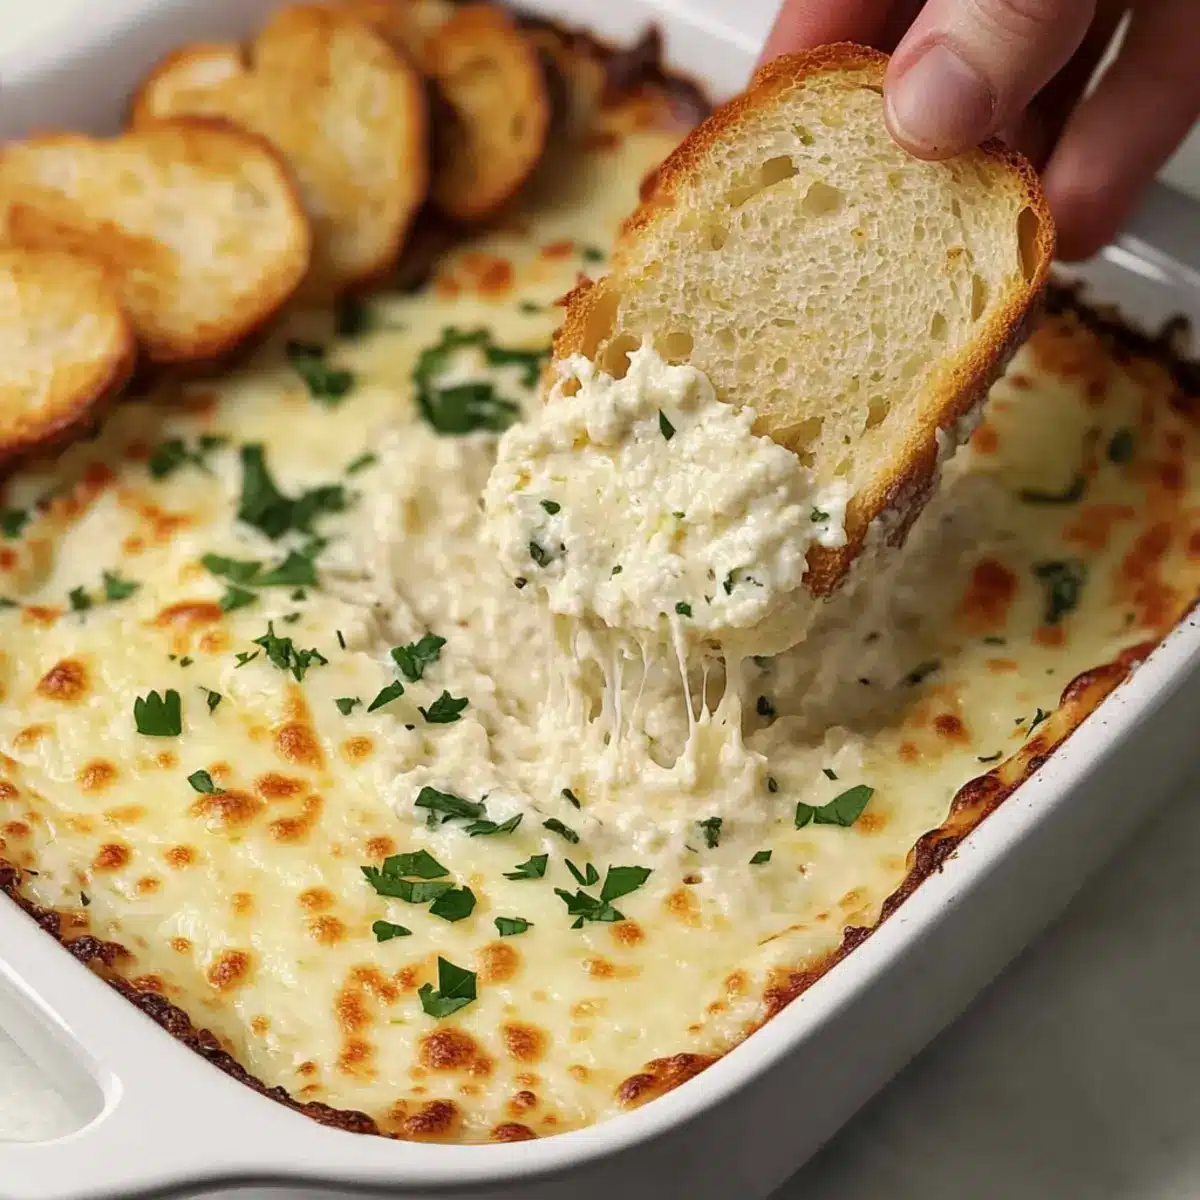
Crispy Crostini: The ultimate vessel for this dip—they’re crunchy, light, and perfectly soak up the cheesy goodness. Each bite is a delightful contrast to the creamy dip.
-
Crunchy Vegetable Sticks: Colors like carrots, celery, and bell peppers add a fresh and healthy crunch that pairs beautifully with the richness of the dip, balancing the flavors.
-
Savory Crackers: Choose your favorite buttery or herbed crackers to layer flavor. Their crunch and saltiness enhance the creamy dip experience, making it an addictive pairing.
-
Garlic Bread Slices: If you can’t get enough garlic, serve toasted bread with a hint of garlic and butter. They mirror the dip’s flavors and provide a delicious, comforting crunch.
-
Chips: Sea salt-infused tortilla or pita chips add a satisfying crunch. Their subtle saltiness complements the rich, cheesy dip while providing a fun, casual dipping option.
-
Pickles or Olives: Their tangy bite cuts through the richness of the dip, offering a refreshing contrast that tantalizes the taste buds.
-
Sparkling Wine or Light Beer: A glass of bubbly or a light ale can complement the dip and lighten up the indulgent flavors, making for a perfect pairing that invites more enjoyment.
-
Chocolate Dessert: For a sweet ending, consider serving a chocolate mousse or brownie bites. The rich chocolate provides a lovely contrast to the savory warmth of garlic dip.
Every one of these pairings adds a unique twist, ensuring your garlic bread dip is the star of your next gathering!
Garlic Bread Dip Recipe FAQs
What type of garlic should I use for the dip?
Absolutely, using fresh garlic is best! Look for heads that feel firm and have no dark spots or soft areas. If you can, go for organic garlic for the most robust flavor. Roasting mellows the garlic’s natural bite, transforming it into a sweet and creamy delight.
How should I store leftover garlic bread dip?
Easily! Keep any leftover garlic bread dip in an airtight container in the refrigerator for up to 3 days. When you’re ready to enjoy it again, simply reheat in the oven at 350°F (175°C) for about 15-20 minutes, or until it’s piping hot and bubbling again.
Can I freeze garlic bread dip?
Yes, you can! Just transfer the dip to an airtight, freezer-safe container. It will keep well for up to 2 months in the freezer. To reheat, thaw it in the fridge overnight and then warm it up in the oven at 350°F (175°C) for about 20 minutes, or until heated thoroughly.
What if my garlic bread dip is too thick?
If your dip becomes too thick after baking, don’t worry! You can simply add a splash of milk or cream to loosen it up while reheating. Stir thoroughly until you reach your desired consistency. This method works wonders for restoring creaminess!
Is this garlic bread dip suitable for people with dietary restrictions?
Great question! This dip contains dairy, so it’s not suitable for those with lactose intolerance or dairy allergies. However, feel free to substitute ingredients such as cream cheese and sour cream with plant-based versions to make it safe for vegan or lactose-sensitive guests.
Can I make garlic bread dip in advance?
Absolutely! You can prepare the garlic bread dip up to 2 days ahead of time. Simply assemble the dip as instructed, cover it tightly, and store it in the fridge. When you’re ready to serve, just pop it in the oven to bake—it’ll save you time and stress when hosting!

Irresistible Garlic Bread Dip: Creamy, Cheesy Goodness
Ingredients
Equipment
Method
- Preheat your oven to 400°F (200°C). Trim tops of heads of garlic, drizzle with olive oil, and wrap in aluminum foil. Bake for 40-50 minutes until soft and golden brown.
- Reduce oven temperature to 350°F (175°C). Unwrap the foil and squeeze out roasted garlic into a mixing bowl. Mash into a smooth paste.
- Add room-temperature cream cheese and sour cream to the bowl. Mix until smooth and creamy, then stir in mozzarella, half of the Parmesan, salt, and pepper.
- Transfer mixture to a baking dish, sprinkle remaining Parmesan on top, and bake for 25-28 minutes until hot and bubbling.
- Allow cooling for 5 minutes, then garnish with fresh parsley. Serve warm with crostini or crackers.
Leave a Reply