
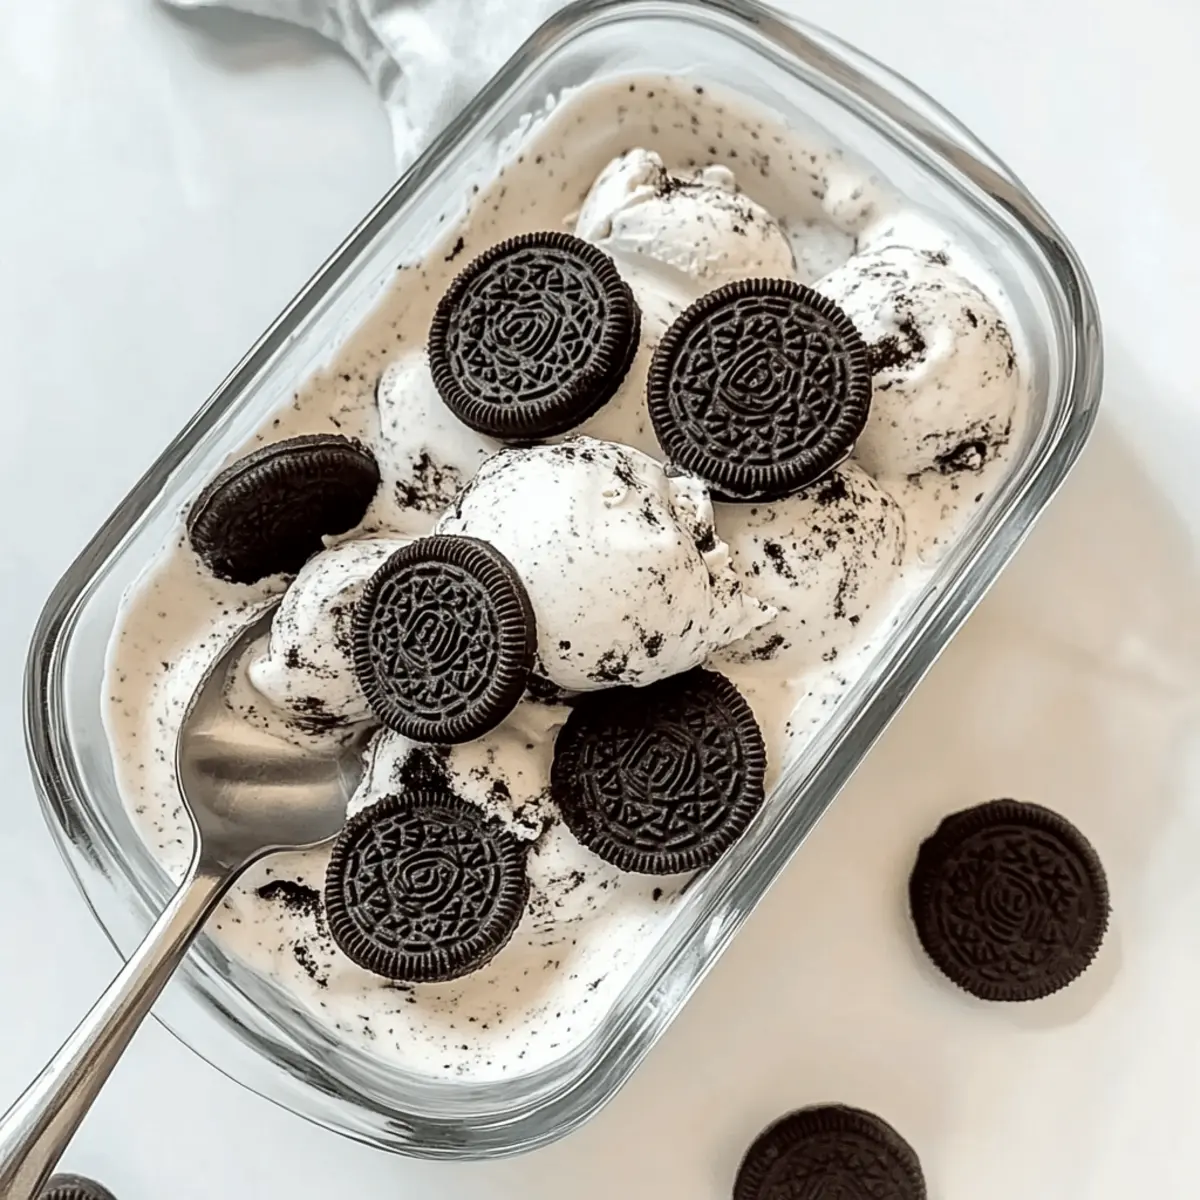
On a sun-drenched afternoon, I found myself longing for that nostalgic treat that always brings a smile: ice cream. But not just any ice cream—I’m talking about a homemade Oreo ice cream that’s as easy to whip up as it is delightful to eat. In just 10 minutes of prep time, you can channel your inner dessert artisan with this no-churn Oreo ice cream recipe that tantalizes the taste buds with creamy vanilla and the satisfying crunch of Oreo cookies. Not only is it egg-free and customizable—perfect for everyone from chocolate lovers to fruit enthusiasts—but it also means you can ditch the store-bought versions for good. So, are you ready to dive into the world of creamy indulgence? Let’s scoop up some fun and explore this deliciously simple recipe together!
Why is Homemade Oreo Ice Cream Irresistible?
Simplicity at its Finest: This homemade Oreo ice cream is incredibly easy to make, requiring just 10 minutes of prep and no ice cream maker needed. Customizable Delight: Create your own unique flavor combinations, whether you prefer a mint chocolate twist or a fruity berry fusion. Crowd-Pleasing Treat: Perfect for gatherings, kids and adults alike will adore its creamy texture and cookie crunch. Versatile Indulgence: Enjoy it straight from the tub or serve it in homemade waffle cones; the possibilities are endless! This creamy joy awaits you, so why not try pairing it with Funfetti Oreo Icebox Cake for an extra layer of fun?
Homemade Oreo Ice Cream Ingredients
For the Base
- Heavy Whipping Cream – Provides rich texture and stability; use cold cream for optimal whipping.
- Sweetened Condensed Milk – Adds essential sweetness and creaminess; no substitutes are viable here.
- Vanilla Extract – Enhances the overall flavor; opt for pure vanilla extract for the best results.
For the Mix-Ins
- Oreo Cookies – Delivers that iconic crunch and flavor; reserve some for topping and experiment with different flavors as fun variations!
With these simple ingredients, you’re on your way to creating delightful homemade Oreo ice cream!
Step‑by‑Step Instructions for Homemade Oreo Ice Cream
Step 1: Chop Cookies
Begin by taking your Oreo cookies and carefully cutting them into small chunks with a sharp knife. Make sure to keep some pieces aside for a decorative topping later on. This will enhance the texture of your homemade Oreo ice cream, providing delightful little bites of cookie throughout the creamy base.
Step 2: Whip Cream
In a large mixing bowl, pour in the cold heavy whipping cream. Using an electric mixer, beat the cream on medium speed until you achieve medium-firm peaks, which should take about 3-5 minutes. The cream should be fluffy but still slightly soft, perfect for holding the structure of your no-churn Oreo ice cream.
Step 3: Combine Ingredients
Next, gently fold in the sweetened condensed milk and vanilla extract into the whipped cream mixture. Use a rubber spatula to incorporate these ingredients slowly, ensuring you maintain the airiness of the cream. Take your time with this step; the lightness is key to the creaminess of your homemade Oreo ice cream.
Step 4: Add Cookies
Now, it’s time to take the fun up a notch! Add about ¾ of the chopped Oreo pieces into the creamy base and gently stir them in, making sure they’re evenly distributed. This will ensure that every bite of your homemade Oreo ice cream is filled with delightful cookie goodness.
Step 5: Freeze
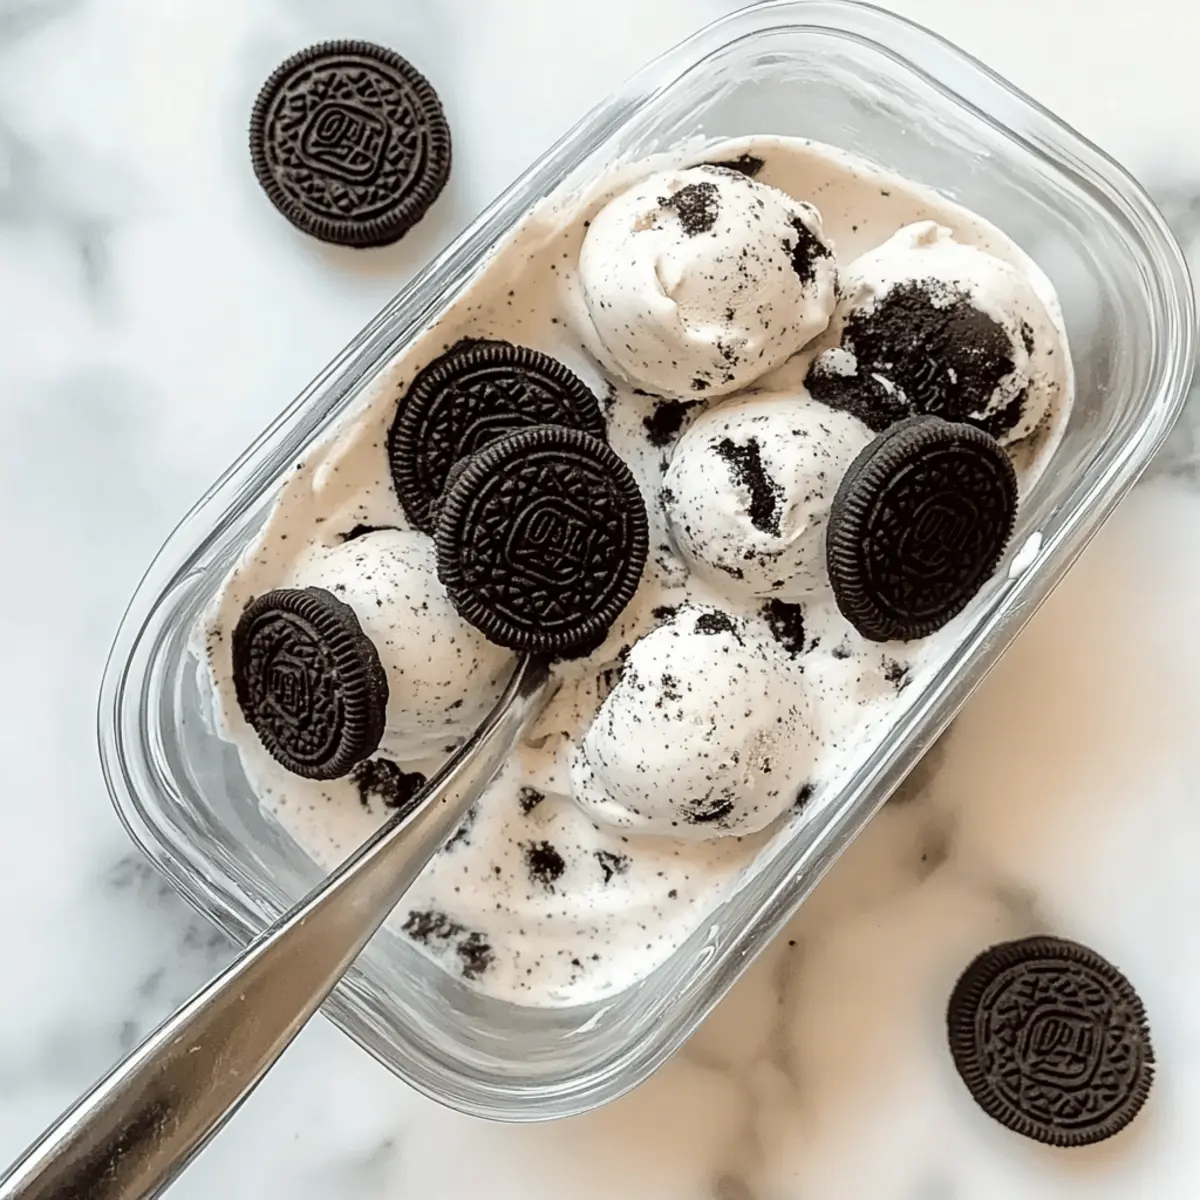
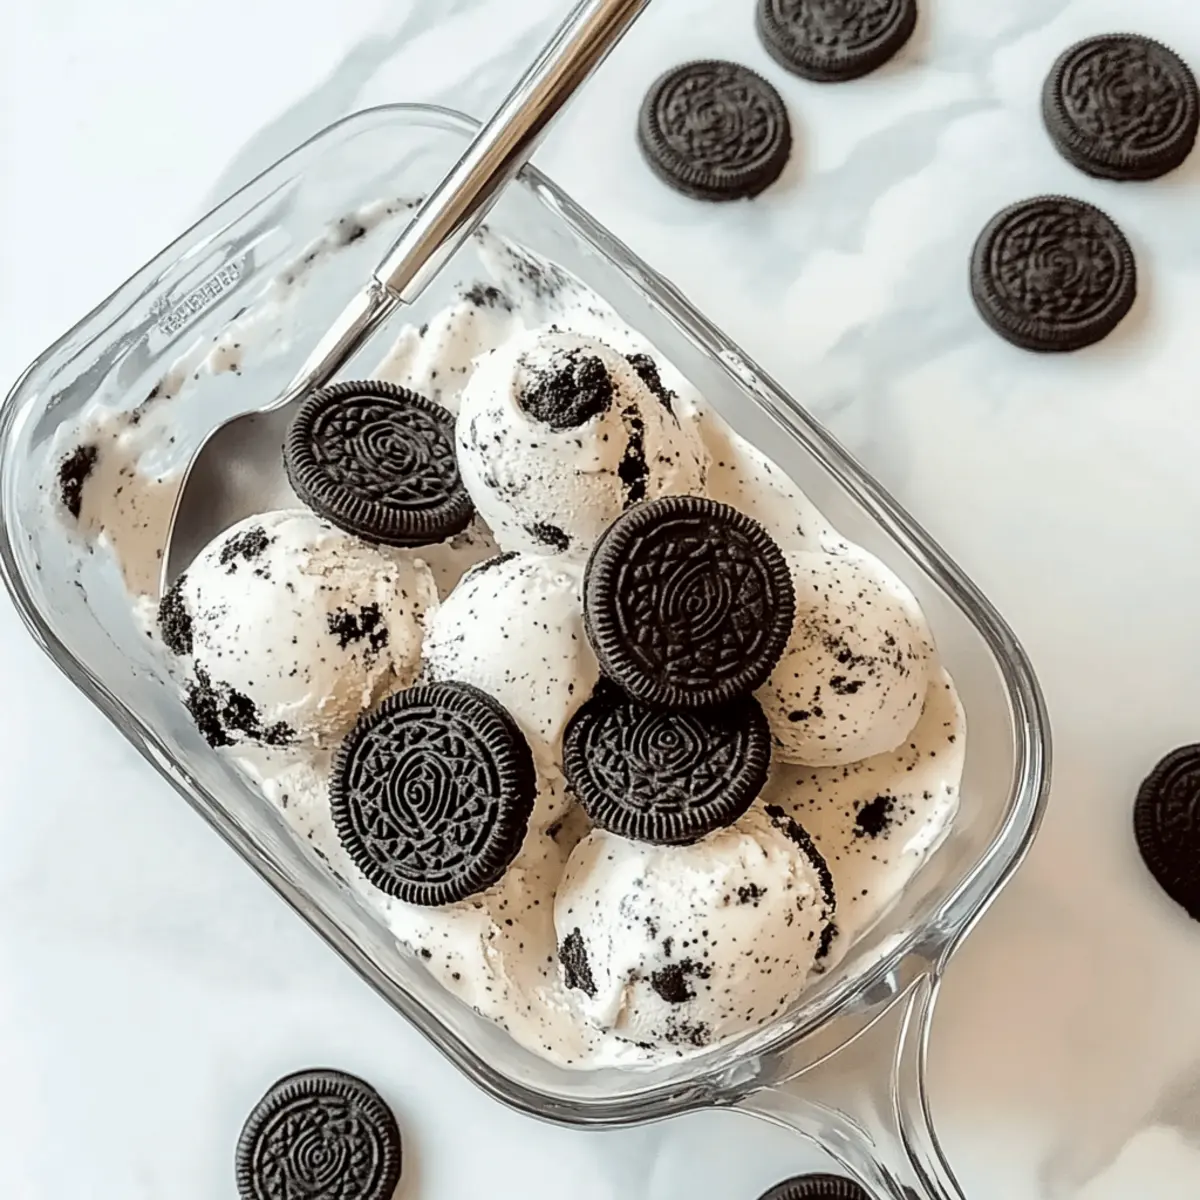
Transfer the rich mixture into a metal pan, spreading it out evenly. Sprinkle the remaining chopped Oreo pieces on top for a beautiful finish. Cover the pan with plastic wrap or a lid and place it in the freezer, allowing it to freeze for 4-6 hours, or until your homemade Oreo ice cream is firm and scoopable.
Step 6: Serve
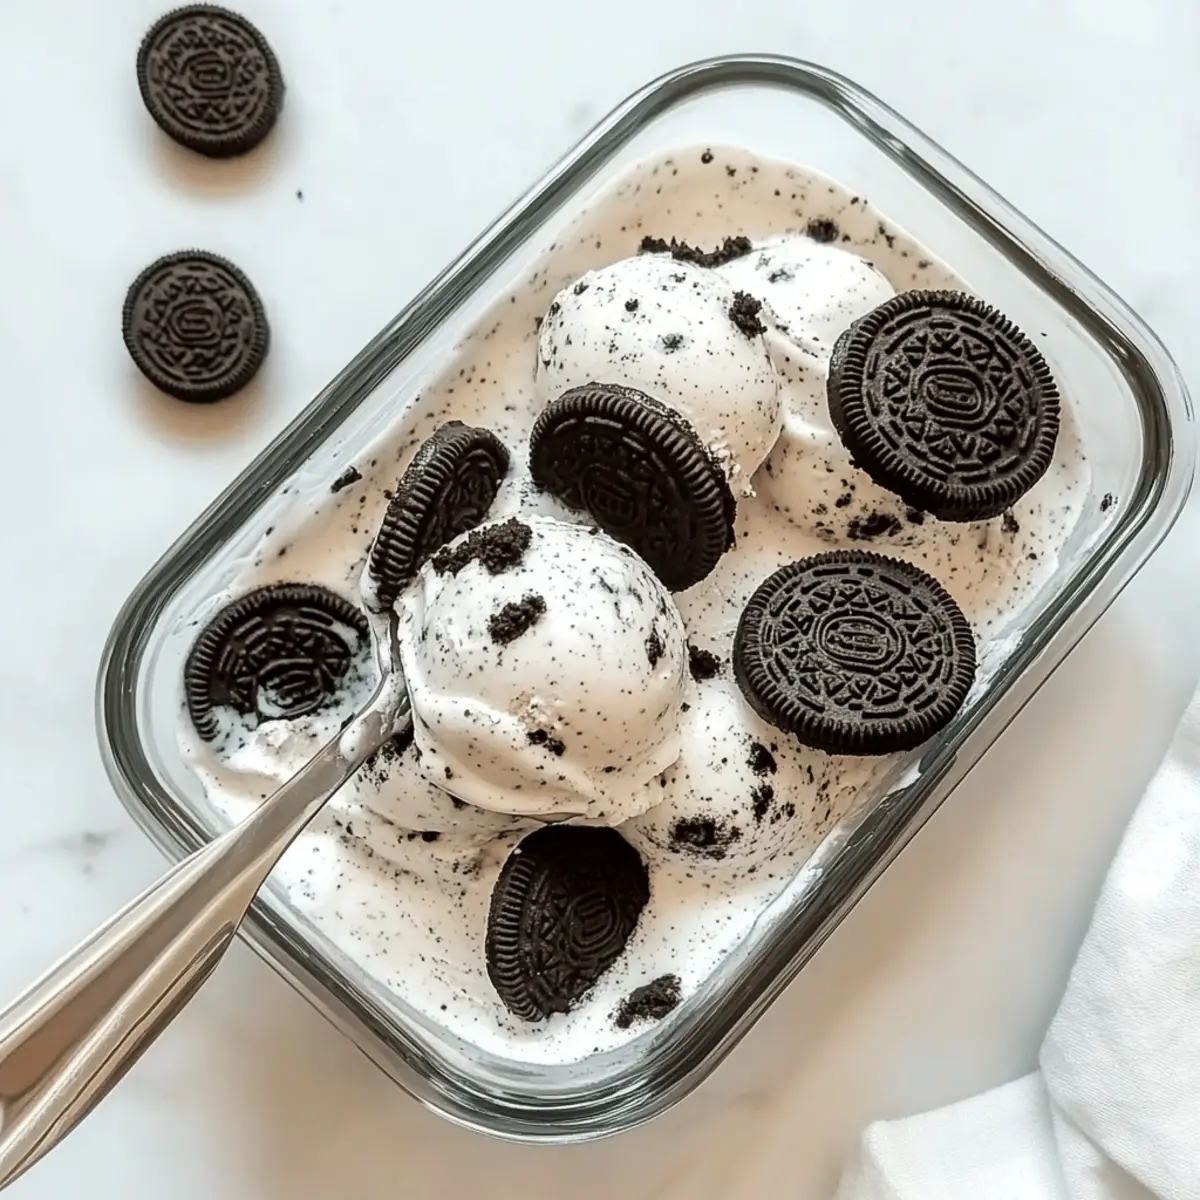
Once your ice cream has set, take it out of the freezer and let it sit at room temperature for about 5-10 minutes before scooping. This will make it easier to serve. Use an ice cream scoop to dish out generous portions into bowls, and feel free to add your favorite toppings like warm chocolate sauce or fresh berries to elevate this delicious treat.
Expert Tips for Homemade Oreo Ice Cream
-
Cold Ingredients: Ensure your heavy whipping cream is cold before whipping; this helps achieve the best texture and volume for your ice cream.
-
Proper Whipping: Be careful not to overwhip your cream. Aim for medium-firm peaks to avoid curdling, which can impact the creaminess of your homemade Oreo ice cream.
-
Gentle Folding: When combining the sweetened condensed milk and vanilla extract, fold gently to maintain the airiness of the whipped cream, ensuring a light texture.
-
Freezing Time: Patience is key! Allow the ice cream to freeze for the full 4-6 hours for the perfect firm and scoopable consistency.
-
Serving Tip: For easier scooping, let the ice cream sit at room temperature for about 5-10 minutes before serving. This will provide that creamy delight you’re longing for!
Homemade Oreo Ice Cream Variations
Feel free to make this homemade Oreo ice cream your own with these fun, delicious twists!
-
Mint Chocolate: Use mint chocolate Oreos instead of regular for a refreshing take; it’s like a breath of fresh air in each scoop!
-
Peanut Butter Swirl: Add in dollops of creamy peanut butter before freezing for a nutty combination that pairs beautifully with the chocolate cookies.
-
Fruit Fusion: Mix in crushed strawberries or pureed raspberries to infuse delightful fruitiness. This twist adds a splash of summer to your ice cream.
-
Dairy-Free: Swap heavy cream for coconut cream and use dairy-free sweetened condensed milk for a vegan-friendly version. It’s rich yet refreshingly tropical!
-
Flavored Fudge: Create a luxurious texture by swirling chocolate or caramel fudge through the mixture before freezing. This layer of decadence will have everyone asking for seconds.
-
Nut-Free Option: For a nut-free variant, simply avoid any ingredients that may contain nuts and stick to the classic flavors. It’s still a crowd-pleaser for those with allergies!
-
Savory and Sweet: Try incorporating a pinch of sea salt and a drizzle of olive oil before serving. It adds a sophisticated depth to this childhood favorite!
-
Cookie Dough Chunks: Toss in pieces of cookie dough for an extra chewy texture. Just make sure to use egg-free cookie dough for a safe treat!
Enjoy crafting your unique homemade ice cream creation, and don’t hesitate to explore other delightful recipes like Oreo Ice Cream or Chewy Oreo Chocolate Chip Cookies!
What to Serve with No-Churn Oreo Ice Cream?
Indulging in this creamy dessert opens the door to countless delightful pairings that elevate your experience.
-
Warm Chocolate Sauce: Drizzling warm chocolate sauce over your scoops adds a luxurious touch, enhancing the rich, sweet flavors of the ice cream.
-
Fresh Berries: Fresh raspberries, strawberries, or blueberries provide a tart contrast that brightens each bite and adds a burst of color.
-
Crispy Waffle Cones: Serve your homemade Oreo ice cream in crisp waffle cones for a delightful crunch that perfectly complements the creamy texture. The fun of eating it out of a cone adds a nostalgic twist!
-
Minty Whipped Cream: A dollop of mint-flavored whipped cream brings a refreshing element, balancing out the sweetness with a hint of coolness.
-
Toasted Coconut Flakes: The chewy texture and nutty flavor of toasted coconut flakes add a delicious tropical note, making every scoop even more interesting.
-
Chocolate Chip Cookies: Pairing your ice cream with freshly baked chocolate chip cookies turns it into an indulgent sundae experience that’s hard to resist!
-
Coconut Cream: For a tropical flair, consider whipping up some coconut cream. Its light sweetness and creamy texture will harmonize beautifully with your Oreo ice cream.
-
Espresso or Coffee: A cup of strong espresso or coffee complements the flavors well, enhancing the dessert’s richness while providing a nice caffeine boost.
-
Pecan Pie: Serve slices of pecan pie alongside your ice cream to introduce a crunchy, buttery layer to this decadent treat—truly an irresistible combination!
Make Ahead Options
These homemade Oreo ice cream treats are a dream come true for busy home cooks looking to save time! You can prepare the ice cream mixture up to 24 hours in advance by following steps 1 to 4—the cookie chopping, whipping the cream, combining ingredients, and adding the cookies. Simply cover the bowl tightly and refrigerate until you’re ready to freeze it. To maintain the creamy texture, make sure the mixture is well-stirred before pouring it into the metal pan for freezing. When it’s time to enjoy, just follow step 5 to freeze for 4-6 hours, and then scoop straight from the freezer, indulging in your effortlessly delicious homemade Oreo ice cream!
How to Store and Freeze Homemade Oreo Ice Cream
Fridge: Store in the fridge for up to 2 days if you plan to consume it shortly after making; use an airtight container to maintain freshness.
Freezer: For long-term storage, place the homemade Oreo ice cream in an airtight container, covering the surface with plastic wrap to prevent freezer burn. It can last up to 2 weeks.
Reheating: Let the ice cream sit at room temperature for 5-10 minutes before serving for easier scooping. Enjoy as-is or top with your favorite toppings—it’s a treat worth savoring!
Homemade Oreo Ice Cream Recipe FAQs
How do I choose the right Oreo cookies?
When selecting Oreo cookies for your homemade Oreo ice cream, look for cookies that are fresh and without any dark spots or signs of stale. You can experiment with different flavors, like mint or peanut butter, to create unique variations that suit your taste. Whichever you choose, make sure to save a few for a delightful topping!
How should I store leftover homemade Oreo ice cream?
To ensure your ice cream stays fresh, store it in an airtight container in the freezer. For optimal preservation, cover the surface with plastic wrap before sealing the lid to prevent freezer burn. This will keep your homemade Oreo ice cream delicious for up to 2 weeks!
Can I freeze homemade Oreo ice cream for longer storage?
Absolutely! If you plan to save your ice cream for a longer period, you can freeze it in an airtight container. Just ensure the container is well-sealed, and it can last for up to 2 weeks without losing its deliciousness. If freezing for an extended time, consider labeling with the date to keep track.
What if my whipped cream doesn’t get fluffy?
No worries! To troubleshoot this, ensure your heavy whipping cream is cold before you start whipping. If you’re still struggling to achieve medium-firm peaks, it might help to check if your mixer and bowl are clean and dry, as oil residue can hinder the whipping process. If it’s too soft, try re-whipping gently until you reach the desired consistency.
Is this recipe safe for people with egg allergies?
Yes, the homemade Oreo ice cream recipe is egg-free, making it a safe option for those with egg allergies! It’s perfect for everyone to enjoy without worry. Additionally, if you have nut allergies, be cautious about the type of cookies you choose, as some variations may introduce allergens.
Can I make a dairy-free version of this ice cream?
Absolutely! For a dairy-free homemade Oreo ice cream, substitute heavy cream with coconut cream and use dairy-free sweetened condensed milk. Simply follow the same steps as you would for the traditional recipe, and you can enjoy a creamy, indulgent ice cream that stays true to its delicious nature!
Homemade Oreo Ice Cream: Creamy Joy in Every Scoop
Ingredients
Equipment
Method
- Begin by taking your Oreo cookies and carefully cutting them into small chunks with a sharp knife.
- In a large mixing bowl, pour in the cold heavy whipping cream. Using an electric mixer, beat on medium speed until medium-firm peaks form, about 3-5 minutes.
- Gently fold in the sweetened condensed milk and vanilla extract into the whipped cream mixture.
- Add about ¾ of the chopped Oreo pieces into the creamy base and gently stir them in.
- Transfer the mixture into a metal pan, spreading it out evenly. Sprinkle remaining chopped Oreo pieces on top and cover with plastic wrap.
- Place in the freezer for 4-6 hours, or until firm and scoopable.
- Let the ice cream sit at room temperature for about 5-10 minutes before scooping.
Leave a Reply