
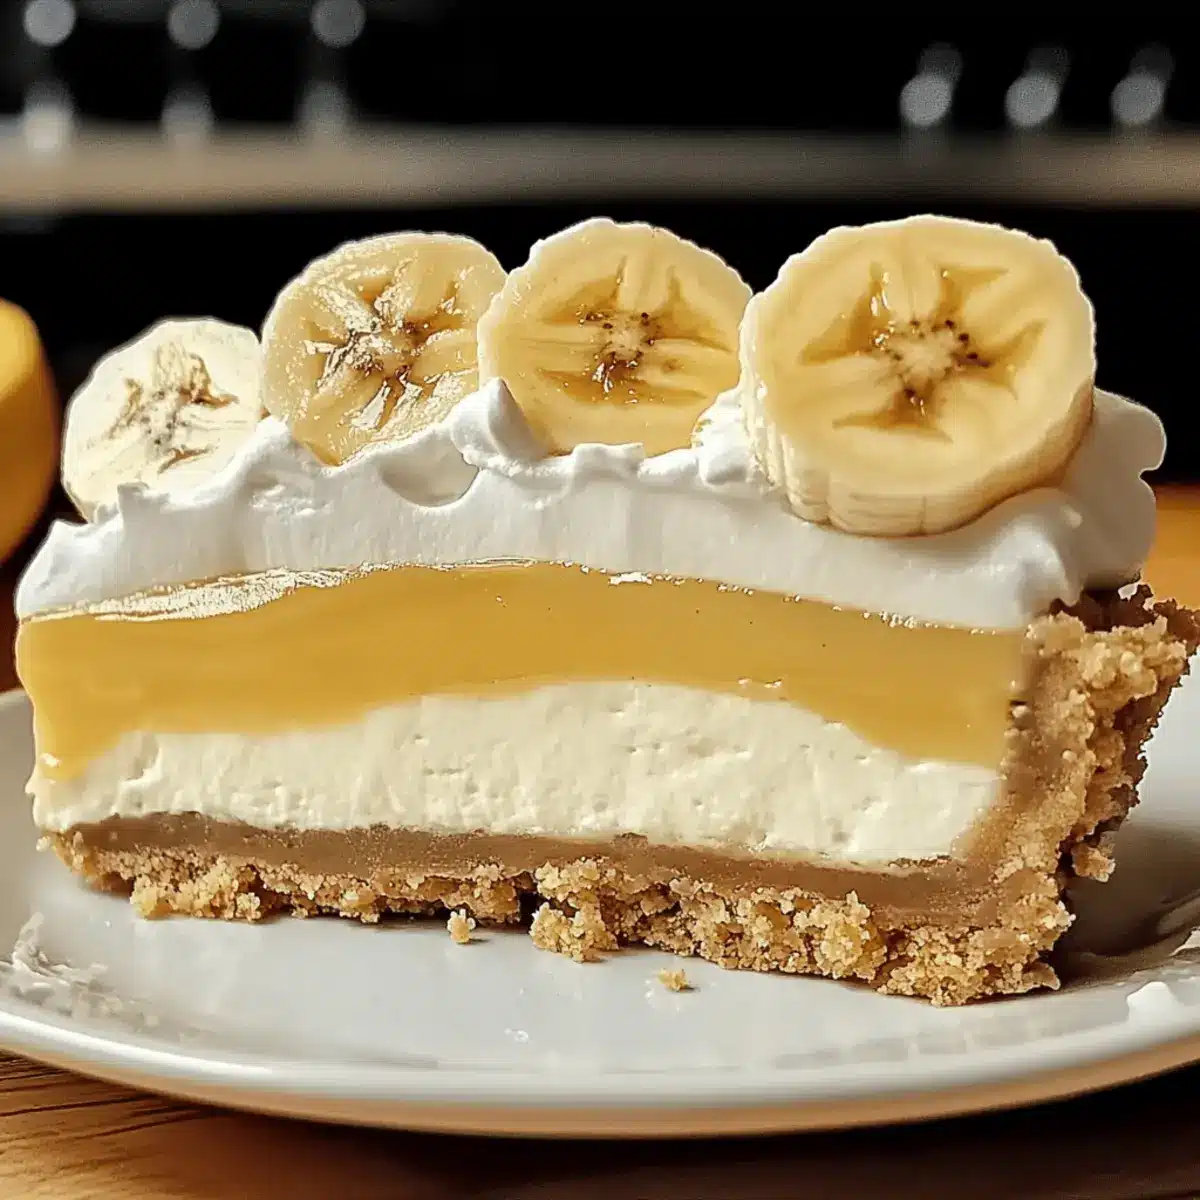
As I stirred the mixture together, the sweet aroma of bananas filled my kitchen, instantly whisking me away to sunlit picnic days of my childhood. This No-Bake Banana Pudding Cheesecake Dessert brings those cherished memories to life, combining creamy layers of banana goodness with the satisfying crunch of vanilla wafers. What’s even better? This delightful treat is not just simple to make; it’s family-friendly and perfect for any occasion, seamlessly fitting into your busy schedule. You can whip it up in no time, and it’s guaranteed to be a hit at gatherings, leaving your guests reaching for seconds. Ready to dive into a slice of nostalgia? Let’s make this creamy dream a reality!
Why is this cheesecake so irresistible?
Creamy Layers: Indulge in smooth, velvety textures that melt in your mouth, thanks to the perfect blend of cream cheese and whipped cream.
Family Fun: Engage the whole family in preparing this no-bake treat, making it a fun culinary experience.
Quick Prep: With a simple 30-minute preparation, you’ll have a delightful dessert ready to chill without fussing over the oven.
Versatile Options: Feeling adventurous? Try variations like chocolate pudding or seasonal fruits to customize each bite to your liking.
Perfect for Gatherings: This cheesecake is a showstopper at any party, ensuring your guests will be begging for the recipe.
No-Bake Banana Pudding Cheesecake Ingredients
• Create the perfect layers with these simple components!
For the Crust
- Vanilla Wafers – Adds a crunchy texture; feel free to substitute with graham crackers for a different flavor.
- Butter – Binds the crust ingredients together; adjust the quantity based on the type of cookie used, typically ⅓ cup is ideal.
For the Cheesecake Filling
- Cream Cheese – Provides a luxuriously creamy base; ensure you use full-fat for the best texture.
- Sweetened Condensed Milk – Brings sweetness and creaminess; you can reduce the amount if you prefer a less sweet dessert.
- Instant Banana Pudding Mix – Key for flavor and thickening; do not use regular pudding as it won’t set properly.
- Heavy Whipping Cream – Contributes airy lightness when whipped; full-fat is essential for optimal results.
This delicious No-Bake Banana Pudding Cheesecake Dessert is sure to become a cherished favorite in your home!
Step‑by‑Step Instructions for No-Bake Banana Pudding Cheesecake Dessert
Step 1: Prepare the Crust
Begin by crushing 2 cups of vanilla wafers until they resemble fine crumbs, using a food processor or a rolling pin. In a mixing bowl, combine the crumbs with ⅓ cup of melted butter, stirring until fully blended. Press this mixture firmly into the bottom of a 9-inch springform pan to create a solid crust. Chill the pan in the refrigerator for 30 minutes to help it set.
Step 2: Mix the Filling
In a large mixing bowl, beat 8 ounces of cream cheese and 1 cup of sweetened condensed milk together using an electric mixer on medium speed until smooth and creamy. Gradually add 3.4 ounces of instant banana pudding mix, continuing to mix until the filling thickens and becomes well combined. It should be thick enough to hold its shape when spread over the crust.
Step 3: Incorporate Whipped Cream
In a separate bowl, whip 1 cup of heavy cream using an electric mixer until stiff peaks form—this usually takes about 2-3 minutes. Gently fold the whipped cream into the banana filling mixture using a spatula, making sure to maintain the airy texture. This step ensures your No-Bake Banana Pudding Cheesecake Dessert has a light and fluffy consistency.
Step 4: Assemble the Cheesecake
Once the filling is ready, pour it evenly over the chilled crust in the springform pan. Use a spatula to smooth the top and ensure it’s even. To release any air bubbles, tap the pan gently on the counter. This careful assembly will help create a beautiful layering effect for your cheesecake.
Step 5: Chill
Cover the springform pan with plastic wrap and place it in the refrigerator. Allow the cheesecake to chill for at least 6 hours or overnight for the best results. The longer it sits, the more the flavors will meld and the filling will set, resulting in a deliciously creamy No-Bake Banana Pudding Cheesecake Dessert that will impress your family and friends.
Make Ahead Options
These No-Bake Banana Pudding Cheesecake Desserts are perfect for meal prep and can save you valuable time on busy days! You can prepare the crust and filling up to 24 hours in advance. Start by making the crust and letting it set in the refrigerator, then mix the filling and keep it separately, covered tightly to maintain freshness. When you’re ready to serve, simply pour the filling over the crust, smooth the top, and chill for an additional 30 minutes to ensure a firm texture. This way, your cheesecake remains just as delicious and creamy, all while you juggle your busy schedule. Enjoy restaurant-quality dessert with minimal effort!
No-Bake Banana Pudding Cheesecake Variations
Explore delightful twists on this classic dessert to suit your taste!
-
Chocolate Twist: Substitute banana pudding with chocolate pudding for a rich, indulgent flavor. This creates a beautifully layered cheesecake that’s both familiar and exciting.
-
Fruit-Infused: Layer in fresh berries, sliced peaches, or even tropical fruits like mango for a refreshing surprise within each creamy bite. The bursts of flavor beautifully complement the bananas and add a vibrant touch.
-
Nutty Delight: Incorporate crushed walnuts or pecans into the crust for extra crunch and flavor. This adds a delightful texture that contrasts with the creamy filling, making every slice simply irresistible.
-
Dairy-Free Option: Use dairy-free cream cheese and coconut cream to create a rich, vegan-friendly version. The coconut adds a lovely hint of tropical flavor while keeping that creamy dream alive.
-
Caramel Drizzle: Add a swirl of caramel sauce into the cheesecake filling for a sweet enhancement that pairs perfectly with bananas. This decadent touch will elevate the dessert to a whole new level of deliciousness.
-
Seasonal Spice: Sprinkle a pinch of cinnamon or nutmeg into the filling for a cozy, spiced version of your cheesecake. These warm flavors bring a whole new dimension, especially during the cooler months.
-
Gluten-Free Option: Swap out the vanilla wafers for gluten-free cookies or graham crackers to enjoy a gluten-friendly treat that everyone can savor. This ensures no one misses out on this family favorite.
If you want to wow your guests, don’t forget to check out my posts on Cinnamon Swirl Banana Bread and Strawberry Crunch Cheesecake for more creative dessert ideas!
What to Serve with No Bake Banana Pudding Cheesecake
Elevate your dessert experience with delightful pairings that complement the luscious sweetness of this cheesecake.
-
Fresh Berries: They add a tangy contrast that balances the creamy sweetness of the cheesecake, making each bite even more delightful.
-
Whipped Cream: A dollop of homemade whipped cream enhances the cheesecake’s creamy texture, creating a dreamy mouthfeel that is irresistible.
-
Caramel Sauce: A drizzle of warm caramel adds a rich sweetness that beautifully contrasts with the banana flavor, inviting a luscious layer of taste.
-
Chocolate Shavings: Sprinkling chocolate shavings on top provides a delightful crunch and a hint of richness, perfect for chocolate lovers!
-
Mint Leaves: Fresh mint provides a pop of color and a refreshing finish that brightens the sweet, creamy flavor of the dessert.
-
Iced Coffee: The boldness of iced coffee complements the flavors of the cheesecake and makes for a refreshing drink to sip alongside.
-
Vanilla Ice Cream: A scoop of ice cream adds a deliciously cold and creamy element that melts beautifully against the rich cheesecake.
-
Coconut Flakes: Toasted coconut gives a nutty, chewy texture that enhances the tropical vibe of the banana flavor, making it feel like a getaway treat.
-
Dark Chocolate Espresso Beans: For a crunchy treat, pair with these gems that lend a caffeine kick to elevate the decadent dessert experience.
-
Zesty Lemonade: The tartness of lemonade refreshes the palate, making it a delightful beverage contrast to the sweet cake, truly completing your dessert spread.
Expert Tips for No-Bake Banana Pudding Cheesecake
-
Chilling Time: Ensure you chill the cheesecake for at least 6 hours. Shorter chilling times can lead to a runny consistency that doesn’t hold its shape.
-
Quality Ingredients: Using high-quality cream cheese and heavy cream will elevate the flavor and texture of your No-Bake Banana Pudding Cheesecake, so don’t skimp!
-
Stiff Peaks: When whipping the cream, watch for stiff peaks before folding it into the filling. This step is crucial for an airy texture, making each slice light and fluffy.
-
Filling Consistency: If the filling doesn’t seem to thicken enough, add a little extra pudding mix before chilling it again. It’ll help achieve that perfect creamy texture.
-
Flavor Variations: Don’t hesitate to get creative with flavors! Try incorporating chocolate pudding or fresh fruit to make this cheesecake uniquely yours.
Storage Tips for No-Bake Banana Pudding Cheesecake
Fridge: Store your No-Bake Banana Pudding Cheesecake in an airtight container for up to 3 days to keep it fresh and tasty.
Freezer: For longer storage, freeze the cheesecake wrapped tightly in plastic wrap and then foil for 1-2 months. Thaw in the fridge overnight before enjoying.
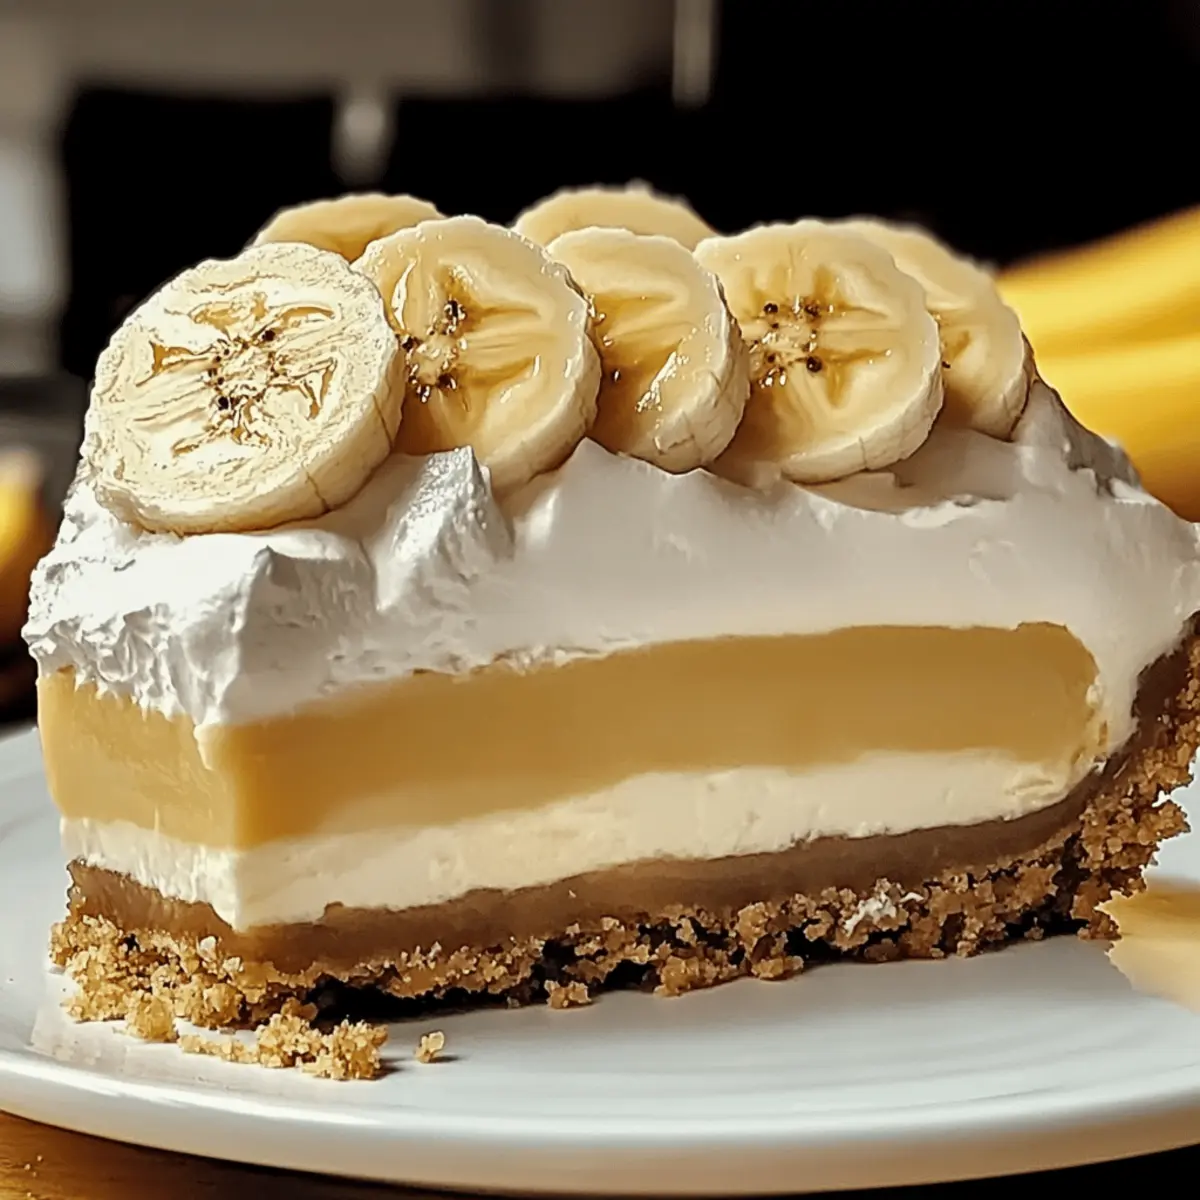
Serving Suggestions: When ready to serve, garnish with whipped cream and banana slices for an elegant touch that will impress your guests.
Reheating: Since this dessert is served cold, simply slice and enjoy! No reheating is necessary, allowing you to savor every creamy bite.
No Bake Banana Pudding Cheesecake Recipe FAQs
How do I choose ripe bananas for this cheesecake?
Absolutely! Look for bananas that are slightly brown with some spots, as they offer the sweetest flavor and are perfect for mixing into the filling. Avoid overripe bananas that are mushy and have dark spots all over, as they can affect the texture of your cheesecake.
What is the best way to store leftovers?
Very easy! You can store your No Bake Banana Pudding Cheesecake in an airtight container in the refrigerator for up to 3 days. This keeps it fresh and delicious. If you’ll be enjoying it later, wrap it tightly in plastic wrap and then foil to freeze for up to 1-2 months.
Can I freeze the No Bake Banana Pudding Cheesecake?
Definitely! To freeze, carefully wrap the cheesecake in plastic wrap and then in aluminum foil to prevent freezer burn. When you’re ready to enjoy it, simply thaw it in the refrigerator overnight before slicing. This method helps retain the creamy texture and flavors.
What should I do if my cheesecake doesn’t set properly?
If you find your cheesecake isn’t holding its shape, don’t worry! First, ensure it has chilled for at least 6 hours, as it’s crucial for setting. If it still seems runny, consider mixing in a little extra instant banana pudding mix to your filling, then chill it again. Remember, the longer it sits, the firmer it will become.
Are there any dietary considerations for pets or allergies?
Absolutely! If you have pets, keep this cheesecake away from them, as ingredients like cream cheese and heavy whipping cream aren’t suitable for animals. Additionally, check for any allergies in your guests; you can easily make a dairy-free version using dairy-free cream cheese and whipped coconut cream for those who need it.
Can I customize the flavor of my cheesecake?
Very much so! This No Bake Banana Pudding Cheesecake is versatile. Feel free to experiment with different pudding flavors, like chocolate for a richer taste, or even add layers of fresh fruits like strawberries or blueberries to make it your own. Have fun with it, as the more the merrier!
No-Bake Banana Pudding Cheesecake Dessert That Everyone Loves
Ingredients
Equipment
Method
- Begin by crushing 2 cups of vanilla wafers until they resemble fine crumbs. In a mixing bowl, combine the crumbs with ⅓ cup of melted butter, stirring until blended. Press firmly into the bottom of a 9-inch springform pan and chill for 30 minutes.
- In a large bowl, beat 8 ounces of cream cheese and 1 cup of sweetened condensed milk together until smooth. Gradually add 3.4 ounces of instant banana pudding mix, mixing until thickened.
- In a separate bowl, whip 1 cup of heavy cream until stiff peaks form. Gently fold the whipped cream into the banana filling mixture, maintaining the airy texture.
- Pour the filling evenly over the chilled crust and smooth the top. Tap the pan gently to release air bubbles.
- Cover with plastic wrap and refrigerate for at least 6 hours or overnight for best results.
Leave a Reply