
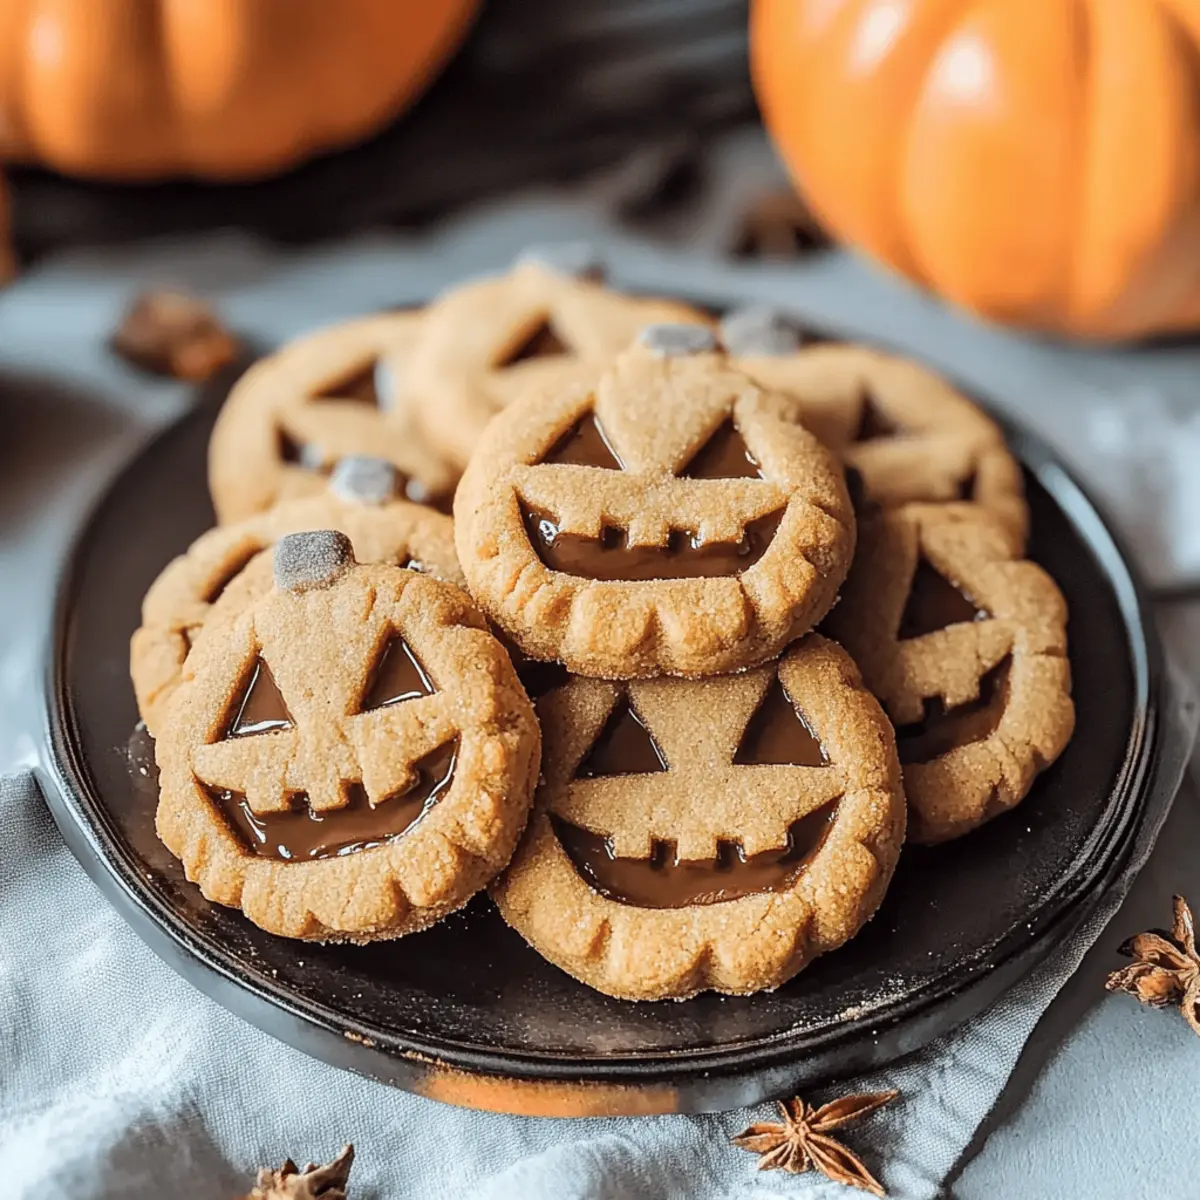
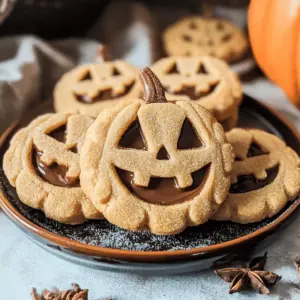
As the crisp autumn air settles in, my kitchen transforms into a hub of seasonal magic. There’s something enchanting about Halloween baking, especially when it involves these delightful Milk Chocolate Stuffed Jack-O’-Lantern Cookies. With their spiced brown sugar cookies hugging a luscious chocolate center, they bring a cozy warmth perfect for those festive gatherings. The best part? These spooky treats are both fun to make and incredibly satisfying to devour! Plus, they’re easy to whip up, making them a fantastic choice for anyone looking to wow friends and family with minimal effort. Are you ready to unleash your culinary creativity with a sprinkle of Halloween spirit?
Why Are These Cookies A Must-Try?
Deliciously Fun: Get ready for a treat that is both visually striking and palate-pleasing. These cookies combine spiced brown sugar and rich milk chocolate, creating a mouthwatering experience that captures the essence of Halloween.
Easy to Make: With simple ingredients and straightforward steps, even novice bakers can craft these festive cookies with ease. Just like my popular Eyeball Pasta Salad, the charm lies in the design and taste!
Perfect for Sharing: These Jack-O’-Lantern Cookies are the ultimate crowd-pleaser, sure to impress at parties and gatherings.
Creative Variations: Feeling adventurous? Experiment with different shapes and chocolate fillings to match any occasion.
Memorable Touch: Each bite delivers a fun surprise, making them perfect for creating joyful memories with friends and family this autumn.
Seasonal Spirit: Embrace the Halloween vibe while creating delightful treats that brighten up any festive table!
Spooky Stuffed Pumpkin Cookies Ingredients
• Get ready to bake the ultimate Halloween treat!
-
For the Cookies
-
Salted Butter – 1 1/2 cups (3 sticks); adds richness and moisture to these spooky stuffed pumpkin cookies.
-
Light Brown Sugar – 1 1/4 cups, packed; sweetens and contributes to a chewy texture.
-
Pure Vanilla Extract – 1 tablespoon; enhances the flavor complexity beautifully.
-
Eggs – 2, at room temperature; provides essential structure and moisture.
-
All-Purpose Flour – 4 1/2 cups; the main ingredient for building cookie structure.
-
Baking Soda – 1 teaspoon; helps the cookies rise to fluffiness.
-
Cinnamon – 1 teaspoon; adds a warm, autumnal touch to the cookies.
-
Ginger – 1/2 teaspoon; imparts a delightful hint of spicy warmth.
-
Nutmeg – 1/4 teaspoon; brings an additional layer of warmth and nutty flavor.
-
Salt – 1/2 teaspoon; balances the sweetness in these treats.
-
For the Filling
-
Milk Chocolate – 12 ounces, melted; serves as the luscious filling for our spooky cookies.
-
For the Topping
-
Cinnamon Sugar – 3 tablespoons; creates an enjoyable outer crust that enhances cookie appeal.
This delightful combination is sure to make your Halloween gatherings sweeter with these spooky stuffed pumpkin cookies!
Step‑by‑Step Instructions for Milk Chocolate Stuffed Jack-O’-Lantern Cookies
Step 1: Cream the Butter and Sugar
In a large mixing bowl, beat together 1 1/2 cups of salted butter, 1 1/4 cups of light brown sugar, and 1 tablespoon of pure vanilla extract until the mixture is light and fluffy, about 3 to 5 minutes. You’ll know it’s ready when it appears pale and airy. This step lays the foundation for the delightful flavor of your Milk Chocolate Stuffed Jack-O’-Lantern Cookies.
Step 2: Incorporate Eggs
Add 2 room temperature eggs, one at a time, blending well after each addition. This process helps the mixture emulsify, leading to a moist texture in your cookies. Make sure the batter is smooth and well combined before moving on, as this will ensure even baking throughout each spooky Jack-O’-Lantern cookie!
Step 3: Mix in the Dry Ingredients
Gradually sift in 4 1/2 cups of all-purpose flour, 1 teaspoon of baking soda, 1 teaspoon of cinnamon, 1/2 teaspoon of ginger, 1/4 teaspoon of nutmeg, and 1/2 teaspoon of salt. Mix until a dough starts to form, ensuring no dry patches remain. This spiced mixture is what gives the cookies their warm flavor, perfect for the Halloween festivities!
Step 4: Shape and Chill the Dough
Divide the dough in half and shape each portion into a disk. Cover with plastic wrap and flatten them slightly. Chill the disks in the refrigerator for at least 30 minutes. This chilling process is crucial for maintaining the shape of your cookies when you cut them into jack-o-lantern shapes later.
Step 5: Roll and Cut Out Shapes
After chilling, preheat your oven to 350°F (175°C). On a floured surface, roll out one disk of dough to about 1/4 inch thickness. Use a jack-o-lantern cookie cutter to cut out shapes, and a pairing knife to create facial features. Transfer the cut-out cookies to prepared baking sheets and refrigerate them for another 15-20 minutes to ensure they hold their shapes in the oven.
Step 6: Bake the Cookies
Once chilled, bake the cookies in your preheated oven for 8-12 minutes, or until they are lightly golden yet soft to the touch. The cookies should still be slightly puffy in the center, providing an inviting texture for your Milk Chocolate Stuffed Jack-O’-Lantern Cookies.
Step 7: Cool the Cookies
Allow the cookies to cool on the baking sheet for about 5 minutes before transferring them to wire racks. This cooling time helps them to firm up just right while retaining a soft center. Enjoy the delightful aroma wafting through your kitchen as you prepare for the final touches!
Step 8: Assemble the Cookies
For the final assembly, melt 12 ounces of milk chocolate in a microwave-safe bowl, stirring every 30 seconds until smooth. Brush browned butter onto half of the cooled cookies, sprinkle with cinnamon sugar, and then add a generous dollop of melted chocolate to the remaining cookies. Sandwich the chocolate-filled cookies between the decorated ones, and marvel at your deliciously fun Milk Chocolate Stuffed Jack-O’-Lantern Cookies!
Expert Tips for Spooky Stuffed Pumpkin Cookies
-
Chill the Dough: Always ensure the dough is well-chilled before rolling it out. This helps maintain the shape of your spooky stuffed pumpkin cookies during baking.
-
Avoid Overbaking: Keep a close eye on the cookies as they bake. Overbaking can lead to hard cookies instead of the soft and chewy texture you desire.
-
Creative Faces: When cutting out shapes, feel free to get creative with the facial designs on your jack-o-lanterns. Unique imperfections can add personality and charm.
-
Use High-Quality Chocolate: Opt for good-quality milk chocolate for the filling. The richer flavor will enhance the indulgence of these spooky stuffed pumpkin cookies.
-
Balancing Spices: Adjust the spice levels according to your taste. If you prefer a stronger ginger flavor, consider increasing its amount, but balance it with the other spices.
-
Storage Tip: To keep your cookies fresh, store them in an airtight container. You can freeze them for longer storage, avoiding any loss of that delightful flavor.
Storage Tips for Spooky Stuffed Pumpkin Cookies
- Room Temperature: Store cookies in an airtight container at room temperature for up to 3 days to maintain their chewy texture and delicious flavor.
- Fridge: If you prefer, keep the cookies in the fridge; they’ll stay fresh and can last up to a week. Just allow them to come to room temperature before enjoying.
- Freezer: For longer storage, freeze the assembled cookies in a single layer on a baking sheet, then transfer to a zip-top bag or airtight container. They can last up to 3 months in the freezer.
- Reheating: To revive the cookies, warm them in the microwave for 10-15 seconds or enjoy them slightly chilled for a refreshing treat. These Spooky Stuffed Pumpkin Cookies are sure to satisfy!
Make Ahead Options
These Milk Chocolate Stuffed Jack-O’-Lantern Cookies are perfect for busy home cooks looking to save time without sacrificing flavor! You can prepare the cookie dough up to 24 hours in advance; just shape it into disks, wrap it tightly in plastic, and refrigerate. When you’re ready to bake, simply roll out the chilled dough, cut your jack-o-lantern shapes, and chill again for 15-20 minutes before baking. Additionally, you can melt the milk chocolate filling and refrigerate it for up to 3 days; just reheat it gently before assembling the cookies. Following these steps ensures your spooky treats taste just as delicious as when freshly made!
Spooky Stuffed Pumpkin Cookies Variations
Feel free to let your creativity shine as you customize these delightful cookies to your taste and occasion.
-
Chocolate Swap: Replace milk chocolate with dark chocolate or white chocolate for a different flavor profile. The choice totally transforms the dessert!
-
Nutty Twist: Add chopped nuts like walnuts or pecans to the cookie dough for a delightful crunch. The contrast in textures elevates every bite.
-
Spicy Kick: For a bit of heat, sprinkle cayenne pepper into the warm spices blend. This surprise element will surely intrigue your guests!
-
Fun Shapes: Use various cookie cutters to create different Halloween shapes beyond jack-o-lanterns. Ghosts or bats will add an extra festive touch to your party!
-
Fruity Addition: Mix in dried cranberries or raisins for a burst of sweetness and chews. These fruity bits beautifully complement the chocolate filling.
-
Less Sweet: Cut back on the brown sugar a little if you prefer a less sweet cookie. Balance is key for those looking to enjoy a milder dessert!
-
Savory Notes: Incorporate a teaspoon of roasted pumpkin seeds into the filling for a unique savory note. This unexpected ingredient adds a delightful crunch!
-
Additional Toppings: Consider drizzling your cookies with caramel sauce in addition to the chocolate. It’s an indulgent touch that will have everyone clamoring for more.
These variations can truly elevate your Spooky Stuffed Pumpkin Cookies. For more enchanting Halloween ideas, check out my delicious Eyeball Pasta Salad or transform your menu with other festive treats!
What to Serve with Milk Chocolate Stuffed Jack-O’-Lantern Cookies
These delightful cookies bring warmth and spooky charm to your Halloween gatherings, so let’s create a festive meal to complement them!
- Warm Apple Cider: Nothing says fall quite like a steaming cup of spiced apple cider, enhancing the warm spices in the cookies.
- Vanilla Ice Cream: Creamy and rich, a scoop of vanilla ice cream perfectly balances the sweet, spiced flavor of the cookies, making it a heavenly pairing.
- Pumpkin Soup: A savory bowl of pumpkin soup with a hint of nutmeg provides a comforting contrast to the sweeter treats. The seasonal flavors harmonize beautifully.
- Cheese Platter: A selection of rich cheeses, like brie or cheddar, offers a delightful savory bite that contrasts with the sweetness of your spooky stuffed pumpkin cookies.
- Chocolate Milk: For a nostalgic touch, a glass of chocolaty goodness echoes the luscious filling, making every bite of cookie even more indulgent.
- Decorated Fall Salad: Toss together fresh greens, roasted pumpkin, and candied nuts for a vibrant salad. Its crunch and freshness create a lively contrast to the cookie’s softness.
- Spiced Pecans: Munching on these crunchy, spiced nuts offers a delightful and festive crunch that pairs well with the cookie’s chewy texture.
- Hot Chocolate Bar: Set up a DIY hot chocolate station for your guests to dive into seasonal flavors, elevating the doughy treats with a cozy drink.
- Ghostly Cupcakes: Add to the spooky theme by serving cupcakes adorned with cute ghost decorations, combining chocolate and vanilla to draw in dessert lovers.
- Cinnamon Sugar Tortilla Chips: These chips provide a light, crisp snack that mirrors the flavors in the cookies—perfect for dipping in warm melted chocolate!
Spooky Stuffed Pumpkin Cookies Recipe FAQs
How do I choose the right ripeness for my ingredients?
Absolutely! For baking, using fresh ingredients is key. When selecting butter, it should be soft but not melted—if it’s too soft, your cookies may spread too much. Eggs shouldn’t be too cold from the fridge; let them sit at room temperature for about 30 minutes to mix better into your batter.
What are the best storage methods for these cookies?
Very! You can store your Spooky Stuffed Pumpkin Cookies in an airtight container at room temperature for up to 3 days. If you’d like to keep them longer, refrigerate them for up to a week, or freeze for up to 3 months. Just be sure to separate layers with parchment paper to prevent sticking!
Can I freeze these cookies? If so, how?
Of course! To freeze your cookies, first let them cool completely. Then, arrange them in a single layer on a cookie sheet and place them in the freezer until solid. Once frozen, transfer to a zip-top bag or airtight container, separating layers with parchment paper. They can easily last up to 3 months in the freezer!
What should I do if my cookie dough is too sticky?
No worries! If you find your dough sticking too much, try chilling it for an extra 15-30 minutes. This will firm it up and make it easier to handle. If it’s still too sticky, you can gradually add more flour, a tablespoon at a time, until you achieve a workable consistency.
Are there any dietary considerations for these cookies?
Absolutely! If you have allergies, keep in mind that these cookies contain gluten from all-purpose flour and dairy from butter and chocolate. For a dairy-free version, you can use dairy-free butter and dark chocolate. Additionally, if you’re concerned about eggs, you may replace them with flax or chia eggs (1 tablespoon of flaxseed meal or chia seeds mixed with 3 tablespoons of water, let sit for 5-10 minutes).
Can I make variations of these cookies?
The more the merrier! Feel free to experiment with different shapes (like ghosts or bats) using cookie cutters. You can also swap the filling with peanut butter or dark chocolate to suit your taste preferences. Remember, it’s all about having fun and being creative with your spooky stuffed pumpkin cookies!
Spooky Stuffed Pumpkin Cookies That Are Deliciously Fun
Ingredients
Equipment
Method
- Cream together 1.5 cups of salted butter, 1.25 cups of light brown sugar, and 1 tablespoon of vanilla until light and fluffy.
- Incorporate 2 room temperature eggs one at a time, blending well after each addition.
- Gradually mix in 4.5 cups of all-purpose flour, 1 teaspoon of baking soda, 1 teaspoon of cinnamon, 0.5 teaspoon of ginger, 0.25 teaspoon of nutmeg, and 0.5 teaspoon of salt.
- Shape the dough into disks, cover, and chill in the refrigerator for at least 30 minutes.
- Preheat the oven to 350°F (175°C) and roll out the dough to 1/4-inch thickness. Cut out shapes.
- Bake cookies for 8-12 minutes or until slightly golden and soft. Let cool.
- Melt 12 ounces of milk chocolate and brush browned butter onto half of the cookies. Sandwich chocolate-filled cookies between decorated ones.
Leave a Reply