
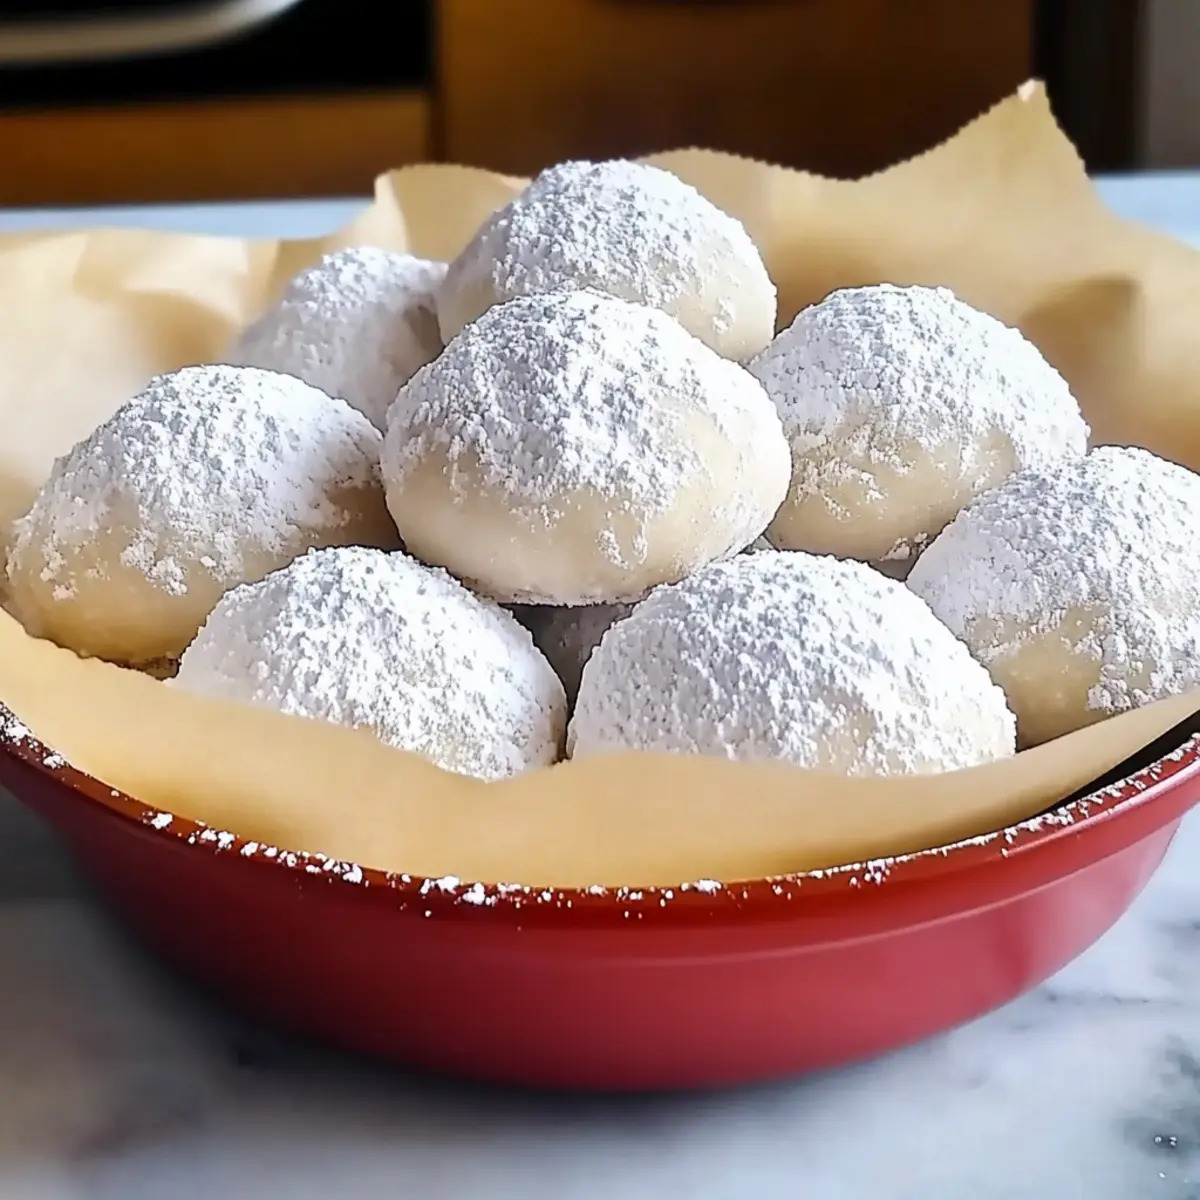
The aroma of baking cookies wafting through the house instantly transports me back to festive family gatherings, where joy and laughter filled the air. Today, I’m excited to share my recipe for Traditional Snowball Cookies—those delightful, melt-in-your-mouth treats that are as simple as they are scrumptious. With just four ingredients, this easy baking recipe not only satisfies your sweet tooth but also brings everyone together, making it the perfect holiday indulgence. Plus, these cookies can easily accommodate various dietary needs, ensuring no one misses out on the fun. Imagine sharing a tray of these snowy confections with loved ones, each bite reminding you of carefree celebrations. Are you ready to roll up your sleeves and create some sugary magic in your kitchen?
Why are Snowball Cookies a Holiday Must?
Simplicity at its finest: With only four ingredients, these cookies are perfect for bakers of all skill levels. Melt-in-your-mouth texture: Each cookie offers a delightful lightness that’s simply irresistible. Versatile options abound: Whether you need vegan, gluten-free, or nut-free variations, this recipe adapts to fit everyone’s preferences. Quick to make: You’ll have a delicious treat ready in under an hour, making them great for last-minute gatherings. Crowd-pleaser appeal: Their charming appearance and comforting flavor will delight family and friends alike. Add these delightful treats to your holiday table alongside other favorites like Stuffed Pumpkin Cookies or Chewy Oreo Cookies for a festive touch!
Traditional Snowball Cookies Ingredients
• These four simple ingredients will help you create the ultimate holiday delight!
For the Dough
- All-purpose Flour – Provides structure and a tender crumb; you can substitute it with gluten-free flour for a gluten-free version.
- Unsalted Butter – Adds richness and moisture; replace it with coconut oil for a vegan option.
- Powdered Sugar – Imparts sweetness and helps create the melt-in-your-mouth texture of traditional Snowball Cookies; opt for sugar-free powdered sugar for a lower-sugar treat.
- Chopped Nuts – Adds texture and flavor; this ingredient is optional, so feel free to omit it for nut-free versions or replace with seeds for allergen-free choices.
Enjoy creating these delightful cookies, perfect for any festive gathering!
Step‑by‑Step Instructions for Traditional Snowball Cookies
Step 1: Preheat the Oven
Begin by preheating your oven to 325°F (163°C). While the oven warms up, line two baking sheets with parchment paper to prevent sticking and ensure easy removal after baking. This step sets the stage for your Traditional Snowball Cookies, making sure they’re baked to perfection.
Step 2: Cream Butter and Sugar
In a mixing bowl, combine softened unsalted butter and powdered sugar. Use an electric mixer at medium speed to cream them together for about 2-3 minutes, until the mixture is light and fluffy. This fluffy base is essential for achieving the melt-in-your-mouth texture of your snowball cookies.
Step 3: Combine Dry Ingredients
In a separate bowl, sift together the all-purpose flour and chopped nuts, if using. Gradually add this flour mixture to your creamed butter and sugar, mixing on low speed until a cohesive dough forms. This step ensures your Traditional Snowball Cookies will hold their shape while baking.
Step 4: Shape the Cookies
Using your hands, roll small portions of the dough into 1-inch balls. Place these balls approximately 2 inches apart on your prepared baking sheets. You should see a smooth, rounded shape; this is what will create the delightful texture that characterizes your snowball cookies.
Step 5: Bake the Cookies
Slide the baking sheets into the preheated oven and bake the cookies for 20-25 minutes. Keep a close eye on them—you’re looking for a light golden color around the edges while ensuring they remain soft in the center. This is the perfect stage for your cookies to achieve their heavenly consistency.
Step 6: Cool and Dust with Sugar
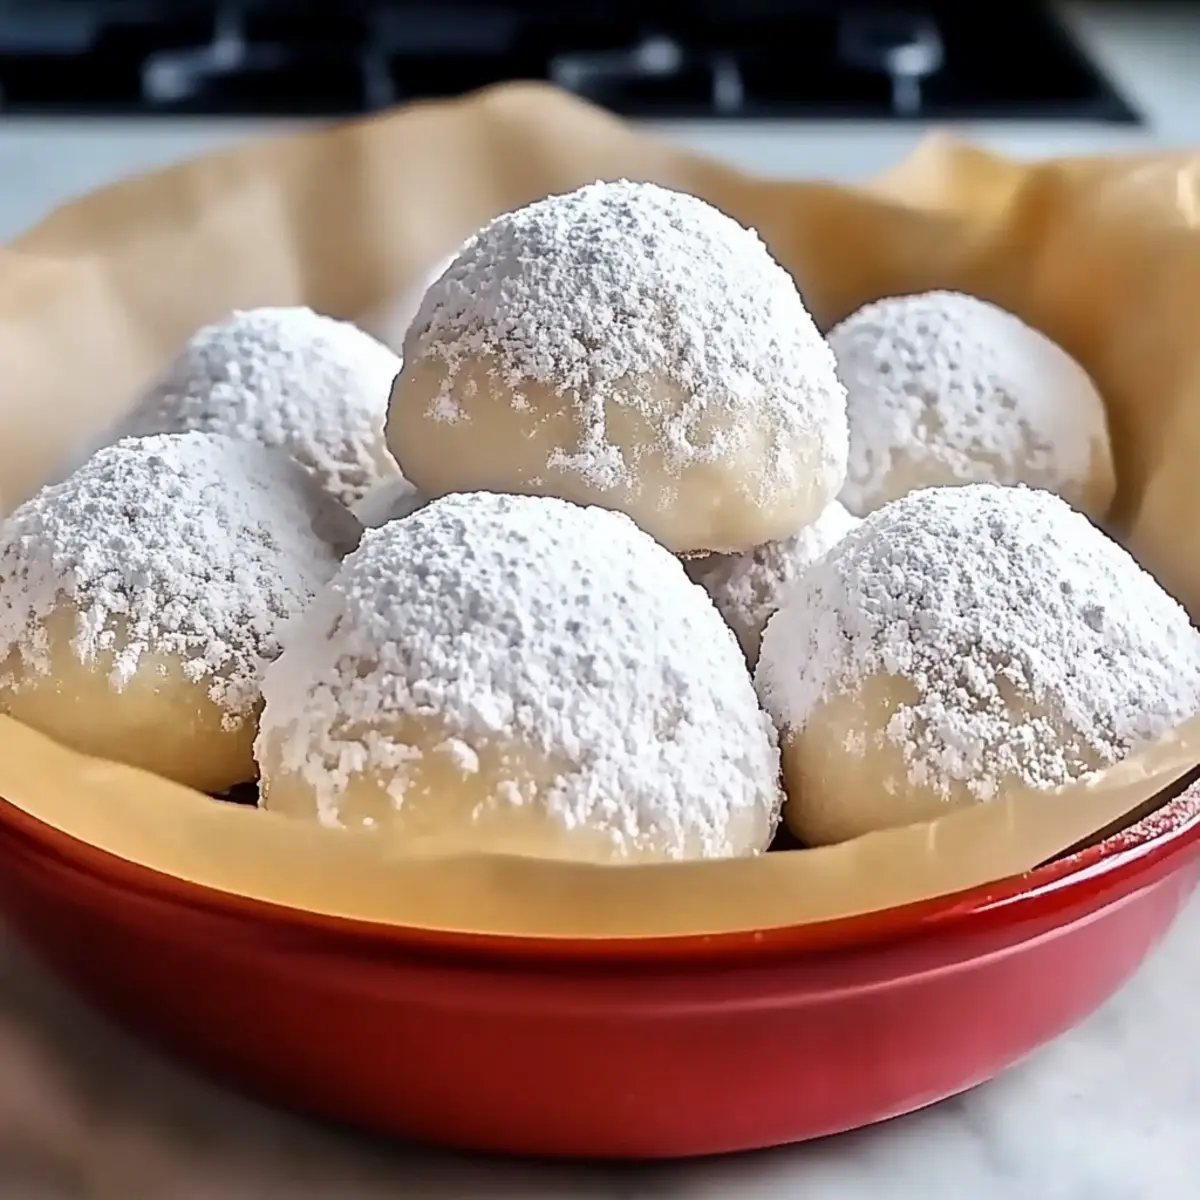
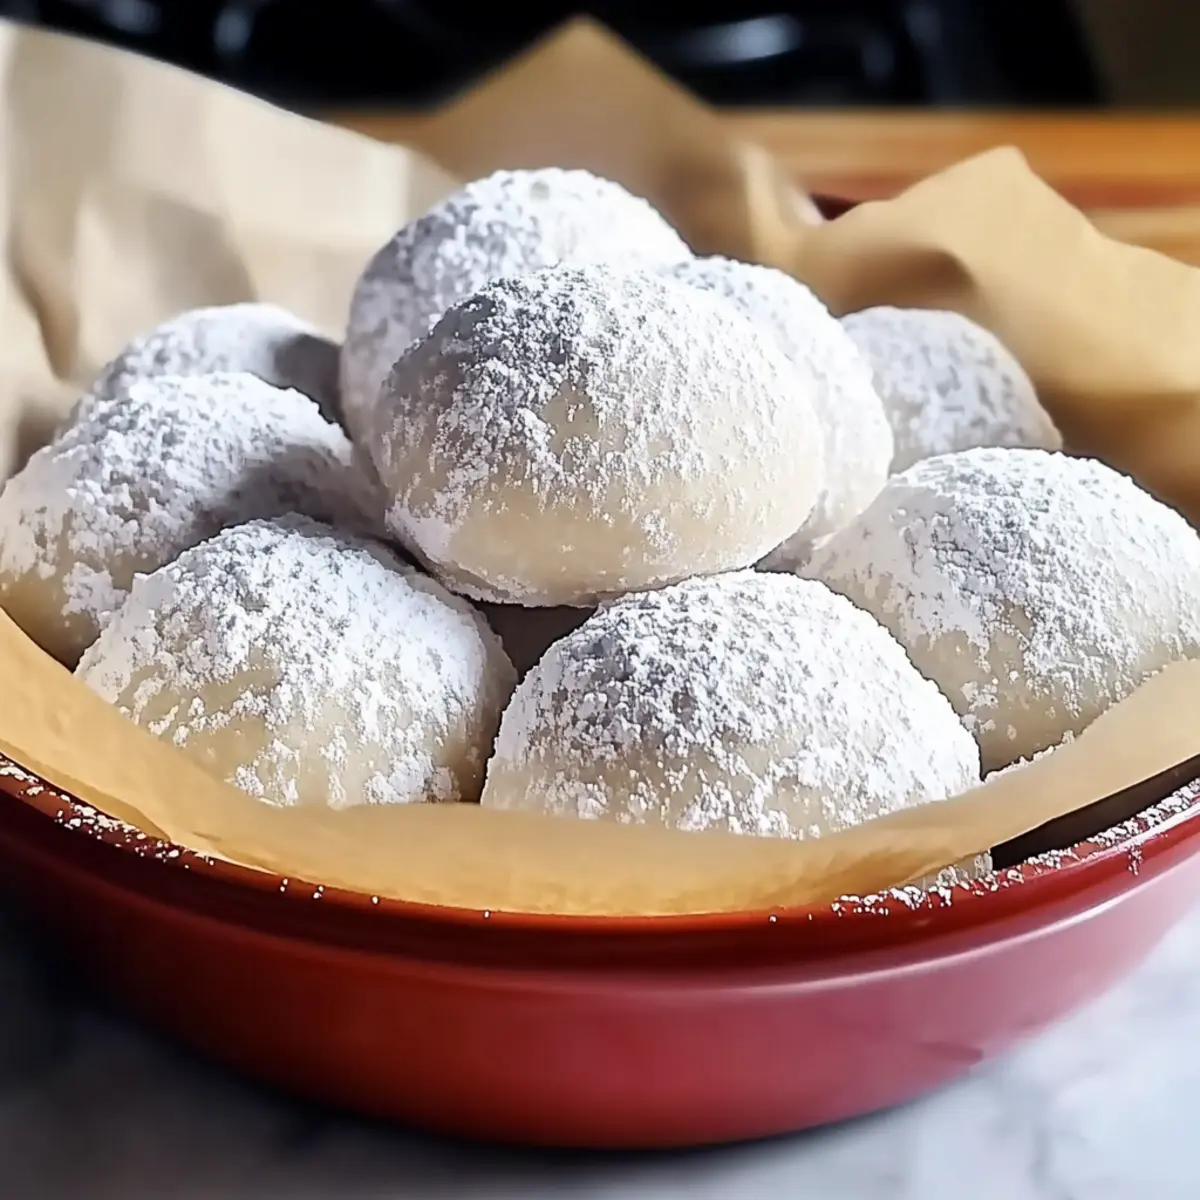
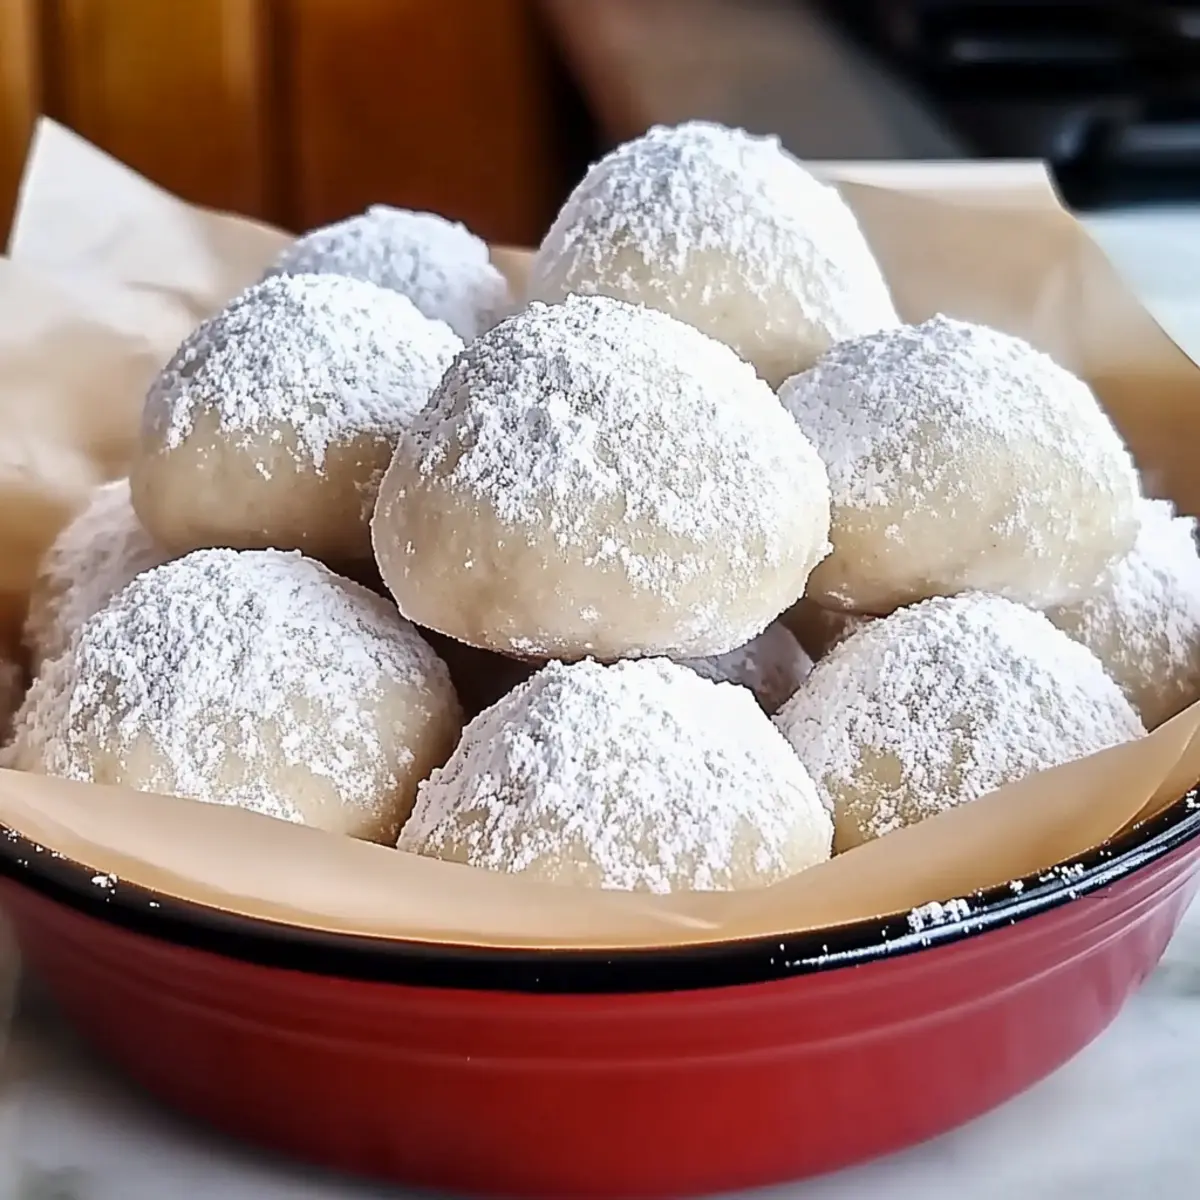
After baking, remove the cookies from the oven and let them cool on the baking sheets for about 5 minutes. While they’re still warm, roll each cookie in additional powdered sugar to create that signature snowy coating. This adds both flavor and a festive touch to your Traditional Snowball Cookies.
Step 7: Finish Cooling
Once the cookies are coated, transfer them to a wire rack to cool completely. Allowing them to cool will firm up their structure while preserving their melt-in-your-mouth quality. Enjoy sharing these delightful treats with friends and family during your holiday celebrations!
Make Ahead Options
These Traditional Snowball Cookies are a fantastic choice for meal prep, ensuring that your holiday baking is stress-free! You can prepare the dough up to 24 hours in advance—simply wrap it tightly in plastic wrap and refrigerate to keep it fresh. When you’re ready to bake, scoop out the dough and shape it into balls before baking. You can also bake the cookies in advance and store them in an airtight container at room temperature for up to 3 days. To maintain their melt-in-your-mouth texture, roll them in powdered sugar just before serving, so they have that snowy appearance that makes them so festive and delightful!
Traditional Snowball Cookies: Fun Variations
Feel free to explore and make these snowball cookies your own with these delightful twists!
-
Vegan: Substitute butter with coconut oil for a dairy-free option that still delivers that melt-in-your-mouth texture. Coconut oil not only provides a rich flavor but also maintains the cookies’ soft consistency.
-
Gluten-Free: Use a gluten-free all-purpose flour blend to make these goodies accessible for everyone at your table. The right blend will give you the same delightful crumb and airy texture as traditional flour.
-
Nut-Free: Omit nuts entirely or replace them with seeds such as sunflower or pumpkin for a nut-free version. This ensures that friends with allergies can enjoy these festive treats without worry.
-
Chocolate Lovers: Add cocoa powder or mini chocolate chips to the dough to satisfy your chocolate cravings. These variations add a deliciously rich twist that will please any chocolate enthusiast in your life.
-
Festive Flavors: Enhance your snowball cookies by incorporating spices like cinnamon or peppermint extract. Not only will they smell heavenly while baking, but they’ll also take on a delightful holiday vibe.
-
Fruity Delight: Mix in freeze-dried berries or citrus zest for a refreshing burst of flavor. This zesty twist complements the sweetness beautifully, giving your cookies an unexpected yet delightful twist.
In search of more adventurous cookie recipes? Try pairing your snowball cookies with my Pistachio Cream Cookies for a festive treat duo that everyone will love!
Expert Tips for Traditional Snowball Cookies
-
Room Temperature Ingredients: Ensure your butter and eggs are at room temperature for optimal blending. This helps achieve that heavenly melt-in-your-mouth texture.
-
Chill the Dough: If the dough feels too soft or sticky, chill it in the fridge for 30 minutes. This prevents cookies from spreading too much while baking.
-
Double Sugar Coating: For a perfect snowy look, roll the cookies in powdered sugar twice—once when warm and again after they cool completely.
-
Watch the Bake Time: Keep an eye on your cookies as they bake; they should be lightly golden but not browned. Too much baking can alter the delicate texture of these traditional Snowball Cookies.
-
Creative Variations: Don’t hesitate to experiment! Add spices like cinnamon or peppermint extract for seasonal flair, or include cocoa for a chocolate twist.
What to Serve with Snowball Cookies
These delightful snowy treats can be paired with various dishes and drinks to create a memorable holiday feast.
- Rich Hot Chocolate: A cup of creamy hot chocolate complements the buttery sweetness of snowball cookies, adding a cozy touch perfect for winter evenings.
- Festive Fruit Salad: A vibrant mix of seasonal fruits brings a refreshing contrast to the cookies’ rich texture, brightening up your dessert spread.
- Spicy Chai Latte: The warm spices in chai balance the sweetness of the cookies, creating a harmonious drink pairing that warms the soul.
- Classic Eggnog: The creamy, spiced flavor of eggnog enhances the festive spirit, making it an ideal companion for enjoying snowball cookies.
- Gingerbread Cookies: Keep the holiday spirit alive by serving snowball cookies alongside gingerbread cookies for a charming, nostalgic duo.
- Homemade Whipped Cream: A dollop of light and airy whipped cream adds a luxurious texture that pairs beautifully with the melt-in-your-mouth quality of the cookies.
- Cranberry Sauce: A tangy cranberry sauce provides a delightful contrast that elevates the sweet flavors of both the snowball cookies and any festive main dish.
- Vanilla Ice Cream: A scoop of smooth vanilla ice cream adds a creamy element, enhancing the joyful indulgence of snowball cookies during celebratory gatherings.
How to Store and Freeze Traditional Snowball Cookies
Room Temperature: Store cookies in an airtight container for up to 3-5 days to keep them fresh and maintain their melt-in-your-mouth texture.
Fridge: If you prefer, refrigerate the cookies for up to 1 week. Just be sure to place them in an airtight container to prevent them from drying out.
Freezer: For longer storage, freeze cookies in a freezer-safe container for up to 3 months. Layer each cookie with parchment paper to avoid sticking.
Reheating: To enjoy cookies warmed, pop them in the oven at 300°F (150°C) for about 5 minutes, or microwave for 10-15 seconds. This will revive that delightful texture of traditional Snowball Cookies!
Traditional Snowball Cookies Recipe FAQs
What type of flour should I use for Snowball Cookies?
For the best texture, I recommend using all-purpose flour. However, you can easily substitute it with gluten-free flour if you need a gluten-free option. If you’re looking for a healthier twist, whole wheat pastry flour also works well, offering a slightly nutty flavor without compromising tenderness.
How do I store my Snowball Cookies, and how long will they last?
You can store your Traditional Snowball Cookies in an airtight container at room temperature for up to 3-5 days. If you prefer them chilled, the fridge works too—just be sure to keep them in an airtight container to maintain their delightful texture for up to one week.
Can I freeze Snowball Cookies?
Absolutely! To freeze your cookies, layer them in a freezer-safe container with parchment paper between each layer to prevent sticking. They can be stored this way for up to 3 months. When you’re ready to enjoy them, simply remove them from the freezer, let them thaw at room temperature for a bit, or warm them up in the oven for that freshly baked feel.
What should I do if my cookie dough is too sticky?
If your dough feels sticky or overly soft, don’t worry! Chilling the dough in the fridge for about 30 minutes will help firm it up and make it easier to handle. This will also prevent the cookies from spreading too much while baking, ensuring a beautiful shape and texture.
Are there any allergy considerations for Snowball Cookies?
Yes, you can easily adapt Traditional Snowball Cookies for various allergies! If you need a nut-free version, simply omit the chopped nuts or replace them with seeds like sunflower or pumpkin seeds. For vegan options, swap unsalted butter with coconut oil. Always double-check your ingredients to ensure they’re safe for anyone with specific allergies.
How can I achieve that perfect snowy coating on my cookies?
For a delightful snowy appearance, roll your cookies in powdered sugar twice—once while they’re still warm right out of the oven, and again after they have cooled completely. This double dip not only enhances their visual appeal but also adds a lovely sweetness that complements the buttery flavor of your Traditional Snowball Cookies.
Delightful Traditional Snowball Cookies for Sweet Celebrations
Ingredients
Equipment
Method
- Preheat your oven to 325°F (163°C) and line two baking sheets with parchment paper.
- In a mixing bowl, cream softened unsalted butter and powdered sugar together for about 2-3 minutes until light and fluffy.
- Sift together the all-purpose flour and chopped nuts in a separate bowl, then gradually add to the creamed mixture until a cohesive dough forms.
- Roll small portions of the dough into 1-inch balls and place them 2 inches apart on the prepared baking sheets.
- Bake for 20-25 minutes until lightly golden around the edges, while remaining soft in the center.
- Let cookies cool on the baking sheets for 5 minutes, then roll in powdered sugar for a snowy coating.
- Transfer to a wire rack to cool completely.
Leave a Reply