
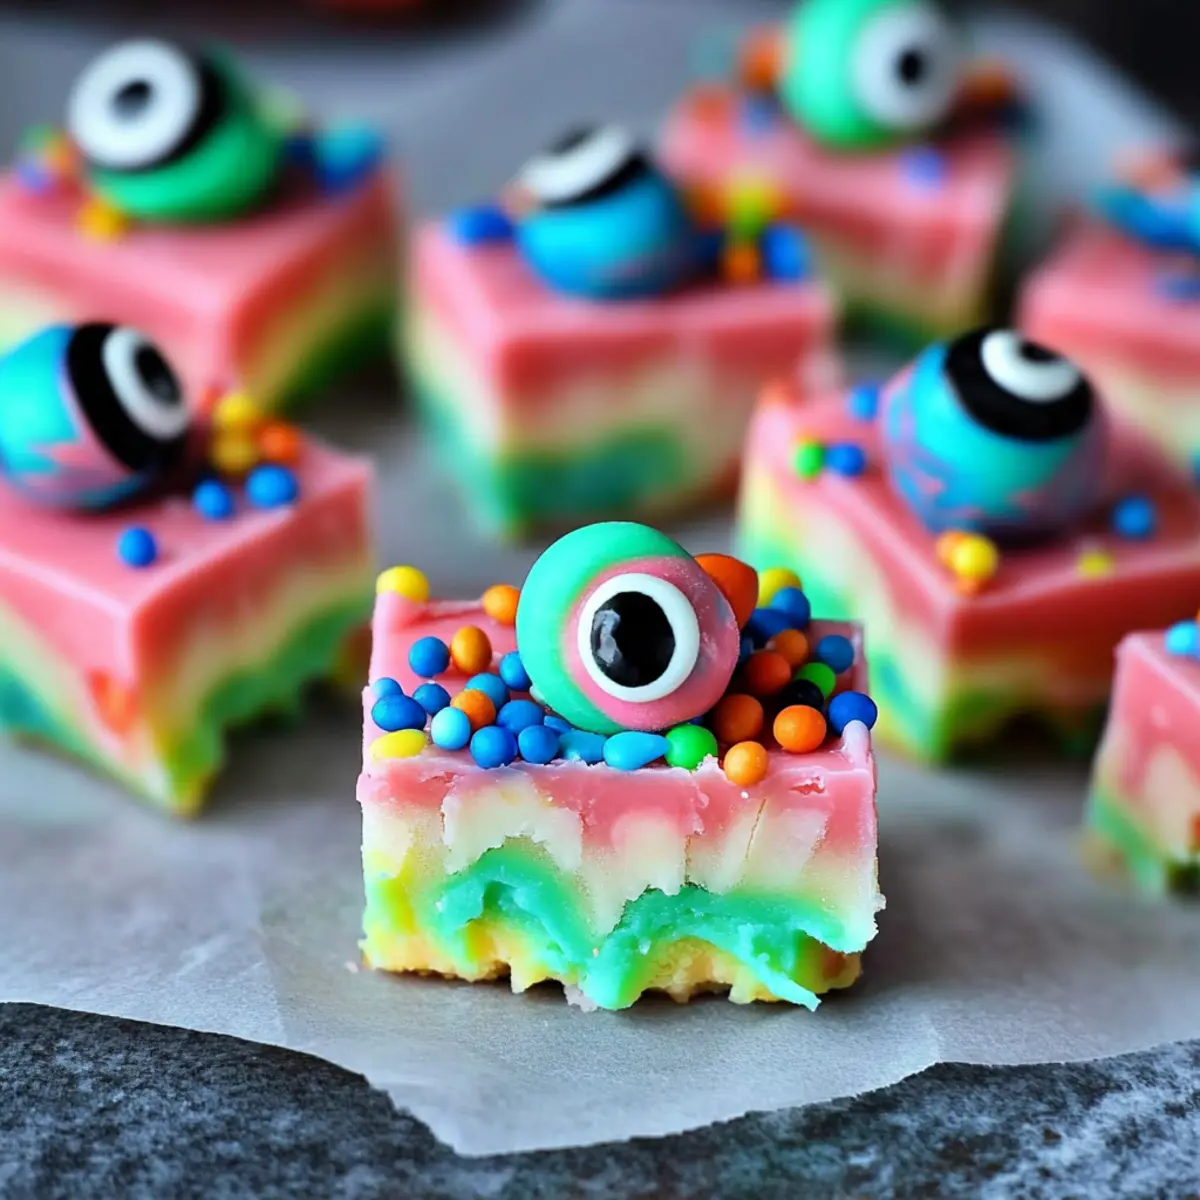
The first bite of Monster Fudge transports me to a vibrant Halloween wonderland, where color and creativity reign supreme. This no-bake delight is not only a feast for the eyes but also a fun, creamy treat that’s perfect for the whole family to whip up together. Packed with playful ingredients like candy eyeballs and cheerful sprinkles, this recipe transforms an ordinary day into a whimsical celebration. One of the best perks of making this Monster Fudge is its versatility; you can customize it for any occasion, from Halloween parties to festive gifts. Plus, it’s incredibly easy to prepare, making it ideal for those busy weeks when you need a little sweetness without the fuss. Is there any better way to spend time together than crafting this colorful confection? Let’s dive into this delightful recipe and create some spooky magic!

Why is Monster Fudge a Must-Try?
Simplicity at its best: This no-bake recipe requires minimal effort, letting you whip up a festive treat in no time.
Kid-Friendly Fun: Gather the family for a creative baking session, allowing everyone to add their own unique touches.
Colorful Delight: With vibrant swirls of green and playful decorations, this fudge becomes a centerpiece for any Halloween gathering.
Versatile Treat: Customize this recipe for any holiday by changing the colors and toppings, making it perfect year-round!
Crowd-Pleasing Flavor: Who can resist rich chocolate combined with delightful toppings? This fudge is sure to impress friends and family alike!
Monster Fudge Ingredients
Make this colorful treat with playful ease!
For the Fudge Base
- Semi-Sweet Chocolate Chips – The core ingredient, providing a rich chocolate flavor; feel free to swap with milk or dark chocolate chips based on your taste!
- Sweetened Condensed Milk – This creamy ingredient binds all the flavors together, ensuring a delightful sweetness.
- Butter – Adds a rich, smooth texture that makes your fudge melt-in-your-mouth; don’t omit it!
- Vanilla Extract – Infuses the fudge with depth; pure vanilla extract offers the best flavor experience.
For the Color & Decoration
- Green Food Coloring – Essential for that spooky Halloween vibe; it brings the festive spirit to life!
- Orange and Black Decorating Gel – Perfect for adding whimsical touches and mimicking Halloween colors.
- Candy Eyeballs – A playful decoration that transforms your fudge into adorable monsters.
- Mini Marshmallows – Use instead of candy eyeballs; they add a fun texture and sweetness.
- Crushed Chocolate Cookies – For an extra crunch; ideal optional add-in for a delightful contrast in texture.
- Halloween Sprinkles – These festive sprinkles boost the party vibes; use any seasonal sprinkles to enhance your presentation.
Step‑by‑Step Instructions for Monster Fudge
Step 1: Prepare Mixing Bowl
Begin by gathering a large mixing bowl and measuring cup. In the bowl, combine 2 cups of semi-sweet chocolate chips, one 14-ounce can of sweetened condensed milk, 2 tablespoons of butter, and 1 teaspoon of vanilla extract. This mixture will serve as the base of your Monster Fudge. Ensure all ingredients are at room temperature for easier mixing.
Step 2: Melt Ingredients
Place the mixing bowl in the microwave and heat on high for 30 seconds. Stir the mixture and return it to the microwave, continuing to heat in 15-second increments until all ingredients are melted and smooth—approximately 1-2 minutes total. The melted fudge should have a glossy finish, indicating it’s ready for the next step.
Step 3: Add Colors
Once the fudge base is smooth, carefully divide it into two separate bowls. Add a few drops of green food coloring to one bowl, stirring until fully incorporated and vibrant. This colorful addition will give your Monster Fudge its spooky Halloween look. Keep the second bowl white to create a beautiful contrast in your final product.
Step 4: Layer Fudge
Line an 8-inch square baking pan with parchment paper for easy removal. Pour the two colored fudge mixtures into the pan in alternating layers. Use a skewer or knife to create swirls between the layers, giving your Monster Fudge a marbled effect. Aim for an even distribution to ensure each piece has a fun design.
Step 5: Decorate
Now it’s time to add that festive flair! Top your fudge layer with candy eyeballs, mini marshmallows, crushed chocolate cookies, and Halloween sprinkles. Make sure to press the decorations lightly into the fudge to help them adhere. This playful decor will transform your fudge into delightful little monsters, perfect for sharing.
Step 6: Set
Place the prepared fudge in the refrigerator to set for at least 2 hours. As it cools, check that the fudge becomes firm to the touch, ensuring the perfect texture for slicing. Once set, remove the fudge from the pan using the parchment paper, and cut it into squares to serve your delicious Monster Fudge.

How to Store and Freeze Monster Fudge
Fridge: Keep your Monster Fudge in an airtight container in the refrigerator for up to 1 week. This will maintain its creamy texture and vibrant taste.
Freezer: For longer storage, wrap pieces of Monster Fudge tightly in plastic wrap, then place them in an airtight freezer bag. They can last for up to 3 months in the freezer.
Thawing: To enjoy frozen fudge, transfer it to the fridge to thaw overnight. Once thawed, it will return to its delightful state, ready to be savored again.
Reheating: If your fudge is a bit too firm after refrigeration, you can let it sit at room temperature for a few minutes before cutting or serving, bringing back its luscious texture.
Make Ahead Options
These Monster Fudge treats are perfect for busy cooks looking to save time during the Halloween rush! You can prepare the fudge base up to 3 days in advance by melting the ingredients and refrigerating the mixture in an airtight container. To maintain quality and prevent it from becoming too hard, be sure to wrap it well or store it with a layer of plastic wrap pressed against the surface. When you’re ready to serve, simply remove the fudge from the container, add your vibrant layers, and decorate with those playful candy eyeballs and sprinkles. Let it set in the fridge for about 2 hours, and you’ll have an unforgettable, festive treat that’s just as delicious as if made fresh!
Monster Fudge Variations & Substitutions
Get ready to unleash your creativity and personalize your Monster Fudge!
-
Almond Extract: Swap vanilla extract for almond extract to add a delightful twist to your fudge flavor.
-
Holiday Colors: Change the food coloring to reds and greens for Christmas, or pastels for Easter, allowing endless festive possibilities.
-
Nutty Crunch: Incorporate chopped nuts like walnuts or pecans into your fudge for an extra crunch and a boost of flavor.
-
Dairy-Free: Substitute with dairy-free chocolate chips and coconut milk for a delicious vegan version everyone can enjoy.
-
Spicy Kick: Add a pinch of cayenne pepper or chili powder for a surprising heat that balances with the sweetness.
-
Fruit Flavors: Mix in a few drops of fruit extracts like strawberry or raspberry to give your fudge a fruity twist.
-
S’mores Delight: Incorporate graham cracker crumbs and mini marshmallows into your fudge for that campfire classic experience.
-
Crispy Treats: Fold in pieces of your favorite crispy rice cereal to create texture and make the fudge more playful.
As you explore these variations, don’t hesitate to draw inspiration from seasonal ingredients or your favorite candies! Just like when making delectable Chocolate-Covered Strawberries, customization can take your treats to dazzling new heights! Enjoy the process, and happy cooking!
Expert Tips for Making Monster Fudge
• Smooth Melting: Ensure the chocolate is fully melted and smooth; any lumps can lead to a grainy texture.
• Color Choices: For vibrant colors, stick with food coloring specifically made for baking. This will give you bright, eye-catching hues.
• Perfect Slicing: Use a sharp knife to cut your fudge into squares after it’s set. Warming the knife slightly will help achieve clean edges.
• Avoid Sticking: Line your baking pan with parchment paper, allowing easy removal of the fudge while maintaining its shape.
• Creative Add-Ins: Feel free to mix in crunchy nuts or other candies to customize your Monster Fudge and enhance its texture.
• Storage Tips: Store your fudge in an airtight container in the refrigerator for up to a week; this keeps it fresh and delicious!
What to Serve with Monster Fudge?
The delightful colors and playful toppings of Monster Fudge reveal endless possibilities for creating a full party spread.
- Festive Fruit Platter: Fresh fruits like grapes, oranges, and strawberries add brightness and balance the sweetness of the fudge.
- Pumpkin Spice Hot Chocolate: This creamy drink is a cozy complement, warming your heart while echoing the seasonal spirit of Halloween.
- Crunchy Caramel Apples: The crispiness of the apples paired with caramel contrasts beautifully with the soft fudge, creating a delightful texture.
- Cheesy Garlic Bread: A surprising savory side that balances the sweetness; bread is perfect for soaking up chocolatey goodness between bites.
- Nutty Trail Mix: Packed with nuts, dried fruits, and a sprinkle of chocolate, this mix offers a munchy counterpart to the rich fudge.
- Chocolate-Covered Pretzels: The salty-sweet combo enhances the fudge’s flavors, adding crunch and intrigue to your dessert table.
- Spooky Sugar Cookies: Decorated with fun Halloween designs, these cookies offer another festive treat that complements the whimsical spirit of Monster Fudge.
- Cinnamon Sugar Popcorn: Light and crunchy, this adds a delightful twist and a touch of spice that pairs beautifully with the creamy fudge.

Monster Fudge Recipe FAQs
What type of chocolate should I use for Monster Fudge?
Absolutely! I recommend using semi-sweet chocolate chips for a rich, balanced flavor. You can also substitute with milk or dark chocolate chips if you prefer a sweeter or more intense chocolate taste. Just remember that each type may slightly alter the final color of your fudge!
How long can I store Monster Fudge, and how?
Store your Monster Fudge in an airtight container in the refrigerator for up to 1 week. This keeps it fresh and maintains its creamy texture. If you’re making it ahead of time, it’s best to wrap individual pieces in plastic wrap for the freshest experience.
Can I freeze Monster Fudge?
Yes, you can! To freeze your Monster Fudge, wrap each piece tightly in plastic wrap and then place them in an airtight freezer bag. This way, they can last for up to 3 months. When you’re ready to enjoy, simply transfer them to the fridge overnight to thaw.
What should I do if my fudge doesn’t set properly?
If your Monster Fudge isn’t setting, it may be due to insufficient cooling time or incorrect ingredient ratios. To fix this, try returning the fudge to the refrigerator to set longer, ideally for another hour. If it’s still too soft, consider melting it down again with a touch more chocolate or condensed milk and remaking it in the pan.
Is Monster Fudge safe for pets, especially dogs?
No, Monster Fudge is not safe for pets, especially dogs, since chocolate can be toxic to them. Always keep any chocolate treats well out of their reach. If you’re looking for a pet-friendly treat, consider making a batch of frozen banana Bites or peanut butter popsicles instead!
Can I use alternative sweeteners in Monster Fudge?
Yes, you can use alternative sweeteners, but keep in mind that substances like stevia or erythritol may affect the texture and flavor of the fudge. If you want a sugar-free version, look for condense milk alternatives that cater to your dietary needs, or try mixing in some nut butter for sweetness and texture.
Monster Fudge: Delightfully Easy No-Bake Treat for Halloween
Ingredients
Equipment
Method
- Prepare a large mixing bowl and combine chocolate chips, sweetened condensed milk, butter, and vanilla extract.
- Melt the mixture in the microwave for 1 to 2 minutes until smooth.
- Divide the fudge into two bowls, adding green food coloring to one. Stir until vibrant.
- Line a baking pan with parchment and pour the fudge in alternating layers.
- Press candy eyeballs, marshmallows, cookies, and sprinkles onto the fudge surface.
- Refrigerate for at least 2 hours until firm, then cut into squares.
Leave a Reply