
Stirring up memories of carefree Saturdays, I often find myself reminiscing about the joy of homemade snacks that deliver both satisfaction and nourishment. These Easy 3-Ingredient Healthy Cereal Bars are a delightful way to elevate your breakfast or afternoon coffee break, adding a chewy texture that’s perfect for on-the-go munching. With just three simple ingredients, they’re not only customizable to your taste—think chocolate, Nutella, or even fruity strawberry—but also a fantastic solution for anyone swapping fast food for wholesome homemade options. Plus, they’re a breeze to whip up, making them a family-favorite that everyone can enjoy, from kids to adults. Ready to transform your kitchen into a snack haven? Let’s dive into this delicious recipe!
Why Are You Going to Love This?
Simplicity reigns supreme in this recipe—just three ingredients combine effortlessly to create a delicious snack. Customizable flavors allow you to explore different variations, like chocolate or strawberry, making it exciting every time. Healthy and guilt-free, these bars satisfy cravings without compromising on nutrition. Quick to make, you’ll have a homemade treat ready in no time! Plus, they pack perfectly for on-the-go breakfasts or snacks, much like our delicious Salted Caramel Bars or Sweet Potato Bars. Your taste buds will thank you!
Cereal Bars Ingredients
For the Base
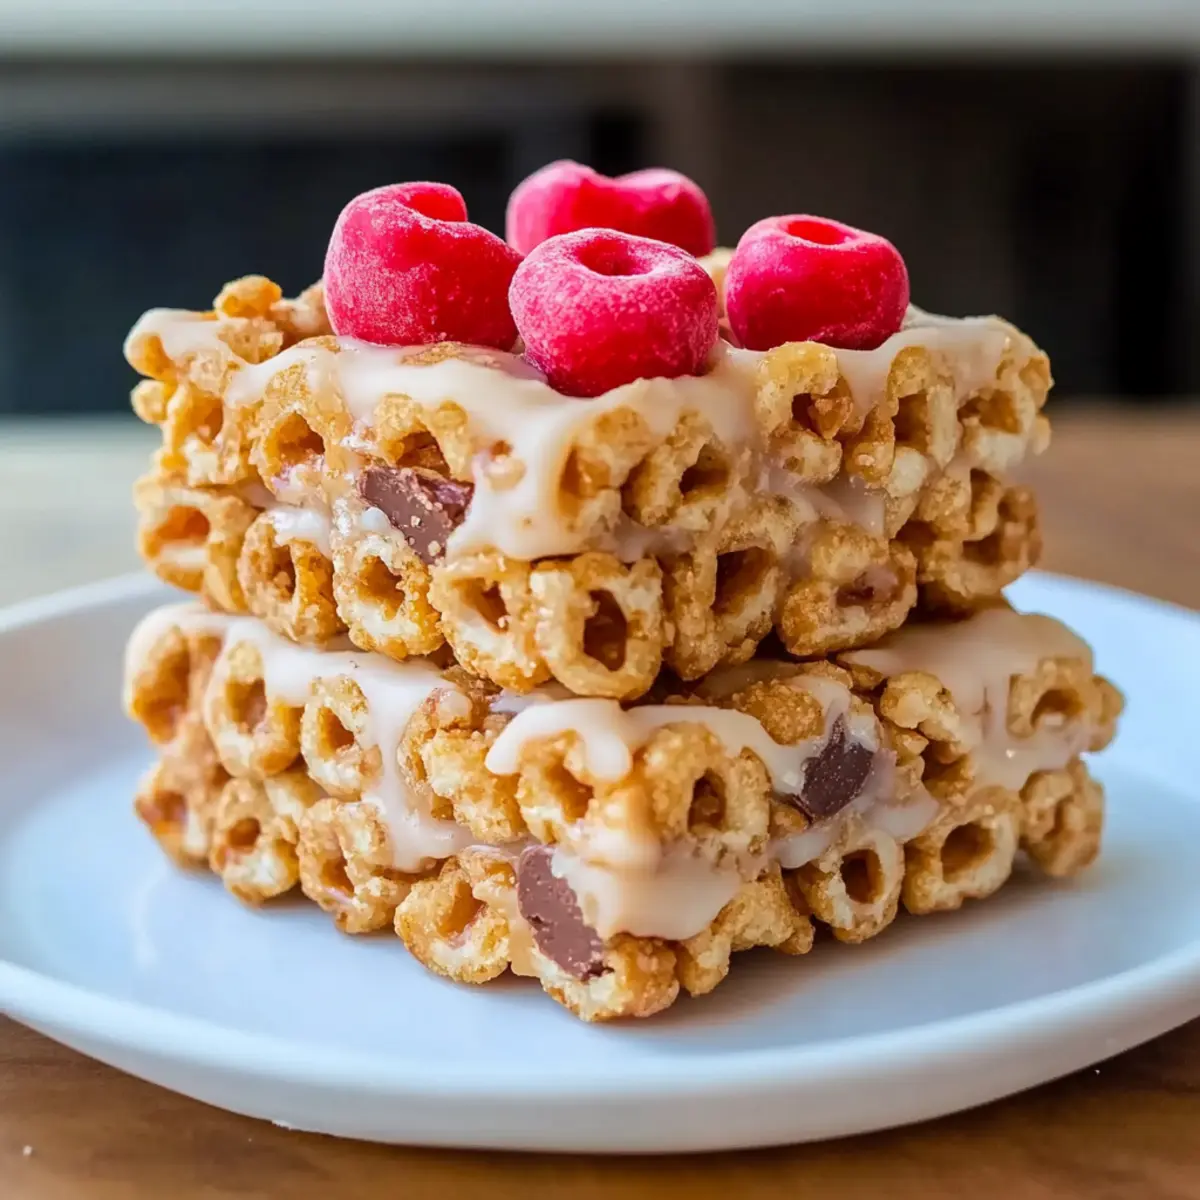
• Cereal – Choose your favorite small flakes or shapes like Cheerios or Rice Krispies for the perfect texture.
• Nut Butter – This creamy ingredient binds everything together; almond or sunflower butter works well too for nut-free options.
• Liquid Sweetener – Use honey, agave, or brown rice syrup to add just the right amount of sweetness to your cereal bars.
Optional Enhancements
• Optional Salt – A pinch of salt enhances the flavor and balances out the sweetness of your cereal bars.
• Optional Protein Powder – Boost the nutritional content by adding your favorite protein powder, making these bars even more satisfying!
Step‑by‑Step Instructions for Easy 3-Ingredient Healthy Cereal Bars
Step 1: Prepare the Pan
Start by lining an 8-inch square pan with either wax or parchment paper, ensuring the paper hangs over the edges for easy removal later. This prevents sticking and makes cutting the bars a breeze. Aim for an even layer, which will help the cereal bars set uniformly, providing that perfect chewy texture.
Step 2: Warm the Nut Butter
If your chosen nut butter is too thick to mix easily, gently warm it in the microwave for about 15-20 seconds. Stir it to achieve a creamy consistency that combines well with the other ingredients. This step is crucial in ensuring your Easy 3-Ingredient Healthy Cereal Bars adhere nicely together without crumbling.
Step 3: Mix the Ingredients
In a large mixing bowl, combine your cereal, warmed nut butter, and liquid sweetener. Use a spatula to thoroughly mix these ingredients until the cereal is evenly coated and all elements are well incorporated. This should take about 2-3 minutes. The mixture should be sticky but not overly wet; adjust with more cereal if necessary.
Step 4: Press Mixture into Pan
Transfer the cereal mixture into your prepared pan. Using a second piece of parchment paper or a flat spatula, firmly press the mixture into an even layer. This step is vital, as pressing the mixture down helps bind the bars, preventing them from falling apart once cut. Aim for a compact, smooth surface.
Step 5: Freeze to Set
Place the pan in the freezer for about 30 minutes, allowing the mixture to firm up. This makes cutting the Easy 3-Ingredient Healthy Cereal Bars into perfect squares or rectangles much easier. After freezing, you should see a solid, compact shape ready for slicing into your desired portions.
Step 6: Slice and Store
Once firm, remove the cereal bars from the pan using the overhanging parchment paper. Place the block on a cutting board and slice it into your preferred sizes. For optimal freshness, store the bars in an airtight container in the refrigerator for up to a week, or freeze for longer shelf life, ensuring that your homemade cereal bars are always handy.
Make Ahead Options
These Easy 3-Ingredient Healthy Cereal Bars are perfect for meal prep and can save busy cooks valuable time during hectic weekdays! You can mix the cereal, nut butter, and sweetener up to 24 hours in advance and store it in an airtight container in the refrigerator. For best results, press the mixture into the pan right before you plan to freeze it, ensuring they maintain their fresh, chewy texture. When ready to serve, simply freeze the bars for about 30 minutes, slice into perfect portions, and store them in an airtight container in the fridge for up to a week or freeze for longer shelf life. Enjoy delicious homemade cereal bars ready whenever you need a quick snack!
Cereal Bars Variations & Substitutions
Feel free to get creative and tailor these cereal bars to your taste buds—let’s make snack time even more delightful!
-
Chocolate Bars: Add cocoa powder and a splash of vanilla extract for a rich, indulgent twist that chocolate lovers will adore.
-
Nutella Bars: Swap out the nut butter for Nutella for a sweet and creamy treat. These bars will satisfy your chocolate cravings effortlessly.
-
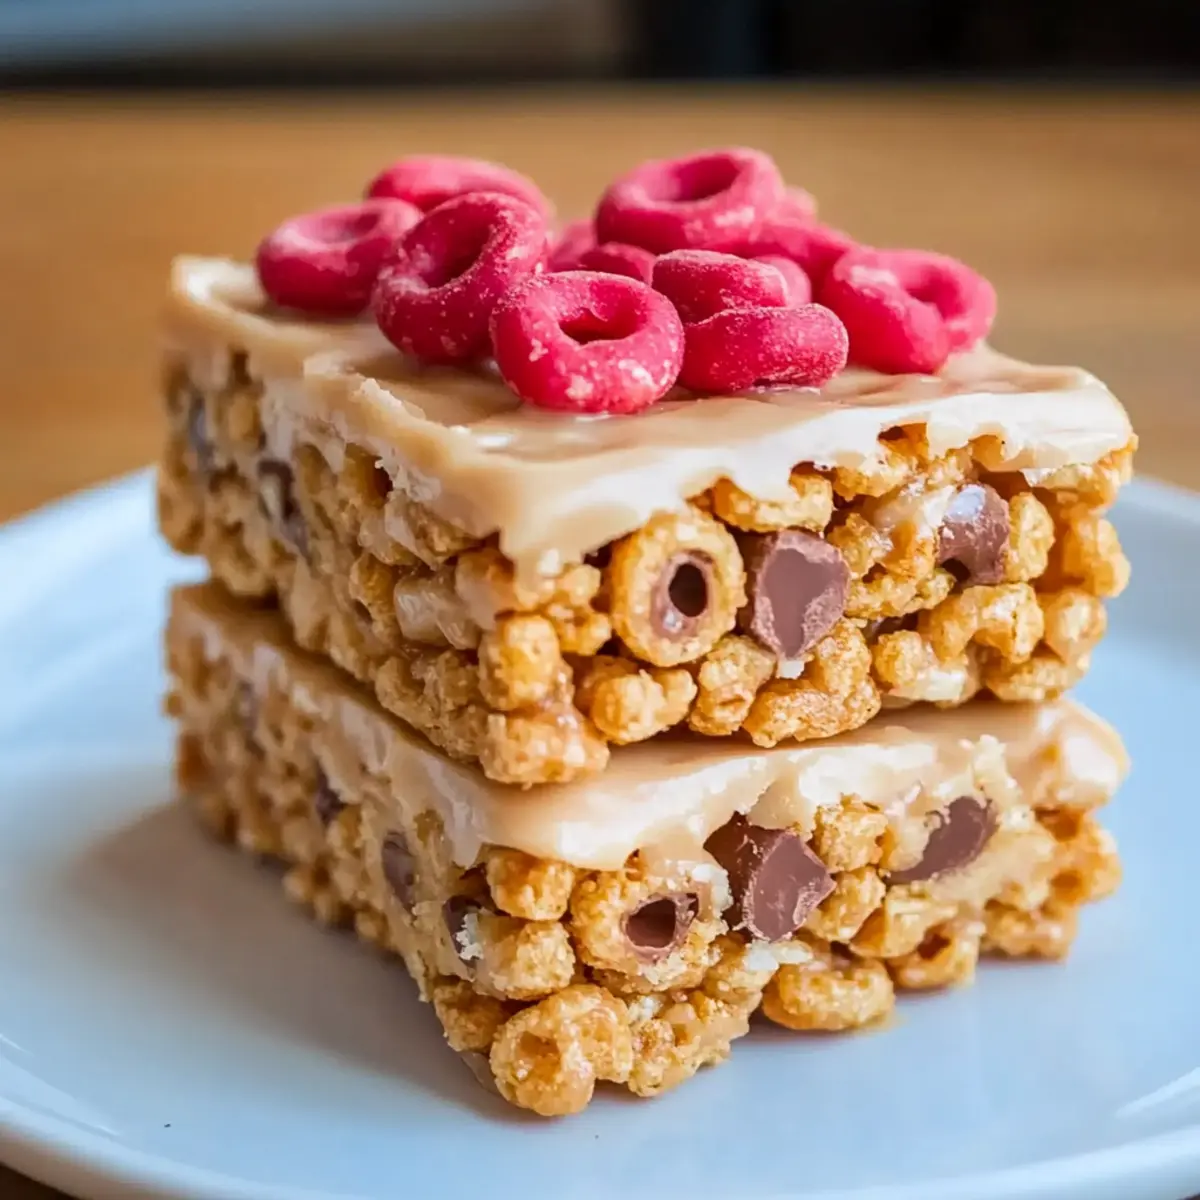
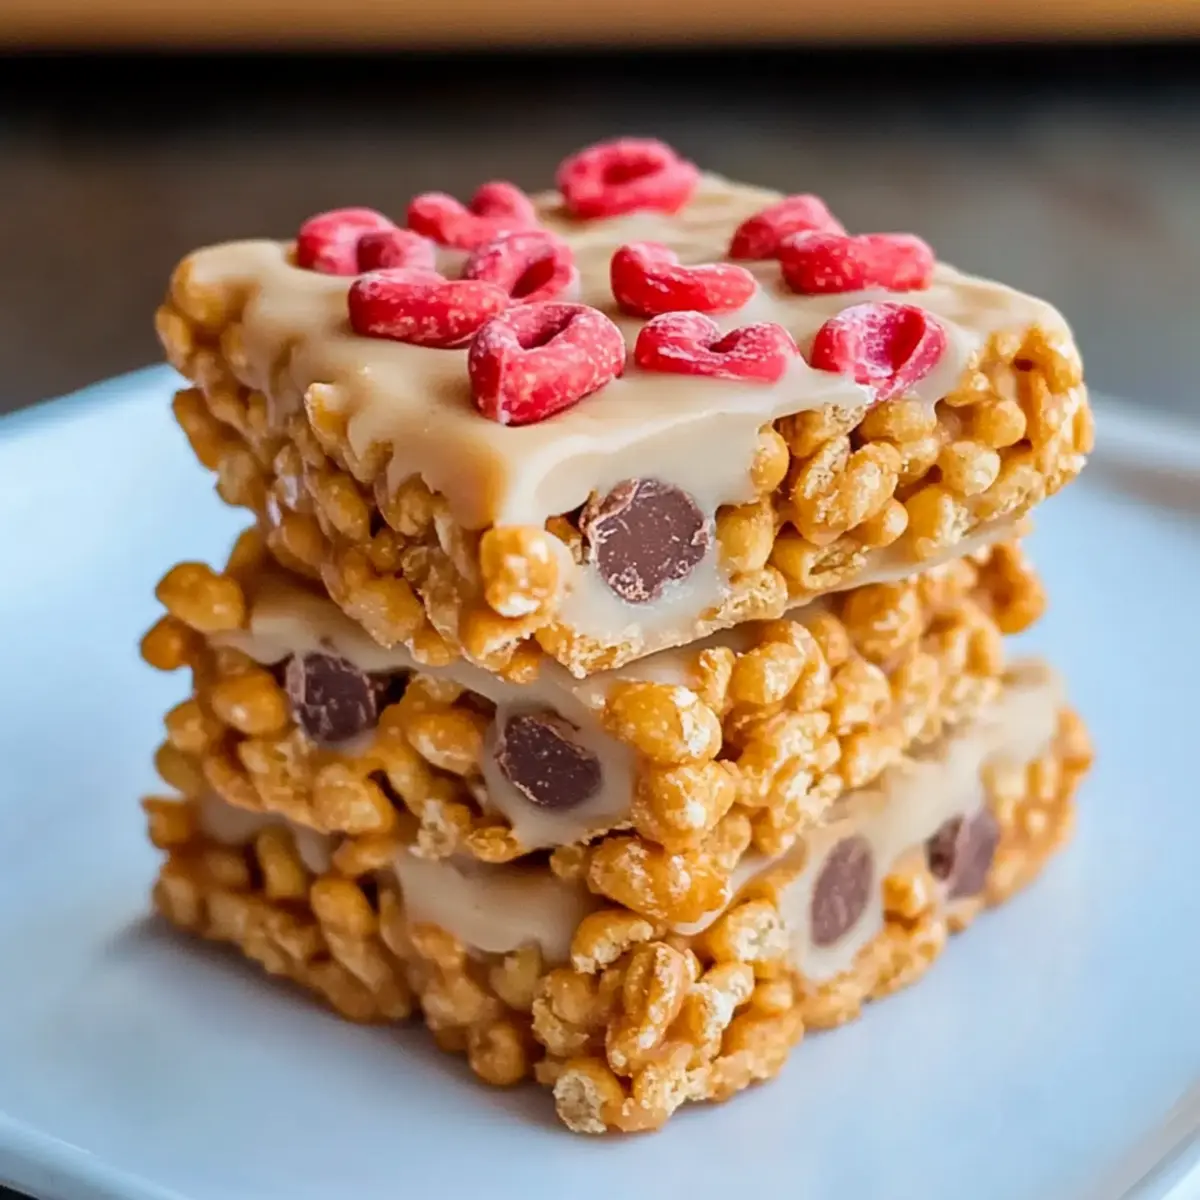
Cookie Dough Bars: Mix in mini chocolate chips and substitute cashew butter for a deliciously decadent cookie dough flavor. It’s like having the best of both worlds!
-
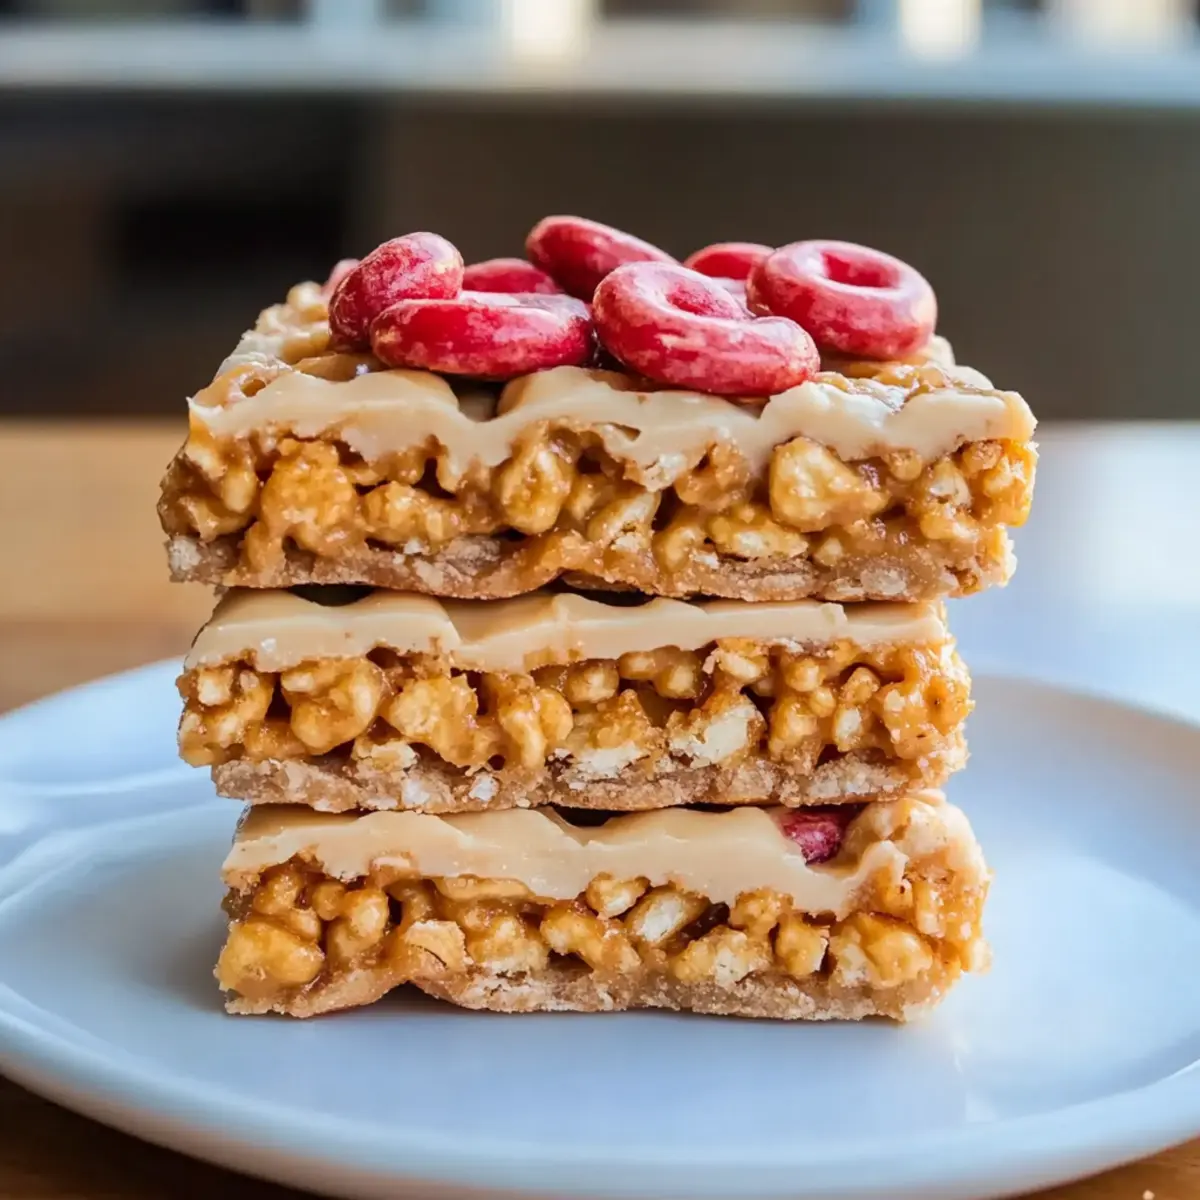
Strawberry Bars: Incorporate freeze-dried strawberries for a burst of fruity goodness. These bars will become a summer favorite, perfect for picnics or outdoor gatherings.
-
Peanut Butter Bars: Enhance the peanut flavor by mixing in crushed peanuts or peanut butter chips for extra crunch. Can’t resist that nutty goodness!
-
Marshmallow Bars: Throw in mini marshmallows into the mixture for a touch of nostalgia. These gooey bars will remind you of childhood treats, making them perfect for family gatherings.
-
Healthy Oat Bars: Substitute half of the cereal with rolled oats for added fiber and nutrition! These bars turn into a wholesome breakfast option that keeps you full.
-
Spicy Cinnamon Bars: Add a dash of cinnamon and a pinch of cayenne pepper for a surprising kick. It’s a unique flavor combination that brings warmth and excitement to every bite.
Looking for more yummy inspiration? You might also enjoy adding a twist to your baking with our delicious Salted Caramel Bars or explore your creativity with our Sweet Potato Bars!
Expert Tips for Perfect Cereal Bars
-
Press Firmly: Make sure to press the mixture firmly into the pan. This prevents your cereal bars from crumbling apart when sliced, ensuring a delightful texture.
-
Use Quality Cereal: Choose cereals that are less processed and free from hidden sugars or preservatives. Your choice directly impacts the healthiness of these cereal bars.
-
Adjust Sweeteners: When using maple syrup as your liquid sweetener, you may need to tweak the amount of nut butter to maintain the right consistency. Too much liquid can lead to crumbling bars.
-
Customize Wisely: Feel free to mix in chocolate chips or dried fruits, but remember to account for the extra dry ingredients; add a touch more nut butter or cereal as needed to avoid overly sticky bars.
-
Storing Tips: For best freshness, store your cereal bars in an airtight container in the fridge. If freezing, wrap them well to prevent freezer burn.
Storage Tips for Cereal Bars
Room Temperature: Store your cereal bars in a cool, dry place in an airtight container for up to 1 week to retain their chewy texture.
Fridge: For optimal freshness, keep your homemade cereal bars in the refrigerator for up to 2 weeks. This helps maintain their taste and prevents spoilage.
Freezer: For longer storage, freeze the bars wrapped in parchment or foil for up to 3 months. Thaw in the fridge before enjoying or take them out for a quick snack.
Reheating: If desired, warm the bars briefly in the microwave for 10-15 seconds to achieve a slightly soft and gooey texture.
What to Serve with Easy 3-Ingredient Healthy Cereal Bars
Imagine the joy of pairing delightful, chewy bars with perfectly matched flavors to create joyous moments at breakfast or snack time.
-
Fresh Fruit: Bright, juicy berries or sliced bananas add a refreshing contrast, enhancing the wholesome experience.
-
Creamy Yogurt: A dollop of Greek yogurt on the side offers a tangy counterpoint and boosts the protein content for a more filling snack.
-
Smoothie: Blend your favorite fruits and greens into a cold, refreshing smoothie for a perfect drinkable partner that complements the chewy texture of the bars beautifully.
-
Nutty Trail Mix: A handful of trail mix with nuts and dried fruits adds crunch and variety, taking your snack to a whole new level of satisfaction.
-
Chia Seed Pudding: Its creamy texture contrasts nicely with the bars, and the added fiber makes for a filling breakfast choice.
-
Herbal Tea or Coffee: Sip on a warm cup of herbal tea or rich coffee to elevate your snack moment, providing comfort with each bite.
Mix and match these suggestions to create a wholesome meal that delights both your palate and your soul!
Easy 3-Ingredient Healthy Cereal Bars Recipe FAQs
What type of cereal should I use for the best texture?
For the best texture, choose small flakes or shapes like Cheerios or Rice Krispies. These types provide the perfect crunch and chewiness. I recommend looking for whole grain options for added nutrition, and avoid overly processed cereals which may contain hidden sugars or preservatives.
How long can I store these cereal bars?
You can store your cereal bars in an airtight container at room temperature for up to a week. However, for optimal freshness, keep them in the refrigerator where they will last up to two weeks. If you want to extend their shelf life, you can freeze them wrapped in parchment or foil for up to three months.
Can I freeze these cereal bars? If so, how?
Absolutely! Freezing these cereal bars is a great option. First, allow the bars to cool and firm up after cutting. Wrap each bar in parchment paper or foil individually to prevent freezer burn. Place them in a freezer-safe bag or container and store for up to three months. When ready to enjoy, simply thaw in the fridge or at room temperature.
What should I do if my cereal bars crumble apart when cutting?
If your cereal bars crumble, it often means that the mixture wasn’t pressed in firmly enough into the pan. Ensure you use a second piece of parchment or a spatula to really press the mixture down before freezing. You can also try adding a little more nut butter to help bind the ingredients together, particularly if you’re including extra dry ingredients like nuts or chocolate chips.
Are these cereal bars suitable for kids or people with allergies?
Yes, these cereal bars are customizable and can be made suitable for various dietary needs. You can substitute nut butter with sunflower or soy nut butter for a nut-free option. Just be aware of any specific allergies related to the ingredients you choose, like gluten in certain cereals. Always double-check labels to avoid allergens or additives that may not fit certain diets.
Can I use alternatives to liquid sweeteners?
Definitely! If you prefer to avoid traditional sweeteners like honey or agave, you can consider using mashed ripe bananas or unsweetened applesauce. These alternatives also add moisture but may alter the texture slightly, so you may need to adjust the amount of cereal or nut butter to keep the bars cohesive.
Homemade Cereal Bars That Are Chewy and Oh-So-Tasty
Ingredients
Equipment
Method
- Prepare the pan by lining an 8-inch square pan with wax or parchment paper.
- Warm the nut butter in the microwave for about 15-20 seconds if it's too thick.
- Combine cereal, warmed nut butter, and liquid sweetener in a mixing bowl.
- Press the mixture firmly into the prepared pan using a second piece of parchment paper.
- Freeze the pan for about 30 minutes to allow the mixture to firm up.
- Slice the bars into preferred sizes and store in an airtight container.
Leave a Reply