
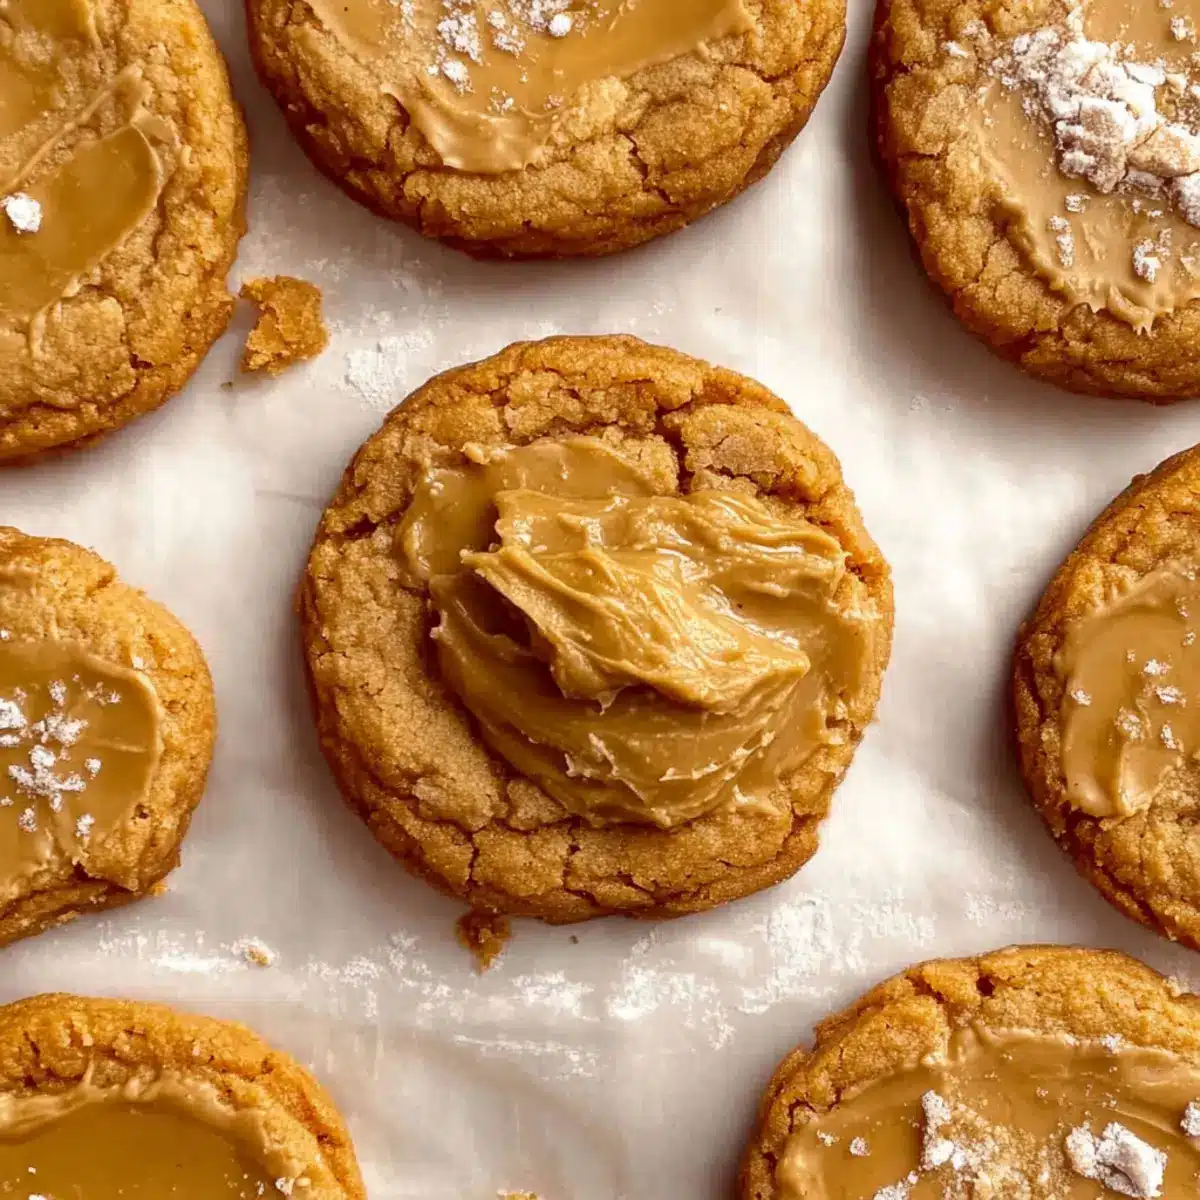
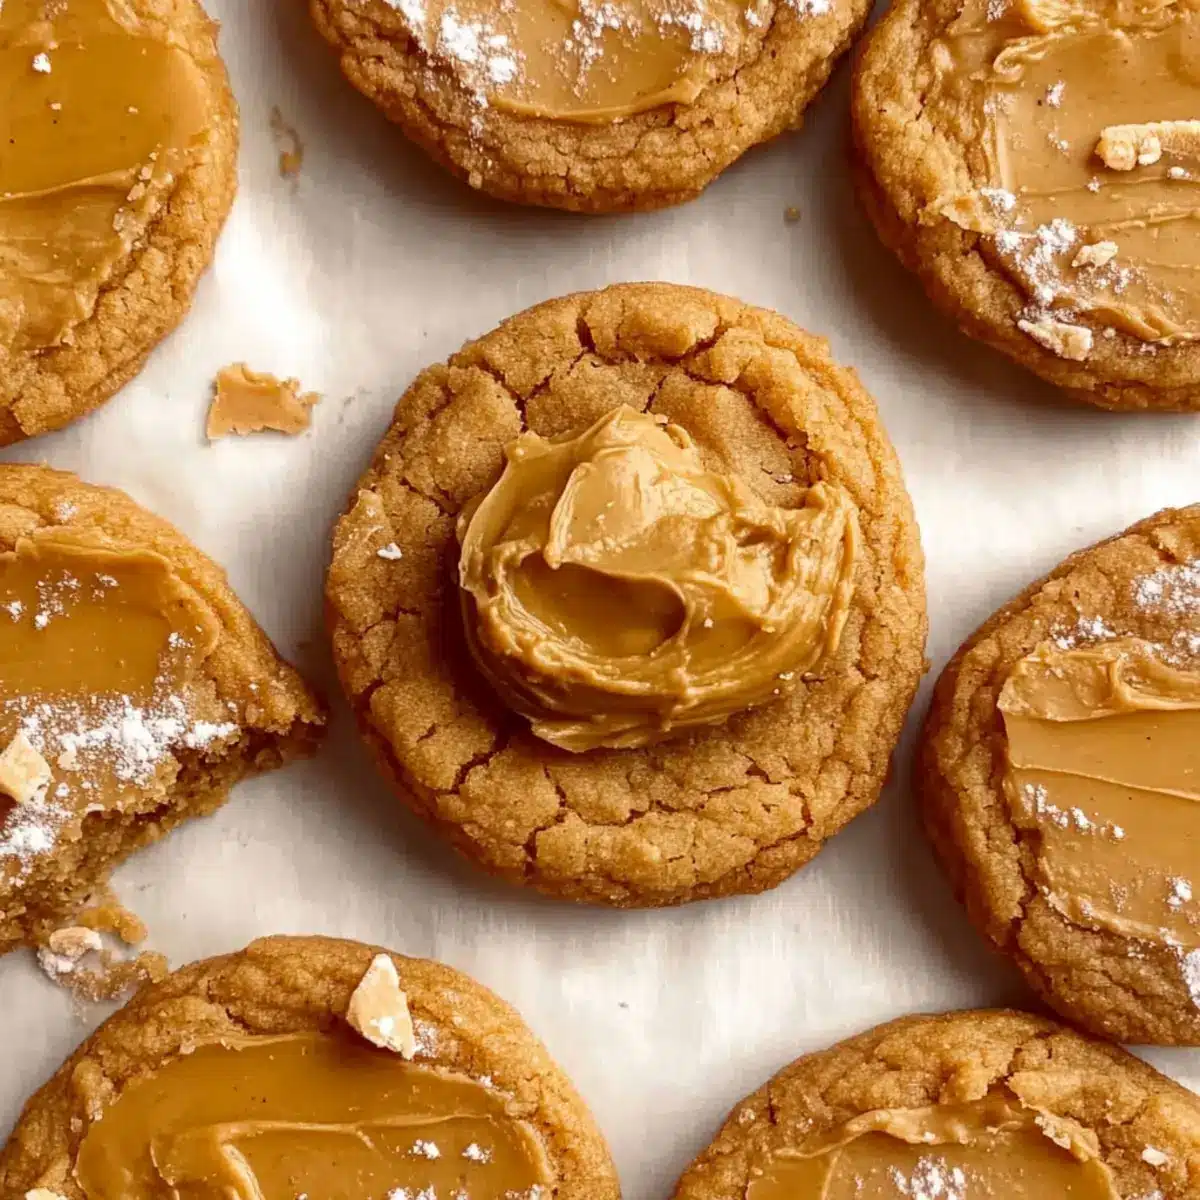
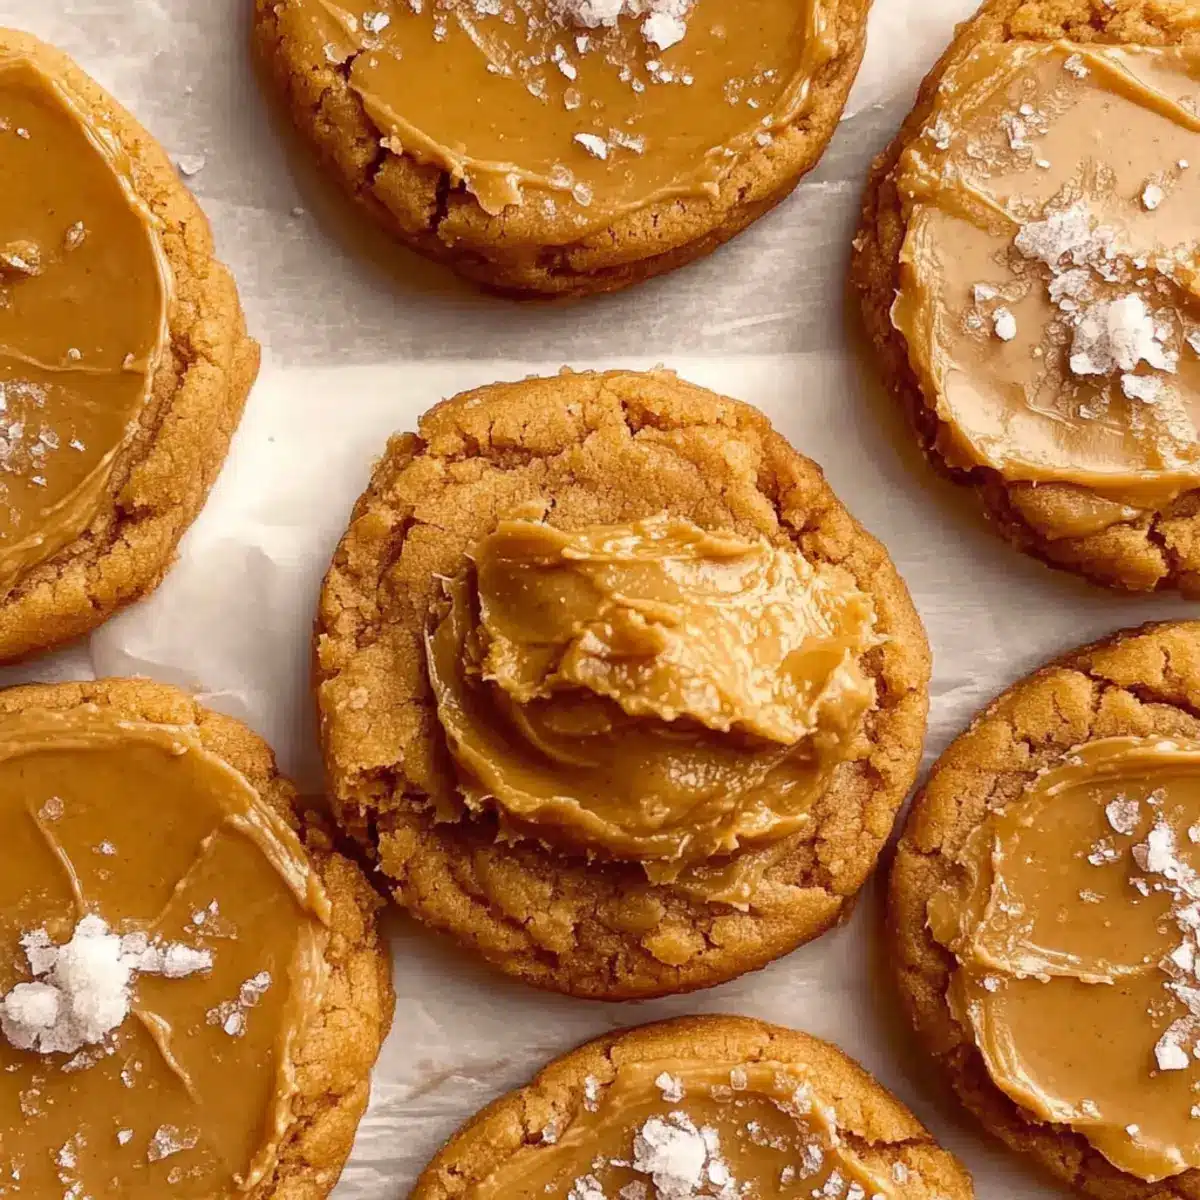
“Why settle for ordinary when you can have cookies that redefine delicious?” That’s the thought that raced through my mind when I first discovered the magic of Biscoff butter cookies. This soft and chewy delight blends the rich, caramel notes of Biscoff cookie butter with a sprinkle of crushed cookies for an irresistible texture. Best of all, this one-bowl recipe is ready in just 25 minutes—no chilling required! Imagine the joy of serving warm, homemade cookies without the hassle, making them perfect for a last-minute treat or an afternoon snack. So, whether you’re a busy parent, a passionate home-chef, or just someone craving a little sweetness, these cookies are here to brighten your day. Curious about how to whip up these divine bites? Let’s dive in!
Why are Biscoff Butter Cookies a game-changer?
Quick and Easy: This one-bowl recipe comes together in just 25 minutes, so you can satisfy your sweet tooth in no time.
Irresistible Flavor: The unique combination of Biscoff cookie butter and crushed cookies creates a sweet treat that’s truly unforgettable.
Soft and Chewy: With a texture that’s soft on the inside and just slightly crispy on the edges, these cookies are sure to become a favorite.
No Chill Needed: Perfect for those moments when you want warm cookies now—no waiting around is required!
Versatile Variations: Want something a little different? Add chocolate chips or spice things up with nutmeg for a unique twist.
Crowd-Pleasing: These cookies are sure to impress guests and family alike, making them perfect for parties or just a delightful snack. If you’re looking for more cookie inspiration, check out my Stuffed Pumpkin Cookies or my Biscoff Cookie Butter recipes!
Biscoff Butter Cookies Ingredients
For the Cookie Dough
• Unsalted Butter (142g) – Provides moisture and richness; can substitute with salted butter (omit additional salt).
• Biscoff Cookie Butter (125g) – Adds a caramelized flavor and creamy texture; use any brand available.
• Granulated Sugar (120g) – Sweetness and browning aid; consider substituting with coconut sugar for a lower glycemic index.
• Brown Sugar (80g) – Contributes moisture and chewiness; both light or dark varieties work great.
• Large Egg (1) + Egg Yolk (1) – Helps bind ingredients and results in a tender cookie; make sure they’re at room temperature.
• Vanilla Extract (1 tsp) – Enhances the overall flavor; pure vanilla is ideal for the best taste.
• All-Purpose Flour (210g) – Provides structure and stability; accuracy in measurement is key to avoiding dense cookies.
• Baking Powder (½ tsp) – Acts as a leavening agent for a light texture.
• Baking Soda (¼ tsp) – An additional leavening agent; reacts with acidic components.
• Salt (½ tsp) – Balances sweetness and enhances flavors.
For the Crunch
• Crushed Biscoff Cookies (70g) – Adds delightful texture and crunch; alternatively, graham crackers can offer a different flavor twist.
Now that you have the ingredients, it’s time to create your very own batch of these delectable Biscoff Butter Cookies! Your kitchen is going to smell amazing, and your taste buds will thank you!
Step‑by‑Step Instructions for Biscoff Butter Cookies
Step 1: Preheat Your Oven
Begin by preheating your oven to 350°F (180°C). While the oven is warming up, line two baking sheets with parchment paper to prevent the cookies from sticking. This simple step ensures your baking environment is ready for the warm, melt-in-your-mouth Biscoff butter cookies that await!
Step 2: Brown the Butter
In a saucepan over medium-low heat, melt 142g of unsalted butter. Stir constantly for about 5-8 minutes, watching for a golden brown color and a nutty aroma, which adds depth to your cookies. Once browned, remove it from the heat and let it cool slightly before mixing with other ingredients.
Step 3: Whisk Together Wet Ingredients
In a large mixing bowl, combine the browned butter and 125g of Biscoff cookie butter. Use a whisk to blend them until smooth. Then, incorporate 120g of granulated sugar, 80g of brown sugar, 1 large egg, 1 egg yolk, and 1 teaspoon of vanilla extract. Whisk until the mixture is light and creamy, indicating a successful start to your delicious Biscoff butter cookies.
Step 4: Combine Dry Ingredients
Now, fold in 210g of all-purpose flour, ½ teaspoon of baking powder, ¼ teaspoon of baking soda, and ½ teaspoon of salt into the wet mixture. Use a spatula to fold gently, ensuring you mix until just combined with a few flour streaks remaining. This technique keeps your cookies soft and chewy, which is exactly what you desire!
Step 5: Add the Crunch Factor
Gently fold in 70g of crushed Biscoff cookies to the dough, enhancing the delightful texture of your Biscoff butter cookies. Be careful not to over-mix; you want those crunchy bits to retain their shape. Now, your cookie dough is ready to be shaped and baked!
Step 6: Scoop and Bake
Using a medium cookie scoop, place dough balls onto the prepared baking sheets, making sure to leave 1-2 inches of space between them. To elevate the flavor, top each ball with a teaspoon of Biscoff cookie butter. Bake in the preheated oven for 9-11 minutes or until the edges are golden and the tops are slightly cracked, ensuring the perfect soft and chewy texture.
Step 7: Cool Down
Once baked, remove the trays from the oven and allow the cookies to cool on the baking sheets for 5-10 minutes. This resting period helps them firm up a bit while maintaining that signature chew. Afterward, transfer the cookies to a wire rack to cool completely and enjoy the delightful aroma wafting through your kitchen!

What to Serve with Soft and Chewy Biscoff Butter Cookies
Imagine a cozy evening, where the aroma of freshly baked cookies fills your home, inviting warmth and comfort with every bite.
- Cold Milk: Pairing these cookies with a glass of cold milk creates a classic combo that enhances the rich flavors while providing a refreshing contrast.
- Coffee: The slight bitterness of coffee complements the sweetness of the Biscoff butter cookies, making each bite more satisfying. Enjoy it as a delightful afternoon pick-me-up.
- Ice Cream Sundae: Transform your cookie experience by crumbling the cookies over a scoop of vanilla ice cream topped with chocolate sauce—irresistibly decadent!
- Fruit Salad: For a lighter option, serve a mixed fruit salad on the side. The freshness and acidity of the fruit balance the sweetness of the cookies perfectly.
- Chocolate Fondue: Dip the cookies in warm chocolate fondue for a luscious twist; the combination of flavors and textures is utterly divine.
- Spiced Chai Tea: The warmth and spices of chai tea create a cozy pairing, enhancing the cinnamon notes in your cookies while inviting a comforting experience.
- Whipped Cream Topping: A dollop of freshly whipped cream adds a luxurious touch, enhancing the creamy texture and flavor of the cookies with every bite.
- Caramel Sauce: Drizzle warm caramel sauce over the cookies for an extra layer of sweetness; it’s pure indulgence that takes these already delicious treats to the next level!
- Nutty Trail Mix: Serve a bowl of nutty trail mix alongside for a delightful crunchy texture that contrasts with the soft chewiness of the cookies.
No matter how you choose to serve them, these Biscoff butter cookies are sure to bring joy to your table!
Expert Tips for Biscoff Butter Cookies
- Butter Temperature: Ensure the butter is lukewarm, not hot, when mixing. Hot butter can cause the cookies to spread too much during baking.
- Precision in Flour: Use a kitchen scale for accurate flour measurement; too much flour can lead to dense, dry cookies instead of the soft and chewy goodness you crave.
- No Overmixing: When combining dry ingredients, mix until just combined. Overmixing can develop gluten, resulting in tougher cookies.
- Storage Strategy: If you’re baking ahead, keep shaped dough balls in the fridge up to 24 hours before baking, preserving freshness without compromising texture.
- Experiment with Mix-ins: Don’t hesitate to add extras like chocolate chips or nuts; they pair wonderfully with Biscoff butter cookies for a delightful twist!
Storage Tips for Biscoff Butter Cookies
Room Temperature: Store baked cookies in an airtight container at room temperature for up to 3-4 days. This keeps them soft and chewy, perfect for snacking.
Freezer: For longer storage, freeze your Biscoff butter cookies in a single layer on a baking sheet, then transfer them to a zip-top bag, sealing tightly. They can be frozen for up to 3 months.
Reheating: To enjoy warm cookies, reheat from room temperature in a microwave for 10-15 seconds or bake from frozen at 350°F (175°C) for about 5-7 minutes.
Dough Storage: If you wish to prepare the dough ahead of time, shape into balls, freeze them on a baking sheet, then transfer to a zip-top bag. Frozen dough balls can be baked straight from the freezer!
Make Ahead Options
These Biscoff Butter Cookies are perfect for meal prep enthusiasts! You can prepare the cookie dough up to 24 hours in advance by mixing all the ingredients and then covering it tightly with plastic wrap before refrigerating. To maintain their signature soft and chewy texture, ensure the dough is kept in an airtight container, which prevents it from drying out. When you’re ready to bake, allow the dough to sit at room temperature for about 15 minutes before scooping and baking as usual. For even more convenience, you can scoop the dough into balls and freeze them for up to 3 months; just bake them straight from the freezer, adding an extra minute or two to the baking time. Enjoy the ease of having delicious homemade cookies whenever you need a sweet treat!
Biscoff Butter Cookies Variations & Substitutions
Feel free to let your creativity shine in the kitchen by customizing these cookies to suit your taste!
-
Nutty Twist: Swap Biscoff cookie butter for almond or peanut butter for a different flavor.
-
Chocolate Indulgence: Add chocolate chips alongside crushed cookies for a decadent twist that will satisfy any chocolate lover’s cravings.
-
Graham Cracker Crunch: Replace crushed Biscoff cookies with graham crackers to give your cookies a unique flavor twist.
-
Spicy Warmth: Add a pinch of nutmeg or a sprinkle of cinnamon to the mix for an irresistible warmth that complements the sweetness beautifully.
-
Dairy-Free Delight: Use coconut oil instead of butter and substitute a flax egg for traditional eggs to make a dairy-free treat everyone can enjoy.
-
Lower Sugar Option: For a healthier take, substitute granulated sugar with coconut sugar, which provides a lower glycemic index alternative without sacrificing flavor.
-
Zesty Upgrade: Incorporate orange or lemon zest into the dough for a bright, refreshing citrus note that pairs exquisitely with the rich flavors.
-
Double the Cookie Love: Mix in mini Biscoff cookies or bite-sized caramel candies to pack your cookies with even more deliciousness.
Whether you’re experimenting with flavors or catering to specific dietary needs, these variations invite you to indulge in the joyful experience of baking and enjoying your Biscoff butter cookies. If you’re looking for more inspiration, why not check out my delightful Lemon Butter Chicken or try out my Spicy Garlic Butter Clams? Your culinary journey awaits!
Biscoff Butter Cookies Recipe FAQs
How do I select the best Biscoff cookie butter?
Absolutely! When choosing your Biscoff cookie butter, look for a creamy texture without any separation. It should be rich and smooth, with a deep caramel color. Different brands can have varying sweetness, so choose one that matches your taste. If you prefer a more natural option, check the ingredient list for minimal additives.
What’s the best way to store Biscoff butter cookies?
To keep your Biscoff butter cookies fresh and chewy, store them in an airtight container at room temperature for up to 3-4 days. Make sure to separate layers with parchment paper to prevent sticking. If you want to enjoy them longer, consider freezing. Just place them in a freezer-safe container or zip-top bag, and they can last for up to 3 months.
Can I freeze Biscoff butter cookie dough?
Yes, you can absolutely freeze the cookie dough! Shape the dough into balls and arrange them on a baking sheet. Freeze until solid, then transfer the frozen balls to a zip-top bag. They can be baked straight from frozen—just add a minute or two to the baking time for perfect cookies on demand!
What if my Biscoff cookies come out too flat?
Very good question! If your cookies spread too much, it might be because your butter was too warm or melted. To avoid this, ensure your butter is just browned and slightly cooled before mixing. Additionally, make sure you’re measuring your flour accurately; too little flour can lead to flat cookies. I recommend using a kitchen scale for best results!
Are Biscoff butter cookies safe for pets?
Unfortunately, while these cookies are delightful for humans, they are not safe for pets. They contain sugar and butter that can upset a pet’s stomach. If you’re looking to treat your furry friends, consider baking some pet-friendly snacks instead!
What should I do if my cookies are too dry?
If your cookies turn out dry, it may be because of overbaking or too much flour. Start by checking your oven to ensure correct temperatures, and use a kitchen scale for precise flour measurements to avoid this issue. If they do turn out dry, try pairing them with a scoop of ice cream or a drizzle of warm chocolate sauce to enhance moisture in each delightful bite!
Ultimate Biscoff Butter Cookies: Soft, Chewy Delights
Ingredients
Equipment
Method
- Preheat your oven to 350°F (180°C). Line two baking sheets with parchment paper.
- In a saucepan over medium-low heat, melt the unsalted butter until golden brown, about 5-8 minutes.
- In a mixing bowl, combine the browned butter with Biscoff cookie butter, granulated sugar, brown sugar, egg, egg yolk, and vanilla extract. Whisk until light and creamy.
- Fold in all-purpose flour, baking powder, baking soda, and salt until just combined.
- Gently fold in the crushed Biscoff cookies.
- Scoop dough balls onto baking sheets, leaving space in between. Optionally top each with a teaspoon of Biscoff cookie butter. Bake for 9-11 minutes.
- Allow cookies to cool on the baking sheets for 5-10 minutes before transferring to a wire rack.
Leave a Reply