
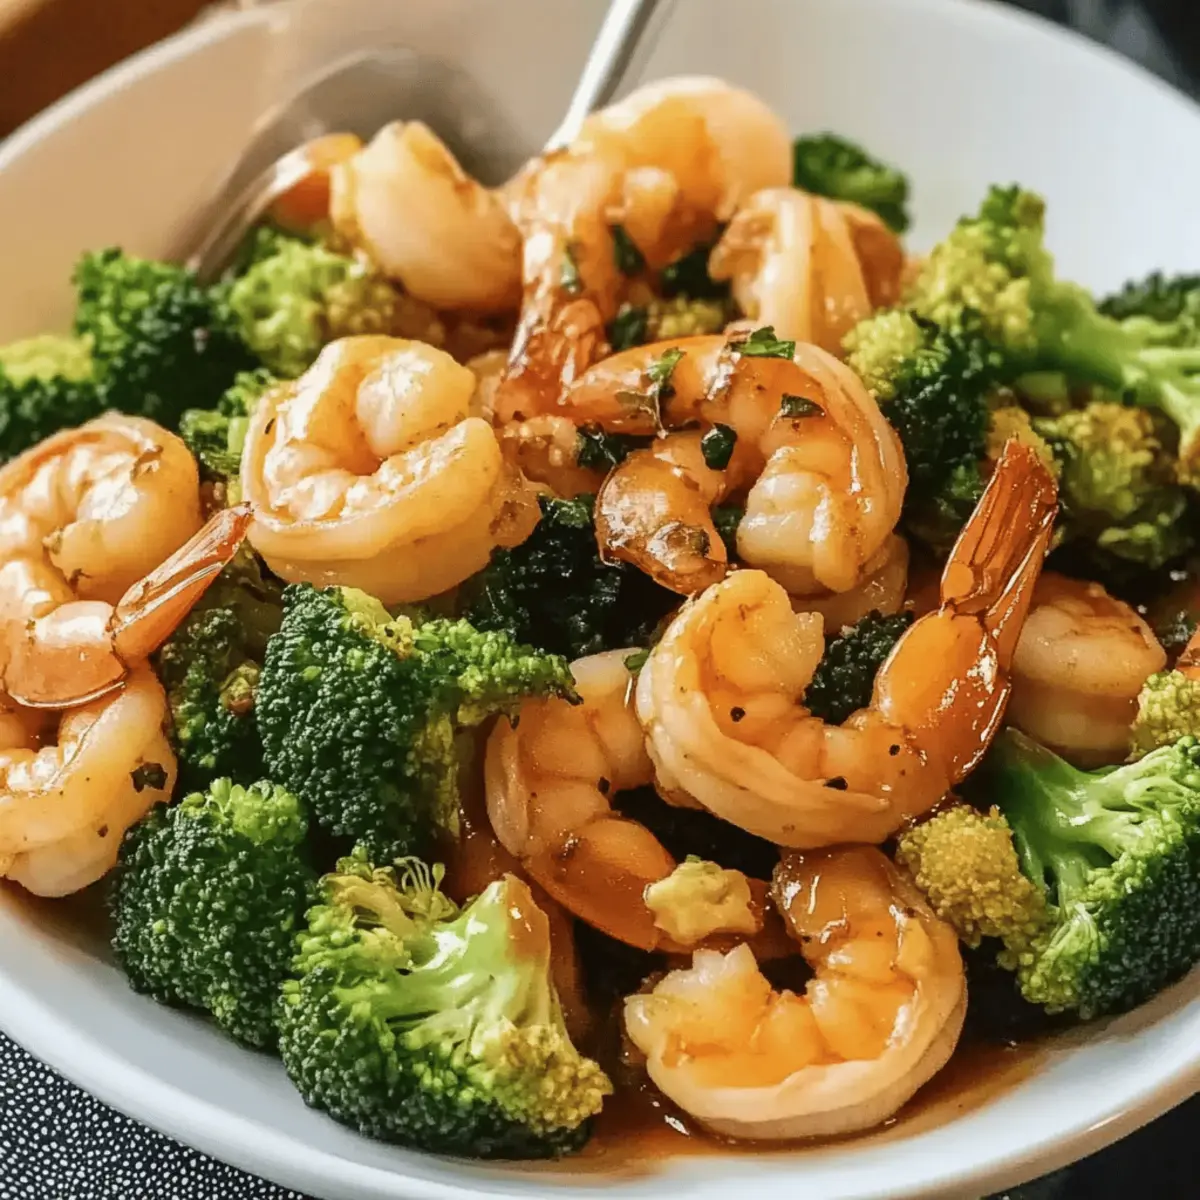
The sizzling sound of shrimp meeting a hot skillet takes me back to lively Japanese steakhouses, where the aroma of melted butter and savory soy sauce fills the air. With my Easy Hibachi Shrimp recipe, you can recreate that enchanting dining experience right in your kitchen in just 10 minutes. This quick and simple dish combines tender shrimp and vibrant broccoli, delivering not just on taste, but also on presentation—perfect for impressing family or friends on busy weeknights. Plus, it’s a healthy option that’s gluten-free and dairy-free with convenient substitutions. Are you ready to dive into this delightful dish today?
Why is Easy Hibachi Shrimp a Must-Try?
Savor the Flavor: This recipe brings the rich umami taste of traditional Japanese hibachi straight to your table in record time.
Quick & Easy: Perfect for busy weeknights, it cooks up in just 10 minutes, allowing you to serve a delicious meal without the fuss.
Healthy Choice: Packed with protein and fresh broccoli, this dish is not just flavorful but also gluten-free and dairy-free with simple substitutions.
Versatile Options: Feel free to switch out veggies or proteins, making it easy to customize. Whether you opt for zucchini or tofu, the options are endless!
Crowd-Pleasing: Ideal for family dinners or entertaining guests, this vibrant dish is sure to impress everyone at the table.
Want to elevate your meal further? Pair it with some Garlic Parmesan Roasted Shrimp for a delightful twist!
Easy Hibachi Shrimp Ingredients
• Here’s everything you need to create your delicious Easy Hibachi Shrimp!
For the Shrimp
- Large Shrimp – Look for shrimp with a count of 41-50, peeled and deveined for the best texture and flavor.
- Kosher Salt – Enhances the natural flavors; adjust to your taste preferences.
- Black Pepper – Freshly cracked adds depth and a slight kick to your dish.
For the Vegetables
- Broccoli Florets – Fresh or pre-cut, these bring a crunchy, nutritious element to your meal.
- Water – Just enough for steaming broccoli; you want them vibrant and tender!
For the Sauce
- Butter – Essential for richness; don’t skip this for that signature hibachi flavor!
- Soy Sauce – Key for umami; opt for low sodium if you prefer a healthier option.
- Fresh Lemon Juice – Brightens the dish and helps deglaze the pan for maximum flavor.
Feel free to customize your Easy Hibachi Shrimp with different vegetables or proteins for a delightful and unique spin every time!
Step‑by‑Step Instructions for Easy Hibachi Shrimp
Step 1: Prep the Shrimp
Start by cleaning and patting dry your fresh shrimp, ensuring they are peeled and deveined for the best texture. If using frozen shrimp, allow them to thaw completely and then dry them well, as excess moisture will prevent proper searing. This step sets the stage for your Easy Hibachi Shrimp to shine with flavorful results.
Step 2: Steam Broccoli
In a skillet, add 1 cup of broccoli florets along with 1/4 cup of water. Cover the skillet and steam the broccoli over medium heat for about 1-2 minutes, or until the florets turn a vibrant green and are tender but still crisp. Once done, carefully remove the lid to avoid steam burns and set the broccoli aside while you continue with the shrimp.
Step 3: Cook the Shrimp
In the same skillet, melt 1 tablespoon of butter over medium-high heat until foamy. Next, add your prepared shrimp in a single layer, ensuring they aren’t overcrowded for the best browning. Season with a pinch of kosher salt and freshly cracked black pepper. Sauté for about 1 minute until the shrimp turn pink on one side, signaling they’re ready to be flipped.
Step 4: Flip and Flavor
Gently flip the shrimp over and drizzle 1 tablespoon of soy sauce into the skillet. This will add depth and richness to your Easy Hibachi Shrimp. Continue to cook for another minute, stirring lightly to ensure the shrimp are evenly coated with the soy sauce, turning bright pink and slightly caramelized.
Step 5: Combine and Finish
Return the steamed broccoli to the skillet, and pour in an additional 2 tablespoons of soy sauce for extra flavor. Cook everything together for another minute, mixing gently to combine. As the ingredients meld, deglaze the pan with freshly squeezed lemon juice, scraping up any flavorful bits stuck to the bottom of the skillet for a delicious finish.
Step 6: Serve Immediately
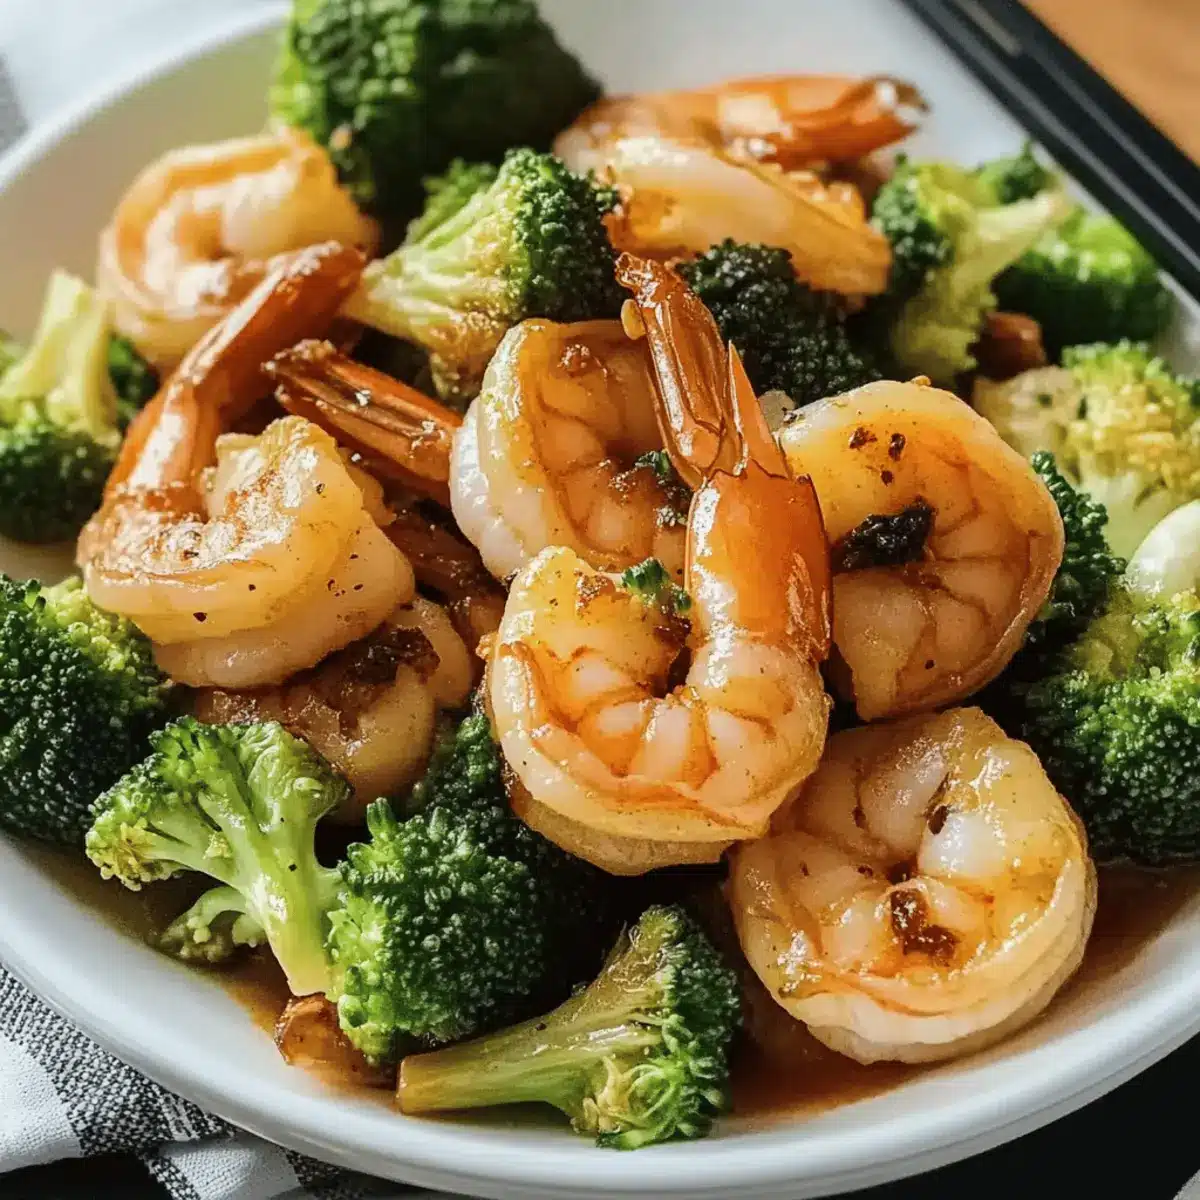
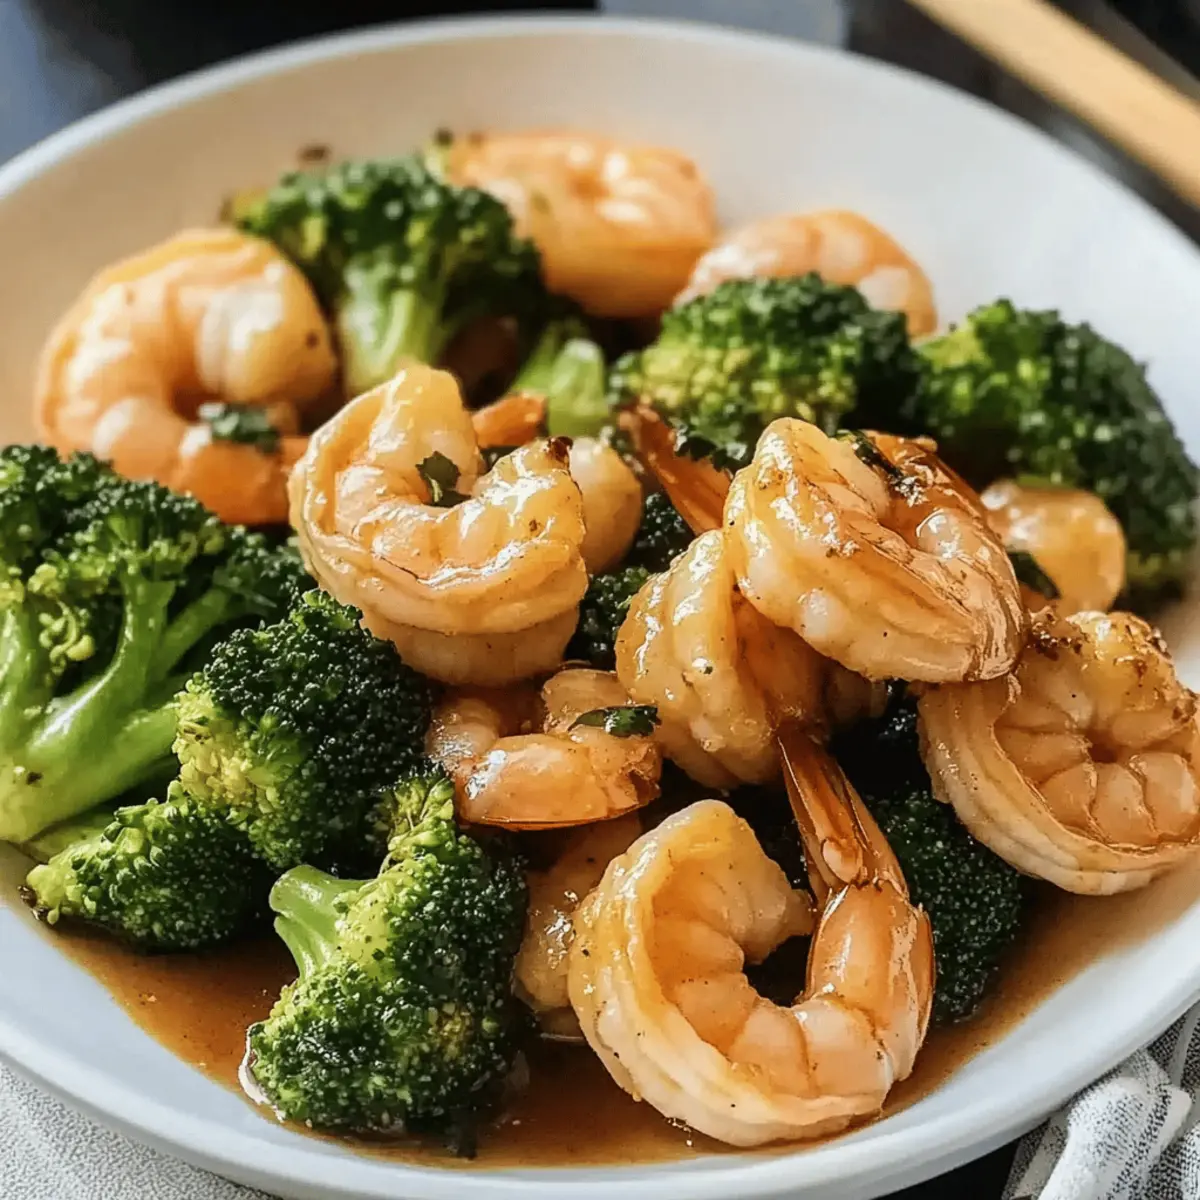
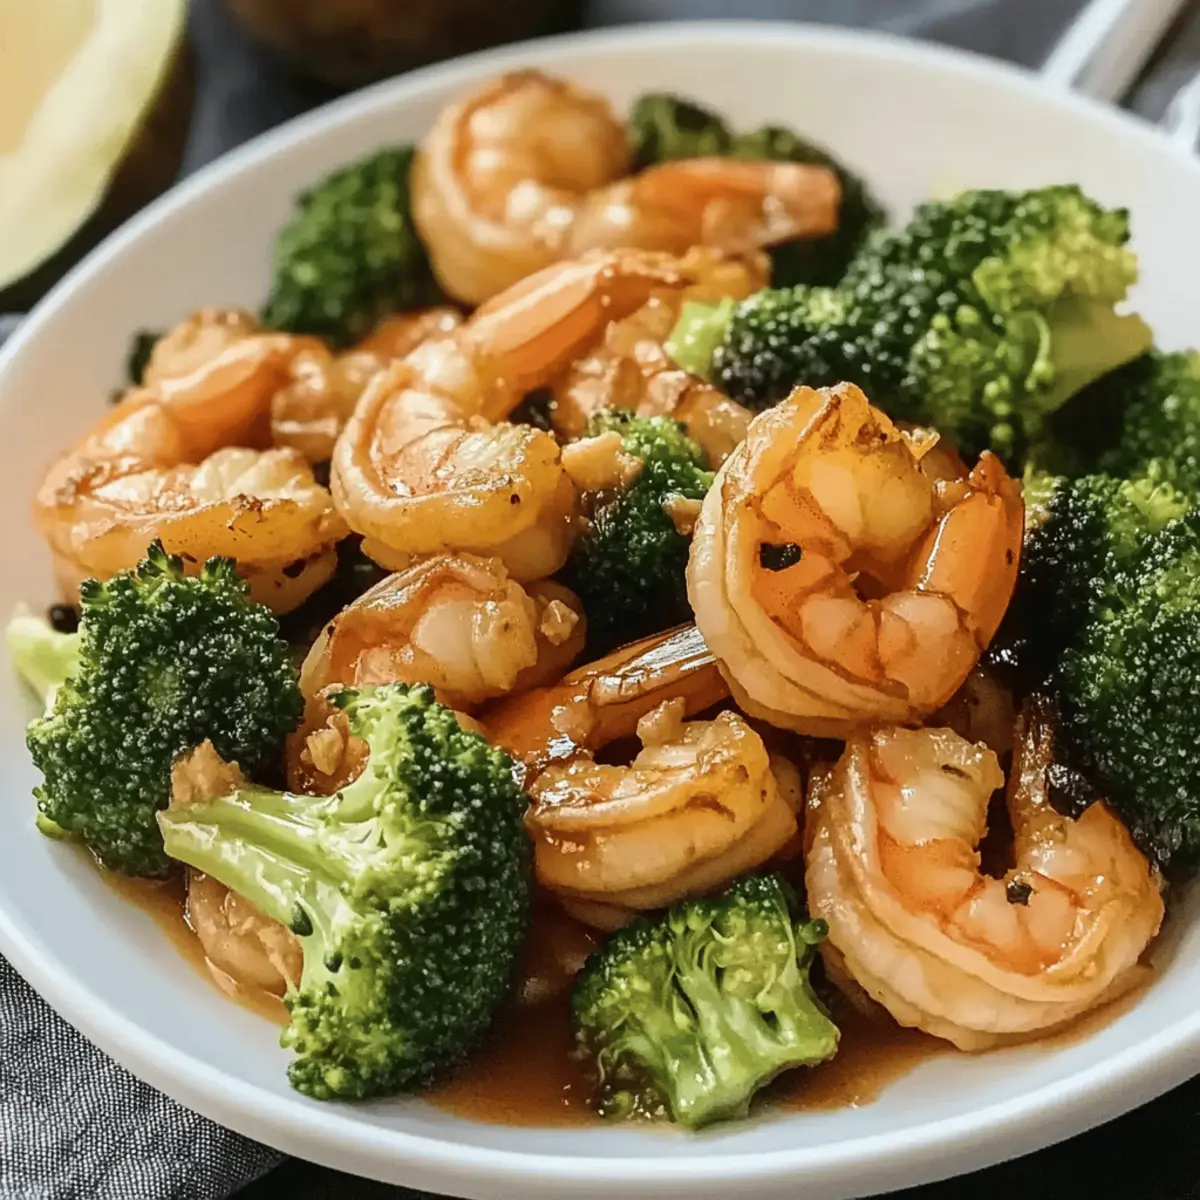
Transfer your beautifully cooked Easy Hibachi Shrimp and broccoli to a serving plate while they are hot. For an added touch, garnish with sesame seeds or serve alongside a side of homemade yum yum sauce for dipping. This dish not only looks vibrant but is bursting with flavors that will take your home dining experience to new heights!
Make Ahead Options
These Easy Hibachi Shrimp are perfect for meal prep enthusiasts! You can clean and pat dry the shrimp up to 24 hours in advance, storing them in a sealed container in the refrigerator to maintain freshness. Additionally, you can steam the broccoli and keep it in a separate airtight container for up to 3 days. When you’re ready to serve, simply heat a skillet, melt the butter, and toss in the shrimp and broccoli, adding the soy sauce and lemon juice to finish cooking. By prepping the components ahead of time, you’ll enjoy a delightful hibachi experience with minimal effort on busy weeknights!
Easy Hibachi Shrimp Variations & Substitutions
Feel free to get creative with your Easy Hibachi Shrimp by exploring these tasty variations that will entice your palate and keep mealtime exciting!
-
Vegetable Swap: Use zucchini, bell peppers, or snap peas for different textures and flavors. Each option can bring a delightful twist to your dish!
-
Umami Boost: Incorporate sliced mushrooms for richer taste. Their earthy flavor complements the shrimp beautifully and adds a lovely depth.
-
Protein Twist: Substitute shrimp with chicken or tofu. These alternatives maintain the essence of the dish while catering to different dietary preferences.
-
Spicy Kick: Add red pepper flakes or Sriracha for a delightful heat. A little spice can make this dish even more memorable!
-
Herb Enhancement: Top with chopped green onions or fresh cilantro for freshness. These herbs not only uplift the taste but also add a pop of color.
-
Crispy Texture: Sprinkle toasted sesame seeds for crunch. They add an irresistible bite that elevates every spoonful!
-
Citrus Twist: Experiment with lime or orange juice instead of lemon. The citrusy zing creates a vibrant twist that can brighten the entire dish.
-
Soy Sauce Variety: Try teriyaki or coconut aminos for distinct flavor shifts. Each alternative delivers its unique character while keeping the meal delicious.
If you’re looking for more tasty ideas, consider making Cabbage Roll Casserole or spice it up with some Gochujang Shrimp Tacos for a delightful, multicultural twist!
How to Store and Freeze Easy Hibachi Shrimp
Fridge: Store leftover Easy Hibachi Shrimp in an airtight container for up to 3-4 days. Reheat gently in the microwave or on the stovetop to maintain tenderness.
Freezer: If you want to save for later, place cooked shrimp in a single layer on a baking sheet and freeze until solid, then transfer to a freezer bag for up to 2 months.
Reheating: When ready to enjoy, thaw the shrimp overnight in the fridge, then reheat in a skillet over low heat with a splash of soy sauce to restore flavor and moisture.
Expert Tips for Easy Hibachi Shrimp
- Pat Dry Shrimp: Ensure shrimp are dry before cooking to achieve a perfect sear and prevent excess moisture.
- Cook in Batches: Avoid overcrowding the skillet to ensure shrimp brown evenly, enhancing flavor and texture.
- Monitor Broccoli: Steam broccoli precisely for 1-2 minutes; overcooking will lead to mushiness.
- Quality Soy Sauce: Use a good quality soy sauce to boost umami flavor; low sodium varieties work well too.
- Serve Fresh: Enjoy your Easy Hibachi Shrimp immediately for the best flavor and texture; it’s best straight from the pan!
What to Serve with Easy Hibachi Shrimp
Elevate your dinner experience with delightful pairings that enhance the flavors and textures of the dish.
- Hibachi Fried Rice: A classic companion, this rice dish absorbs the rich umami flavor and adds satisfying texture.
- Garlic Edamame: Lightly salted edamame pods provide a crisp, fresh contrast to the buttery shrimp. Perfect for snacking!
- Crispy Spring Rolls: These crunchy rolls filled with vibrant vegetables offer a delightful bite and wonderful crunch alongside your meal.
- Chilled Soba Noodles: Tossed in a light sesame dressing, these noodles add a refreshing, cool element that balances the dish’s warmth.
- Miso Soup: A warm, savory broth filled with tofu and seaweed, perfect for complementing the shrimp’s umami richness.
- Asian Slaw: A crunchy salad with a tangy dressing adds brightness and an extra layer of flavor to your meal.
- Sweet Chili Sauce: A side of sweet chili sauce for dipping offers a perfect sweet and spicy contrast to the savory shrimp.
- Cucumber Salad: Light and refreshing, this salad adds a crisp texture and a hint of acidity to balance the richness of your dish.
- Iced Green Tea: Sip on this refreshing beverage to cleanse your palate, allowing every bite of shrimp to shine.
- Mochi Ice Cream: End your meal with a sweet treat that melds chewy and creamy textures, offering a delightful dessert experience.
Easy Hibachi Shrimp Recipe FAQs
What kind of shrimp should I use for this recipe?
I recommend using large shrimp, specifically with a count of 41-50, as they’re perfect for this dish and deliver a tender texture. Make sure they’re peeled and deveined for easy cooking and enjoyable eating!
How long can I store leftovers?
Leftover Easy Hibachi Shrimp can be stored in an airtight container in the refrigerator for up to 3-4 days. To reheat, gently warm them on the stovetop or in the microwave to keep the shrimp tender—about 1-2 minutes should do the trick.
Can I freeze Easy Hibachi Shrimp?
Absolutely! To freeze, first spread the cooked shrimp in a single layer on a baking sheet and freeze until solid. Transfer the shrimp to a freezer bag, and they’ll keep well for up to 2 months. When ready to enjoy, thaw overnight in the fridge and reheat on low heat to ensure they don’t become rubbery.
What if my shrimp are rubbery after cooking?
Rubbery shrimp can often result from overcooking. For best results, cook your shrimp for only a short time—until they turn pink and opaque. If you’re using frozen shrimp, make sure they’re completely thawed and dried before cooking to allow for a good sear without moisture interfering.
Is this dish suitable for gluten-free diets?
Yes, this Easy Hibachi Shrimp is perfect for gluten-free diets! Just be sure to use gluten-free soy sauce, which is widely available and maintains the same delicious flavor without the gluten. Enjoy with peace of mind!
Can I add other vegetables?
Very! You can certainly incorporate other vegetables like zucchini, bell peppers, or snap peas, which can all add delightful flavors and textures to your dish! Just adjust cooking times for each vegetable to ensure they stay vibrant and fresh.
Quick Easy Hibachi Shrimp with Broccoli in Just 10 Minutes
Ingredients
Equipment
Method
- Start by cleaning and patting dry your fresh shrimp, ensuring they are peeled and deveined for the best texture.
- In a skillet, add 1 cup of broccoli florets along with 1/4 cup of water. Cover and steam for about 1-2 minutes, until vibrant and tender.
- Melt 1 tablespoon of butter over medium-high heat. Add shrimp in a single layer, season with kosher salt and black pepper, and sauté for about 1 minute.
- Flip the shrimp and drizzle 1 tablespoon of soy sauce into the skillet. Cook for another minute, stirring lightly.
- Return the steamed broccoli to the skillet and pour in an additional 2 tablespoons of soy sauce. Cook together for another minute, finishing with lemon juice.
- Serve hot on a plate, optionally garnished with sesame seeds or yum yum sauce.
Leave a Reply