
As I flipped through an old family cookbook, the pages breathed life into memories of cozy mornings filled with laughter and warmth. One recipe, in particular, brought me back to the heart of Irish comfort food: Traditional Irish Potato Farls. These delightful little gems are the perfect remedy for those tired of fast food; they combine the simplicity of leftover mashed potatoes with the joy of homemade ease. Whether you’re whipping them up for a leisurely brunch or a quick side to complement dinner, these farls are not only budget-friendly but also gluten-free adaptable, ensuring everyone can enjoy them. Imagine the satisfying crunch of their golden crust paired with a fluffy interior—a quick triumph in any home chef’s kitchen. Ready to bring a touch of Ireland into your home? Let’s dive into the delightful world of Potato Farls!
Why Make Irish Potato Farls?
Comforting and hearty, Irish Potato Farls are the ultimate solution for those seeking a satisfying homemade meal. Quick to prepare, these delightful farls can be made in just 30 minutes, perfect for busy weekdays or brunch gatherings. Versatile enough for sweet or savory toppings, they shine as bases for everything from eggs to smoked salmon. With every bite, you’ll experience the classic Irish warmth that transforms simple ingredients into something extraordinary. Don’t forget to try them alongside Lemon Dill Potato salad for a refreshing contrast or as a base for open-faced sandwiches!
Irish Potato Farls Ingredients
For the Dough
• Mashed Potatoes – Use cooled leftovers for best results and maximum moisture.
• All-Purpose Flour – Provides structure; swap with gluten-free flour like rice or oat flour for dietary adaptability.
• Salt – Enhances the flavor, balancing the natural sweetness of the potatoes.
• Melted Butter – Adds richness; olive oil can be used as a healthier alternative.
Optional Add-Ins
• Chopped Chives – Sprinkle in for a fresh flavor burst in your farls.
• Grated Cheese – Mix in for a cheesy twist that complements the fluffy texture.
Enjoy making Irish Potato Farls that will surely bring a touch of warmth and comfort to any meal!
Step‑by‑Step Instructions for Irish Potato Farls
Step 1: Mix the Dough
In a large mixing bowl, combine the cooled mashed potatoes, all-purpose flour, salt, and melted butter. Using a fork or your hands, mix until the ingredients form a soft, cohesive dough. This should take about 3-5 minutes. Ensure there are no dry flour pockets, and stop once the dough is uniformly smooth, setting the stage for your fluffy Irish Potato Farls.
Step 2: Knead the Dough
Turn the dough out onto a lightly floured surface and gently knead it for about 1-2 minutes. Be careful not to overwork the dough to maintain its airy texture. You want it to be smooth but not tough. This step is essential to achieve the perfect fluffy interior that characterizes traditional Irish Potato Farls.
Step 3: Shape the Dough
Roll the dough into a flat circle, about 1/4 inch thick. Use a rolling pin, applying gentle pressure to avoid flattening the fluffiness. Make sure the dough maintains an even thickness for uniform cooking. This circular shape will form the base for cutting your farls into wedges, preparing them for the griddle.
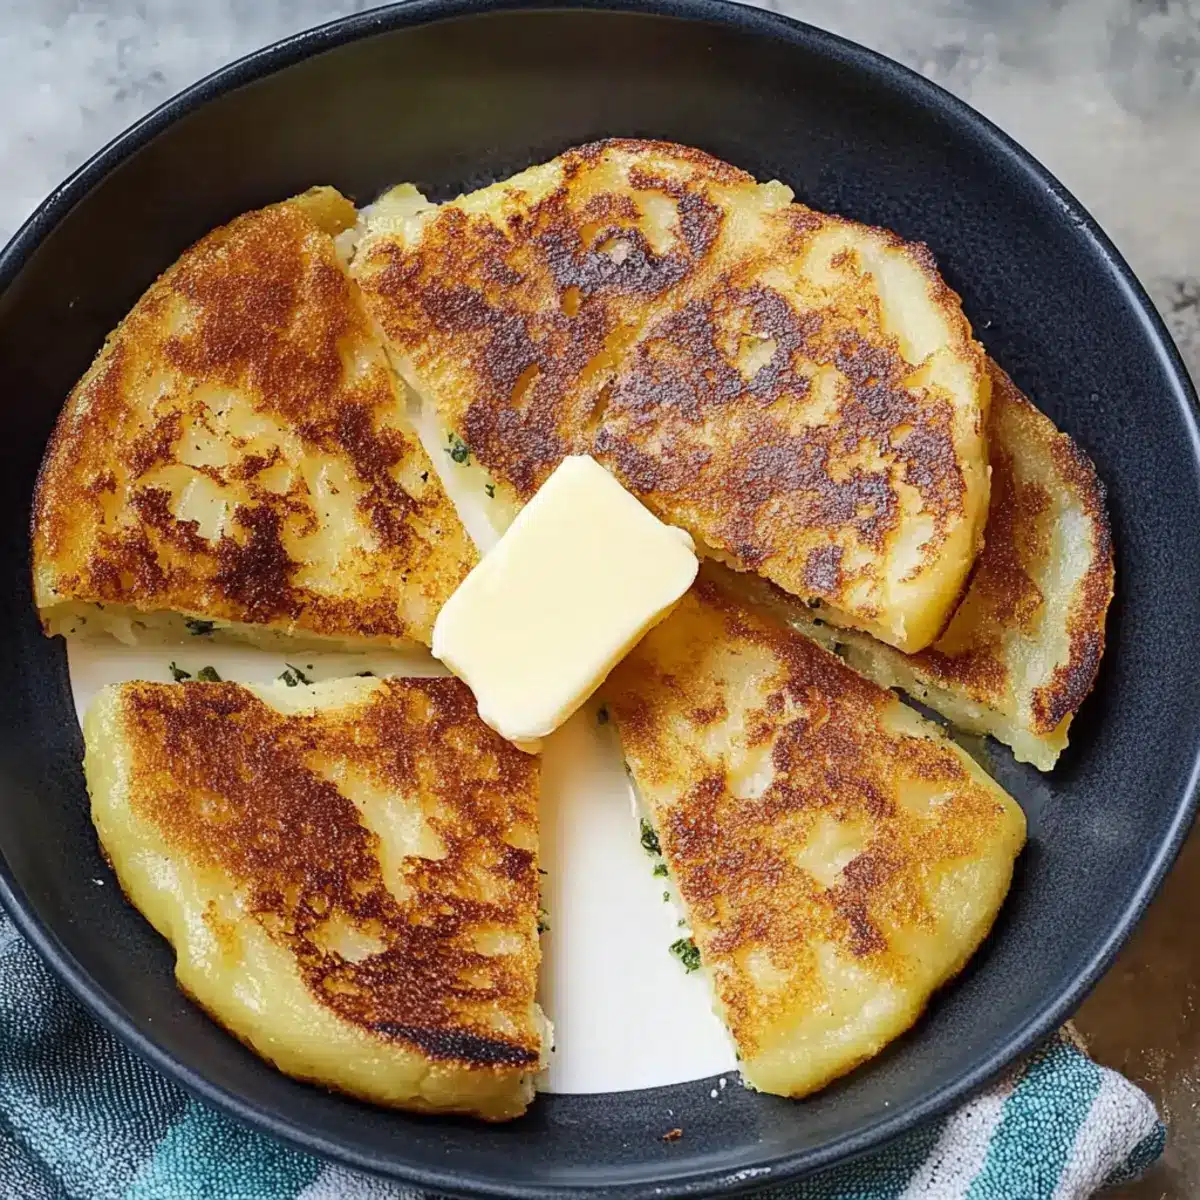
Step 4: Cut the Farls
Using a sharp knife or a pizza cutter, slice the dough circle into four equal wedges, resembling a pizza. Alternatively, you can cut them into eighths for smaller farls. The unbaked wedges will transform into the golden, crispy delights that are a hallmark of Irish Potato Farls once cooked on the griddle.
Step 5: Cook the Farls
Heat a non-stick skillet or griddle over medium heat until it’s hot. Place the farls in the skillet, ensuring they don’t touch. Cook each piece for about 3-4 minutes on one side or until they turn golden brown. Check for a slightly crisp edge before flipping them for even cooking on the other side.
Step 6: Finish Cooking
After flipping the farls, cook for another 3-4 minutes until they achieve a beautiful golden color and a slight crispness on both sides. The aroma of the warm, cooked Irish Potato Farls will fill your kitchen, inviting everyone to gather around. This step completes your comforting dish, ready to serve warm and delicious.
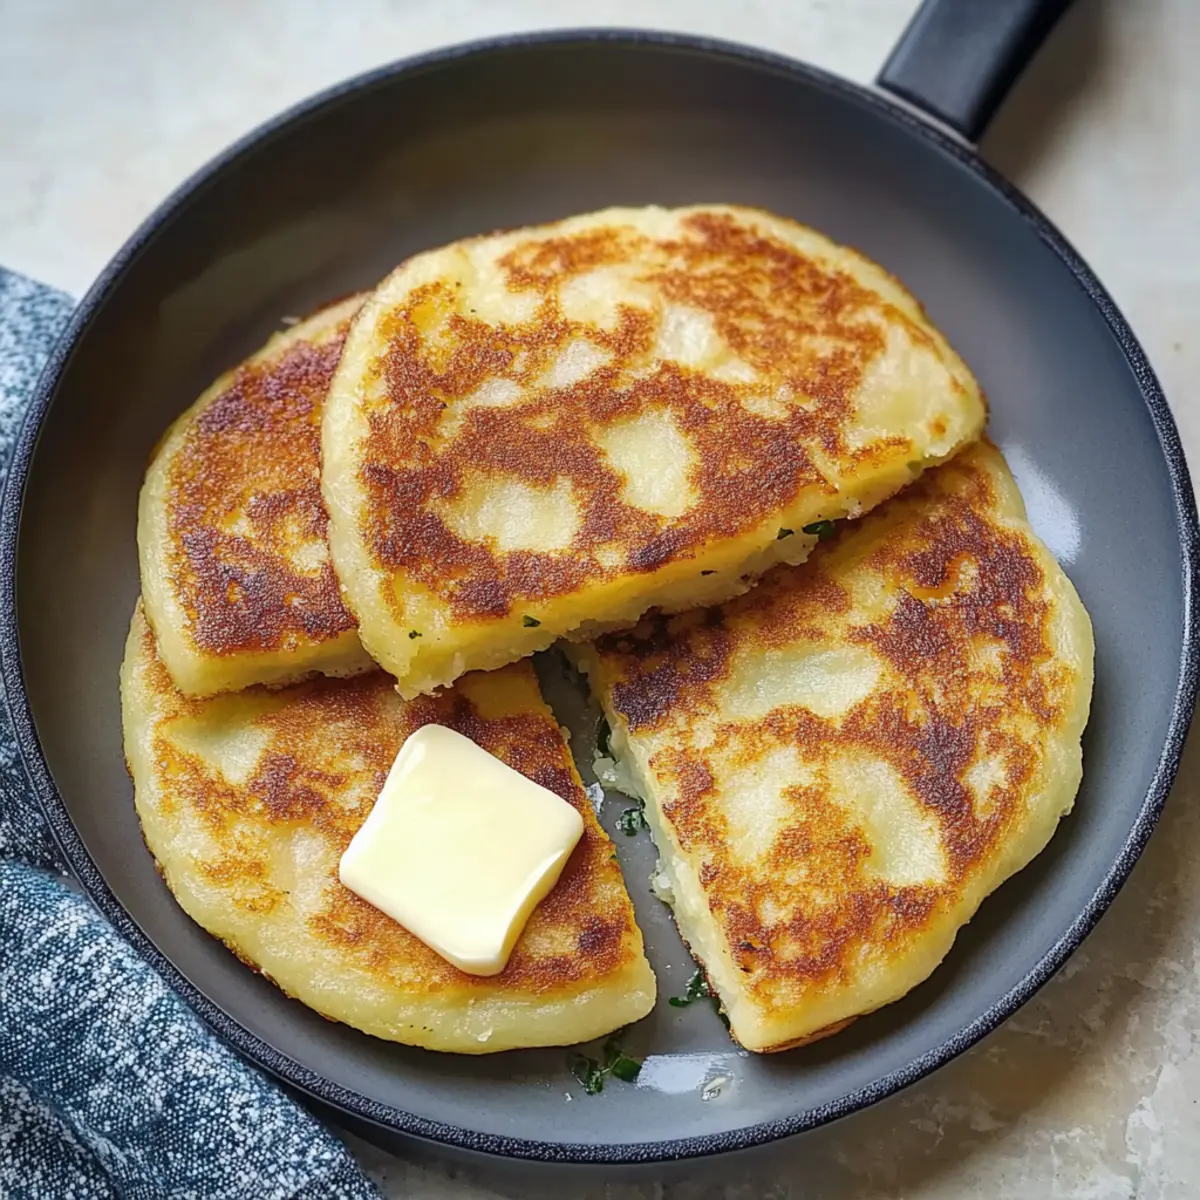
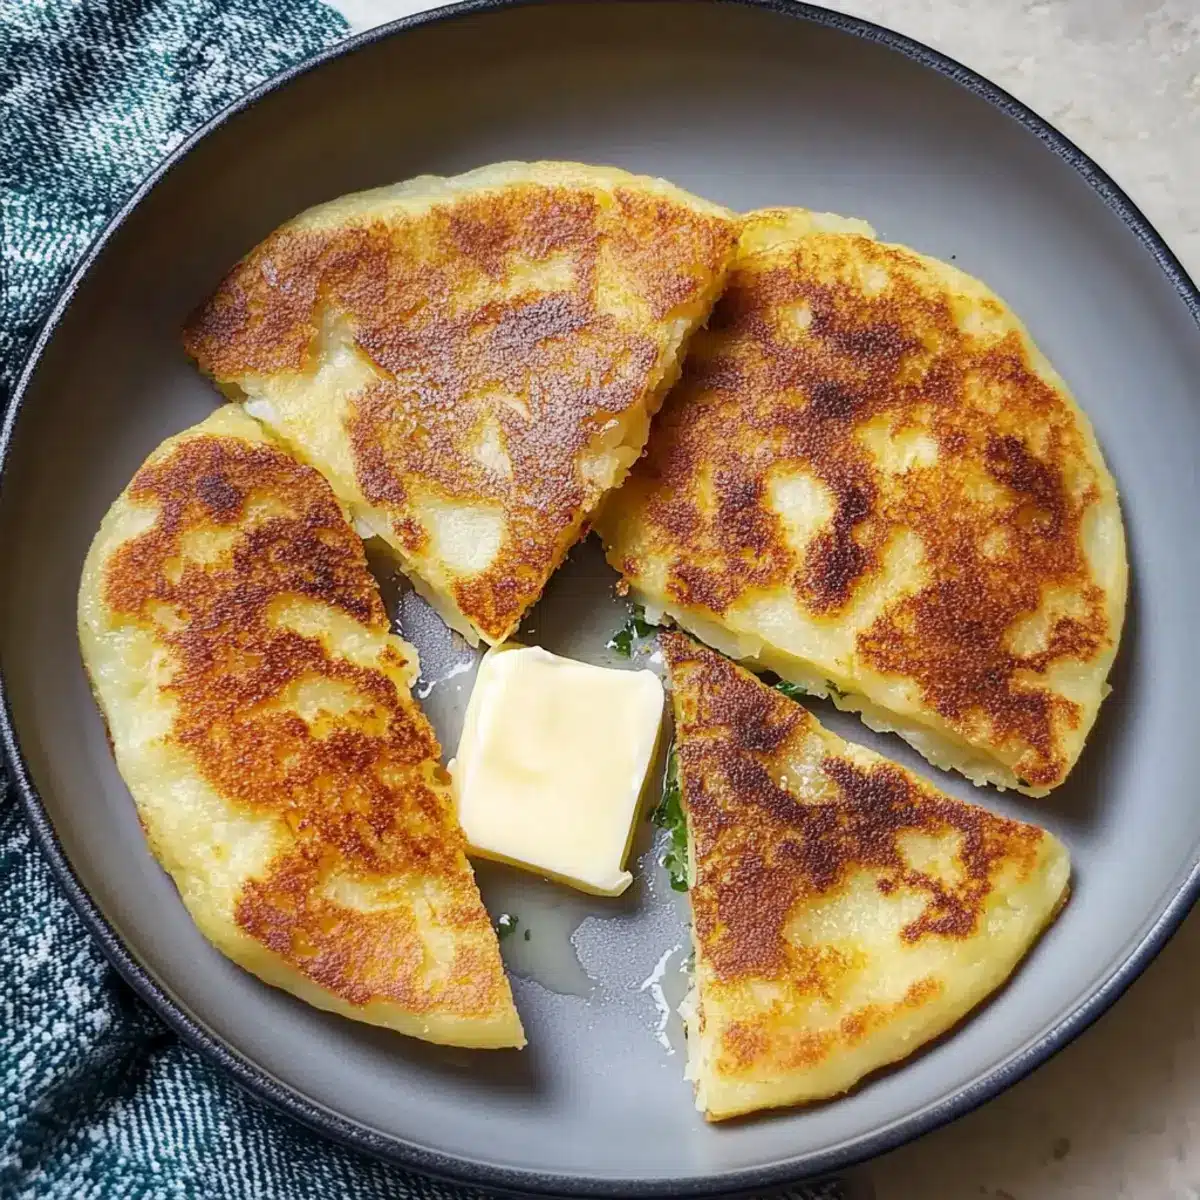
Step 7: Serve and Enjoy
Once cooked, transfer the farls to a plate and serve them warm, perhaps with butter melting on top or alongside fried eggs. Feel free to present them as a base for toppings, like smoked salmon or a fresh herb garnish. These delectable Irish Potato Farls are sure to be a cherished addition to any meal.
Irish Potato Farls: Explore Variations
Feel free to customize these delightful Irish Potato Farls with your favorite ingredients and flavors for a unique twist that tantalizes your taste buds!
- Gluten-Free: Use a gluten-free flour blend instead of regular flour for a tasty alternative that everyone can enjoy.
- Cheesy Delight: Mix in shredded cheese like cheddar for a savory twist that melts wonderfully inside each farl.
- Herb-Infused: Incorporate fresh herbs like rosemary or parsley into the dough for a fragrant upgrade to the classic recipe.
- Spicy Option: Add a pinch of red pepper flakes or diced jalapeños for those who crave a bit of heat in every bite.
- Sweet Touch: Experiment with a touch of honey or cinnamon for a sweet version, perfect for pairing with fruit preserves or yogurt.
- Vegetable Boost: Fold in finely chopped spinach or kale for added nutrition and a pop of color to your farls.
- Savory Layering: Top them with creamy goat cheese and roasted bell peppers for an effortless yet elegant brunch option.
- Garnish Ideas: Serve with dollops of sour cream or crème fraîche, or drizzle with balsamic glaze for an added flavor contrast.
Once you’ve explored these variations, you might also enjoy pairing your farls with a refreshing Lemon Dill Potato salad or use them as a base for a breakfast open-faced sandwich topped with eggs and your favorite fixings!
What to Serve with Irish Potato Farls?
Bringing warmth and joy to your table, serve these delightful farls alongside complementary dishes that create a cozy meal experience.
-
Scrambled Eggs: Soft, fluffy eggs provide a lovely contrast, making breakfast complete and satisfying. Pair with a sprinkle of chives for a fresh touch.
-
Smoked Salmon: This luxurious addition elevates the farls, bringing a smoky flavor that pairs wonderfully with their crisp texture. Add a dollop of crème fraîche for richness.
-
Fresh Herb Salad: A bright mix of greens and herbs adds a refreshing crunch, balancing the heartiness of the farls with a burst of freshness.
-
Baked Beans: Sweet and savory, baked beans are hearty companions, complementing the farls while delivering a comforting, traditional feel.
-
Roasted Vegetables: Nutty, caramelized veggies add sweetness and depth to your meal, enhancing the flavors in the farls with seasonal elegance.
-
Creamy Tomato Soup: Perfect for dipping, this classic soup’s acidity cuts through the richness and makes every bite of farls memorable.
-
Chai Tea or Irish Breakfast Tea: Complement your meal with a warm cup of spice-laden tea, perfectly echoing the cozy spirit of Irish cuisine.
-
Lemon Drizzle Cake: For a sweet finish, serve with a slice of light lemon drizzle cake, balancing the savory farls with a zesty delight.
How to Store and Freeze Irish Potato Farls
Room Temperature: Store cooked Irish Potato Farls in a cool, dry place for up to 2 days. Place them in an airtight container to keep them fresh and prevent them from becoming stale.
Fridge: For longer storage, keep farls in the refrigerator for up to 3 days. Wrap them in plastic wrap or place them in an airtight container to maintain their moisture and flavor.
Freezer: Freeze leftover Irish Potato Farls for up to 1 month. Allow them to cool completely, then place them in a freezer-safe bag, pressing out any excess air.
Reheating: When ready to enjoy, reheat in a skillet over medium heat for a few minutes on each side until warmed through and crispy. Alternatively, pop them in a toaster for a quick and easy meal!
Expert Tips for Irish Potato Farls
-
Cool Potatoes First: Ensure your mashed potatoes are completely cooled before mixing. This creates a lighter, fluffier dough that prevents excess moisture.
-
Knead Gently: Avoid the temptation to over-knead the dough. A light touch is key; just enough to combine without making it tough, ensuring that classic fluffy texture.
-
Uniform Thickness: When rolling out the dough, aim for an even 1/4 inch thickness. This promotes even cooking, giving you that golden, crispy exterior across every farl.
-
Cooking Temperature: Preheat your skillet over medium heat. A too-hot pan can burn the outside before the inside is cooked, leading to unevenly cooked Irish Potato Farls.
-
Customization is Key: Don’t hesitate to get creative! Mixing in herbs or cheese can elevate the flavor profile of your farls, making them unique to your taste.
Make Ahead Options
Preparing Irish Potato Farls in advance is a fantastic time-saver for busy home cooks! You can prepare the dough up to 24 hours ahead of time by mixing the mashed potatoes, flour, salt, and melted butter, then wrapping it tightly in plastic wrap and refrigerating. For best results, avoid cutting the farls until just before cooking to maintain freshness. When you’re ready to enjoy your farls, simply roll out the chilled dough, cut into wedges, and cook them on a preheated skillet for about 3-4 minutes on each side. This way, you’ll have delicious farls, just as fluffy and golden as if they were made fresh, ready to complement any meal!
Irish Potato Farls Recipe FAQs
How do I choose the right potatoes for my Irish Potato Farls?
Absolutely! For the best flavor and texture, opt for starchy potatoes like Russets or Yukon Golds. They create a fluffier dough when mashed. Ensure the potatoes are fully cooked and cooled before you mix them with the other ingredients for optimal results.
How should I store leftover Irish Potato Farls?
To store cooked Irish Potato Farls, place them in an airtight container at room temperature for up to 2 days. For longer storage, refrigerate them for up to 3 days, ensuring they are wrapped to keep them fresh. Always allow them to cool completely before storing to avoid moisture buildup.
Can I freeze Irish Potato Farls, and how?
Very! To freeze Irish Potato Farls, make sure they are fully cooled. Stack the farls with parchment paper in between each one. Place them in a freezer-safe bag, pressing out excess air, and freeze for up to 1 month. When you’re ready to enjoy them, reheat directly from the freezer in a skillet over medium heat until warmed through and crispy.
What should I do if my farls turn out too dense?
If your Irish Potato Farls feel dense, it may be due to over-kneading the dough or using warm mashed potatoes. To avoid this, ensure your potatoes have completely cooled and knead the dough gently just until combined. If you need a second chance, try reworking the dough by adding a little extra flour if too sticky or a splash of milk if too dry.
Are Irish Potato Farls safe for gluten-sensitive diets?
You can absolutely make Irish Potato Farls gluten-free! Substitute the all-purpose flour with a gluten-free option, such as rice flour or oat flour. Just remember to check the packaging to ensure there’s no cross-contamination if you’re cooking for someone with a severe gluten allergy.
Can I add other ingredients to my Irish Potato Farls?
The more the merrier! Feel free to mix in herbs like chives or even cheese for extra flavor. Start with about 1/4 cup of herbs or grated cheese when combining your dough for a delicious twist on the traditional Irish Potato Farls. Enjoy exploring different combinations!

Fluffy Irish Potato Farls: A Cozy Comfort Food Delight
Ingredients
Equipment
Method
- In a large mixing bowl, combine the cooled mashed potatoes, all-purpose flour, salt, and melted butter. Mix until a soft, cohesive dough forms.
- Turn the dough onto a lightly floured surface and gently knead for 1-2 minutes until smooth but not tough.
- Roll the dough into a flat circle, about 1/4 inch thick, maintaining an even thickness.
- Slice the dough circle into four wedges using a sharp knife or pizza cutter.
- Heat a non-stick skillet over medium heat. Cook each farl for 3-4 minutes per side until golden brown.
- After flipping, cook for an additional 3-4 minutes to achieve a golden color and slight crispness.
- Serve warm, optionally topped with butter, fried eggs, or smoked salmon.
Leave a Reply