
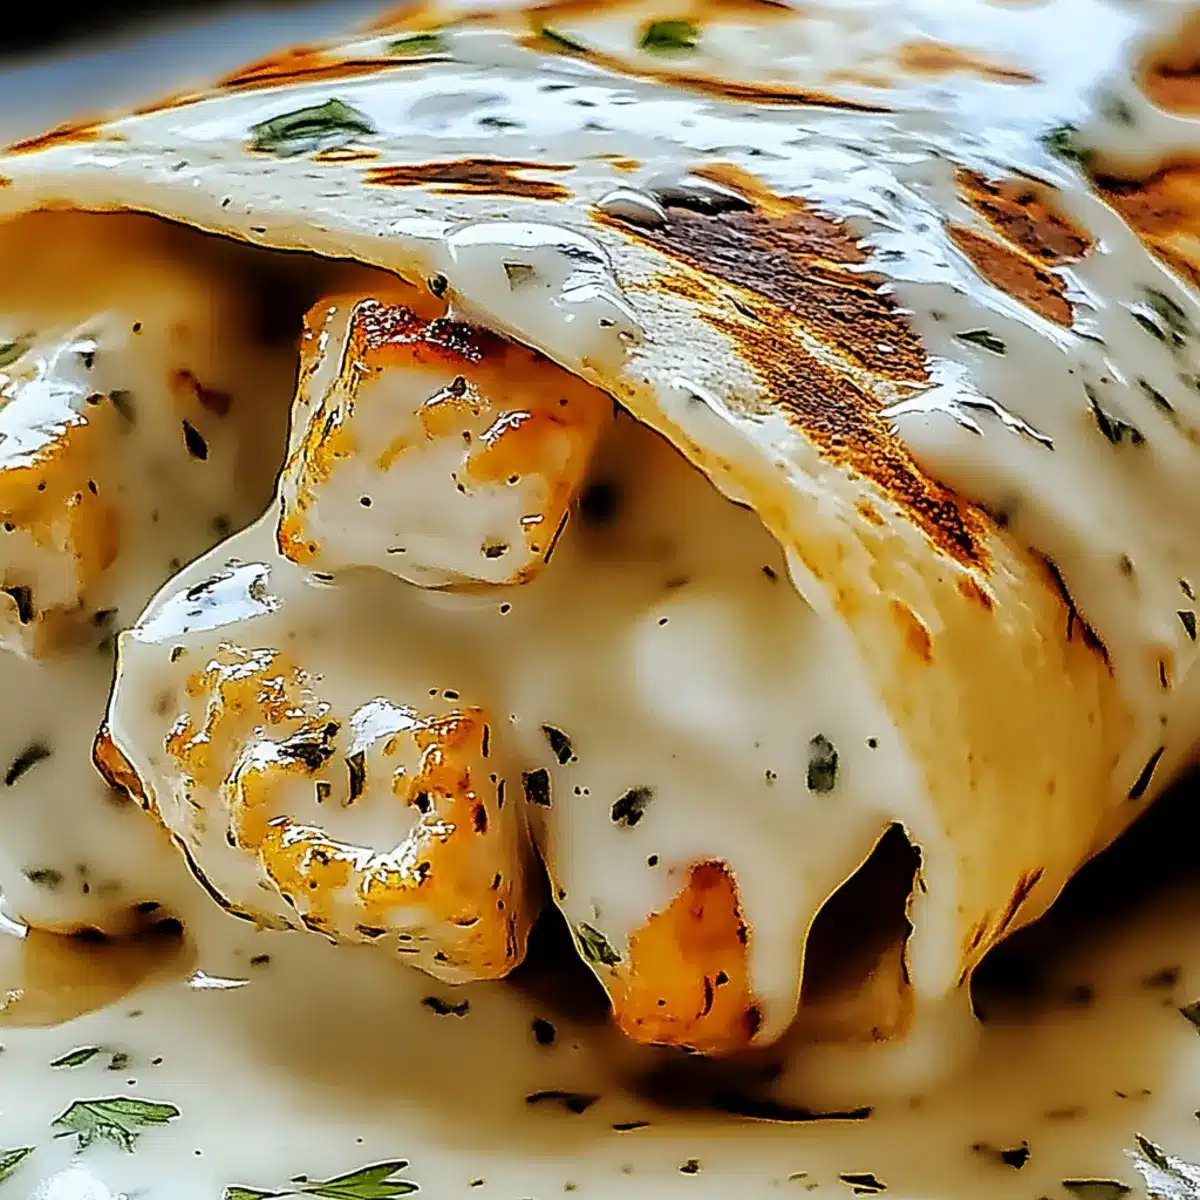
As I stood in my kitchen, the delightful aroma of sizzling garlic danced through the air, teasing my taste buds with promises of comfort. This moment inspired my creation of Ooey-Gooey Cheesy Garlic Chicken Wraps—an easy weeknight meal that effortlessly transforms leftover chicken into something extraordinary. Not only are these wraps quick to prepare, but they invite your creativity with customizable fillings to suit everyone’s cravings. Whether you’re cooking for family or friends, these wraps are a crowd-pleaser that will leave everyone reaching for seconds. Plus, they’re great for meal prep and can even be made gluten-free with just a simple swap. Are you ready to wrap up some deliciousness? Let’s dive into this delicious journey together!
Why will you love these wraps?
Quick and Easy: The beauty of these Ooey-Gooey Cheesy Garlic Chicken Wraps lies in their simplicity. You can whip them up in under 30 minutes, making them a perfect choice for busy weeknights.
Customizable Goodness: With endless variations, you can cater to everyone’s tastes – throw in some veggies, swap the cheese, or even go for a spicy kick!
Healthy Alternative: With each wrap being about 300 calories, you can enjoy a hearty meal guilt-free. Substitute with gluten-free tortillas for a wholesome option!
Crowd-Pleaser: Whether it’s family dinner or a get-together, these wraps are sure to impress. Everyone loves the flavor-packed filling and crispy exterior that brings smiles all around.
Meal Prep Perfection: Make them ahead for a versatile meal option; simply store in the fridge or freezer. Paired with a fresh salad or some seasoned potato wedges, you’ve got a delightful dining experience!
Ooey-Gooey Cheesy Garlic Chicken Wrap Ingredients
• Note: Gather these key components to create your delicious Ooey-Gooey Cheesy Garlic Chicken Wraps!
For the Filling
- Cooked Chicken – A protein-rich base; use rotisserie chicken for convenience.
- Minced Garlic – Adds robust flavor; garlic powder works in a pinch.
- Cheese (e.g., mozzarella, cheddar) – Provides melty goodness; pepper jack adds a spicy kick.
For the Wraps
- Tortillas – The wraps’ structure; opt for gluten-free tortillas for a gluten-free option.
To Enhance Flavor
- Olive Oil – Ideal for sautéing garlic; any cooking oil can be used as a substitute.
- Butter – Gives a crispy texture when toasting; olive oil can lighten it up.
- Chopped Parsley – A fresh garnish for both flavor and presentation; skip if in a hurry.
These ingredients will set you on the path to crafting wonderfully scrumptious wraps that will have everyone asking for the recipe!
Step‑by‑Step Instructions for Ooey-Gooey Cheesy Garlic Chicken Wraps
Step 1: Prepare the Chicken
Begin by dicing your cooked chicken into bite-sized pieces and seasoning with salt and pepper. This should take about 5 minutes. Make sure the chicken is evenly coated for a burst of flavor in your Ooey-Gooey Cheesy Garlic Chicken Wraps. Set aside your seasoned chicken while you prepare the garlic.
Step 2: Sauté the Garlic
Heat 1 tablespoon of olive oil in a skillet over medium heat. Once the oil is shimmering, add 2 tablespoons of minced garlic and sauté for about 1 minute, stirring frequently. You want the garlic to become fragrant and turn a light golden color, which will set the stage for the delicious filling of your wraps.
Step 3: Combine Chicken and Garlic
Add the diced, seasoned chicken to the skillet with the sautéed garlic. Toss everything together and let it cook for 2 to 3 minutes, allowing the chicken to heat through and absorb the garlicky goodness. Stir frequently to ensure even heating, and then remove the skillet from heat.
Step 4: Melt the Cheese
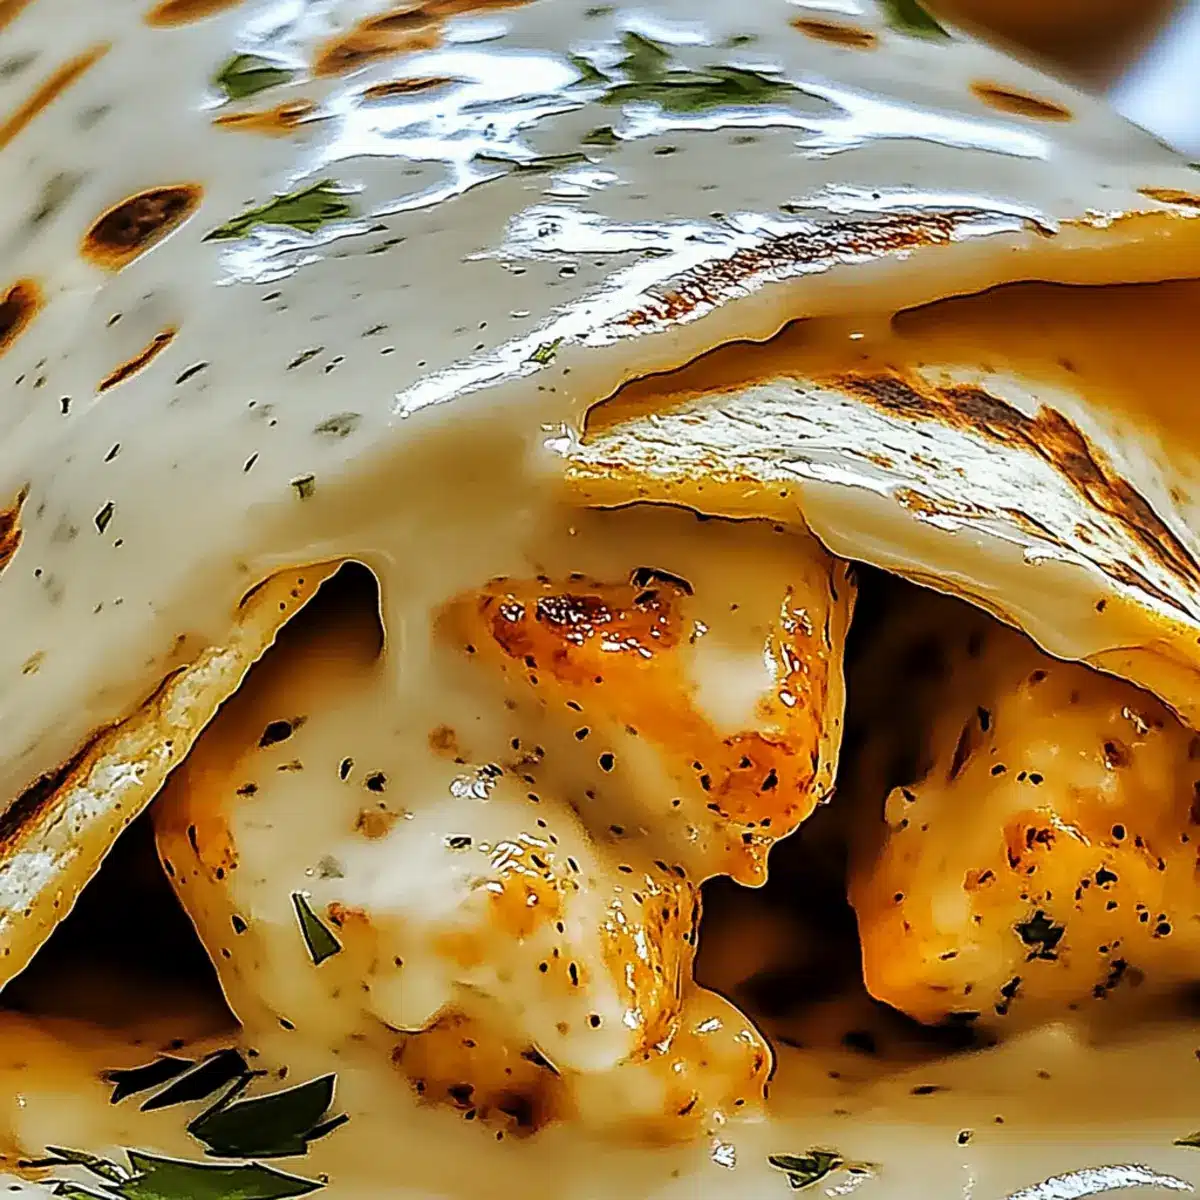
Return the skillet to low heat and stir in about 1 cup of your choice of cheese, such as mozzarella or cheddar. Cook for an additional 1 to 2 minutes until the cheese is fully melted and gooey, creating that ooey-gooey texture that makes these wraps irresistible. Stir well to combine everything into a cohesive filling.
Step 5: Assemble the Wraps
Lay out your tortillas on a clean surface and evenly distribute the cheesy chicken mixture among them. Be sure to leave some space at the edges to prevent spilling. Carefully roll the tortillas tightly, folding in the sides as you go to securely encase the filling, setting up the wraps for a perfect toasting moment.
Step 6: Toast the Wraps
In the same skillet, melt 1 tablespoon of butter over medium heat. Once melted, place the wraps seam-side down in the skillet. Toast for about 2 to 3 minutes on each side until golden brown and crispy. Keep an eye on them to avoid burning, and turn them with tongs for that lovely even crisp.
Step 7: Cool and Serve
Allow the wraps to cool for a minute after toasting, then slice them in half for a beautiful presentation. Serve immediately, garnished with freshly chopped parsley if desired. These Ooey-Gooey Cheesy Garlic Chicken Wraps are ready to enjoy, offering a satisfying blend of flavors and textures everyone will love!

What to Serve with Cheesy Garlic Chicken Wraps
Elevate your meal experience by pairing these wraps with delightful sides and beverages that complement their deliciousness.
- Fresh Green Salad: A crisp, refreshing salad loaded with mixed greens and a tangy vinaigrette balances the rich, cheesy filling.
- Creamy Tomato Soup: The comforting acidity of tomato soup creates a heavenly match with the savory, gooey wraps, perfect for dunking.
- Sweet Potato Wedges: The sweetness of roasted sweet potato wedges adds a delightful contrast to the garlicky wraps, enhancing the overall flavor profile.
- Corn on the Cob: Grilled or boiled corn brings a burst of sweetness that pairs beautifully with the savory wraps, adding freshness to your plate.
- Crisp Pickles: Sharp, briny pickles cut through the richness, providing a delightful crunch that complements every satisfying bite.
- Homemade Guacamole: The creamy avocado dip offers a rich texture and bright flavor highlight, enhancing the wrap experience.
- Iced Lemonade: A chilled glass of zesty lemonade adds a refreshing contrast that balances the warmth and cheese of the wraps.
- Chocolate Chip Cookies: Finish off the meal with warm, gooey cookies that resonate with the comforting theme of the wraps, satisfying your sweet tooth.
Variations & Substitutions for Cheesy Garlic Chicken Wraps
Customize your Cheesy Garlic Chicken Wraps to suit your cravings and dietary needs with these delightful ideas!
-
Different Cheeses: Switch up the cheesy goodness by using tangy feta or creamy goat cheese instead of mozzarella for an exciting flavor twist. The variety in taste will elevate each bite to something extraordinary.
-
Veggie Boost: Add a pop of color and nutrition by incorporating fresh spinach, sautéed mushrooms, or vibrant bell peppers into your filling. Not only do they enhance the flavor, but they also add delightful crunch and texture.
-
Spicy Kick: Crank up the heat by including crushed red pepper flakes or sliced jalapeños. These fiery additions create a delicious contrast to the creamy cheese, making it irresistibly flavorful!
-
Protein Variety: For a unique twist, swap out the chicken with cooked turkey, black beans, or even chickpeas for a hearty vegetarian option. Each protein offers its own distinct texture and taste.
-
Lettuce Wraps: If you’re looking for a low-carb alternative, replace tortillas with large lettuce leaves like romaine or butter lettuce. This fresh take will provide a satisfying crunch while keeping things light.
-
Herb Infusion: Mix in fresh herbs like cilantro or basil for a fragrant kick. The herbal notes will brighten the overall flavor and make each wrap feel like a gourmet treat.
-
Extra Crunch: For an enjoyable crunch, add shredded carrots or radishes as a topping before rolling your wraps. This simple addition will add layers of texture and elevate your wraps further.
By experimenting with these variations, you’ll create a new flavor experience each time. For other delicious chicken ideas, check out Doritos Cheesy Chicken, Chicken Alfredo Garlic, or Garlic Chicken Roasted for more mouthwatering inspiration!
Storage Tips for Ooey-Gooey Cheesy Garlic Chicken Wraps
Room Temperature: Only keep the wraps at room temperature for up to 2 hours to ensure food safety; they’re best enjoyed fresh!
Fridge: Store leftovers in an airtight container for up to 3 days. Reheat in a skillet to restore that crispy texture of the ooey-gooey cheesy filling.
Freezer: For longer storage, wrap individual wraps tightly in plastic wrap, then foil, and freeze for up to 2 months. Thaw overnight in the fridge before reheating in a skillet for best results.
Reheating: To maintain the delicious crunch, reheat the wraps in a skillet over medium heat instead of using a microwave; this ensures the crispy exterior is preserved.
Make Ahead Options
Making Ooey-Gooey Cheesy Garlic Chicken Wraps is a fantastic choice for meal prep enthusiasts! You can prepare the filling—seasoned chicken mixed with garlic and melted cheese—up to 24 hours in advance. Simply let it cool after cooking, then store it in an airtight container in the refrigerator. The tortillas can also be wrapped tightly and stored separately, ensuring they stay fresh. When you’re ready to serve, assemble the wraps and toast them in a skillet for that crispy finish, which allows them to be just as delicious as if made fresh. This way, you save precious time on busy weeknights while enjoying a delightful meal!
Expert Tips for Cheesy Garlic Chicken Wraps
-
Check Chicken Temperature: Ensure your chicken is cooked to 165°F to avoid food safety issues. Use a meat thermometer for accuracy.
-
Garlic Timing: Don’t sauté garlic too long; it should become fragrant and golden, not brown and bitter. Keep an eye on it!
-
Avoid Soggy Wraps: For a crispy exterior, don’t overcrowd the skillet when toasting the wraps; this ensures even cooking and prevents sogginess.
-
Experiment Freely: Feel free to customize your fillings with veggies or different proteins; just remember that moisture can affect the crispiness of your Cheesy Garlic Chicken Wraps.
-
Perfect Reheating: Reheat in a skillet instead of the microwave to maintain that delightful crunch. It makes a world of difference!

Cheesy Garlic Chicken Wraps Recipe FAQs
How do I choose the right chicken for my wraps?
Absolutely! When selecting your chicken, ensure it’s fully cooked and tender. For convenience, rotisserie chicken is a fabulous option, as it’s juicy and flavorful. If you’re working with raw chicken, cook it thoroughly before dicing, aiming for an internal temperature of 165°F.
What’s the best way to store leftover Cheesy Garlic Chicken Wraps?
Store your wraps in an airtight container in the fridge for up to 3 days. To prevent sogginess, reheat them in a skillet over medium heat instead of the microwave, allowing that crispy texture to come back to life.
Can I freeze Cheesy Garlic Chicken Wraps, and how?
Very! To freeze your wraps, wrap each one tightly in plastic wrap and then in aluminum foil to prevent freezer burn. They will stay fresh for up to 2 months. When you’re ready to enjoy them, thaw overnight in the refrigerator and reheat on a skillet over medium heat for the best texture and flavor.
What if my garlic burns while sautéing?
No worries! If you find your garlic turning brown, it’s a sign it’s cooking too fast. Remove it from the heat immediately to avoid a bitter flavor. To prevent this, sauté on medium heat and keep stirring frequently. Always aim for a light golden color—that’s where the magic happens!
Are these wraps suitable for gluten-free diets?
Absolutely! You can easily make Cheesy Garlic Chicken Wraps gluten-free by opting for certified gluten-free tortillas. This simple swap ensures that everyone can enjoy these delicious wraps without worry. Always check the labels to be certain!
Can I add other ingredients to customize my wraps?
The more the merrier! Feel free to include veggies like spinach, bell peppers, or mushrooms for a nutritious boost. You can also experiment with different cheeses or even protein sources like turkey or black beans to cater to everyone’s palates. Enjoy the creativity!
Delicious Ooey-Gooey Cheesy Garlic Chicken Wraps for Dinner
Ingredients
Equipment
Method
- Dice your cooked chicken into bite-sized pieces and season with salt and pepper; set aside.
- Heat olive oil in a skillet over medium heat, add minced garlic and sauté until fragrant.
- Add the diced chicken to the skillet with garlic and cook for 2-3 minutes until heated through.
- Stir in cheese and cook until fully melted and gooey, about 1-2 minutes.
- Lay out tortillas and evenly distribute the cheesy chicken mixture. Roll them tightly.
- Melt butter in the skillet and toast wraps seam-side down for 2-3 minutes on each side until golden brown.
- Allow to cool for a minute, then slice in half and serve with parsley, if desired.
Leave a Reply