
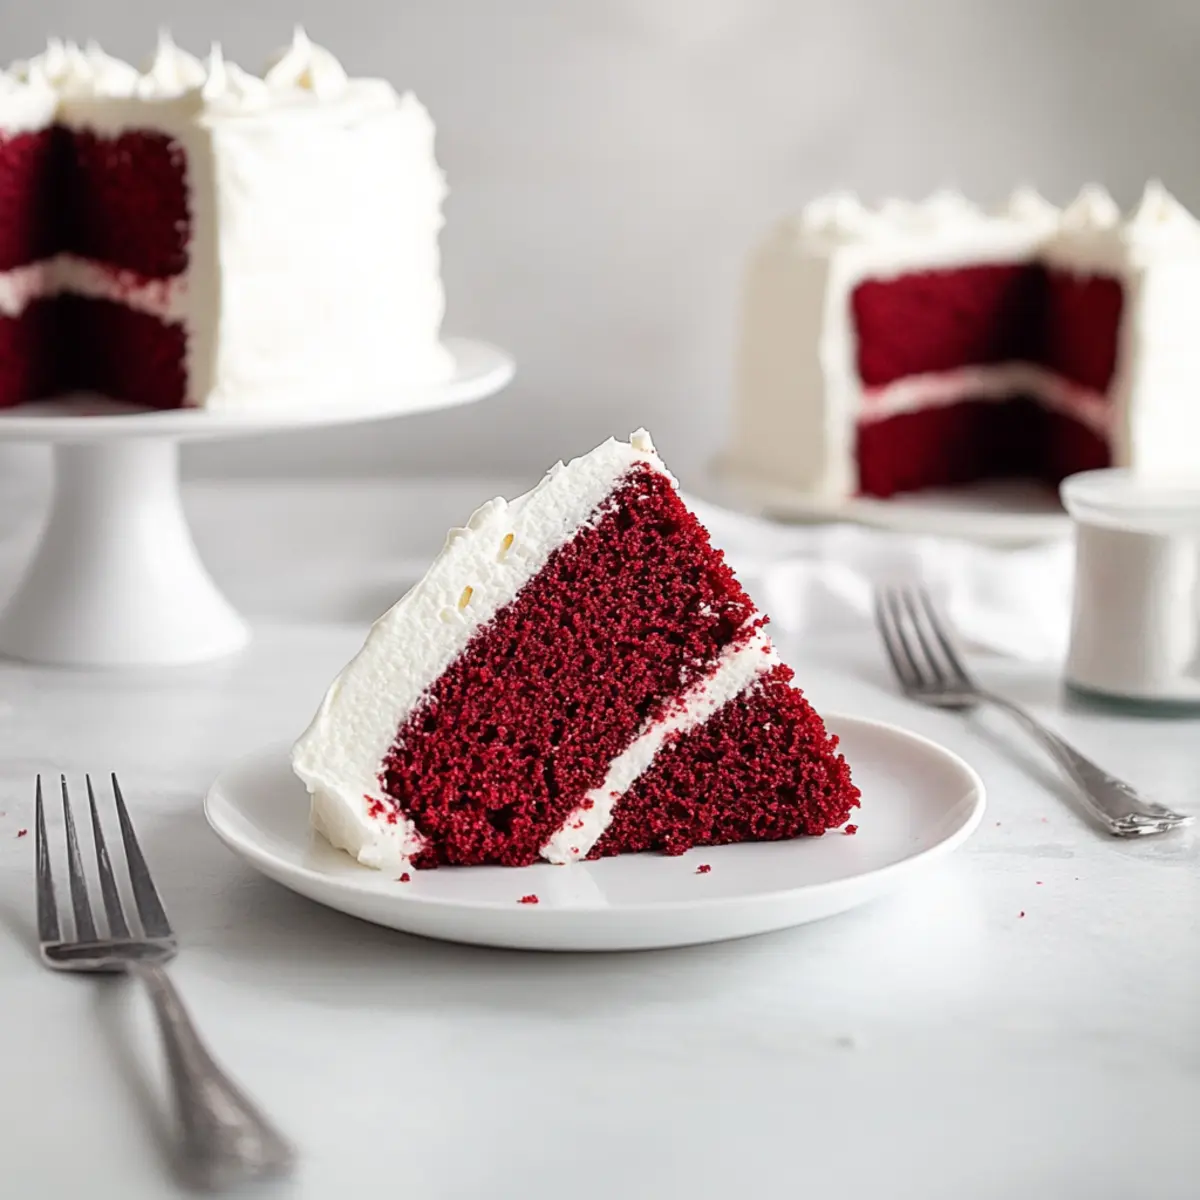
As I carefully mix the rich, vibrant red batter, the sweet scent wafts through my kitchen, transporting me to cherished moments of celebration. This Classic Red Velvet Cake is not just a dessert; it’s a beloved American tradition that graces birthdays, anniversaries, and holiday gatherings. With its tender crumb and a touch of cocoa, this cake is effortlessly moist—sure to become a staple in your baking repertoire. Plus, the dreamy cream cheese frosting adds a perfect tangy twist that will have everyone reaching for seconds. Whether you’re a seasoned pro or a beginner eager to impress, this easy-to-follow recipe ensures you’ll create a showstopper that captivates not just the taste buds but the heart as well. Ready to indulge in a slice of this timeless delight? Let’s get baking!
Why is Red Velvet Cake a Must-Try?
Decadent Flavors: Each bite of this cake harmonizes rich cocoa and a hint of vanilla, creating a delightful taste sensation that’s hard to resist.
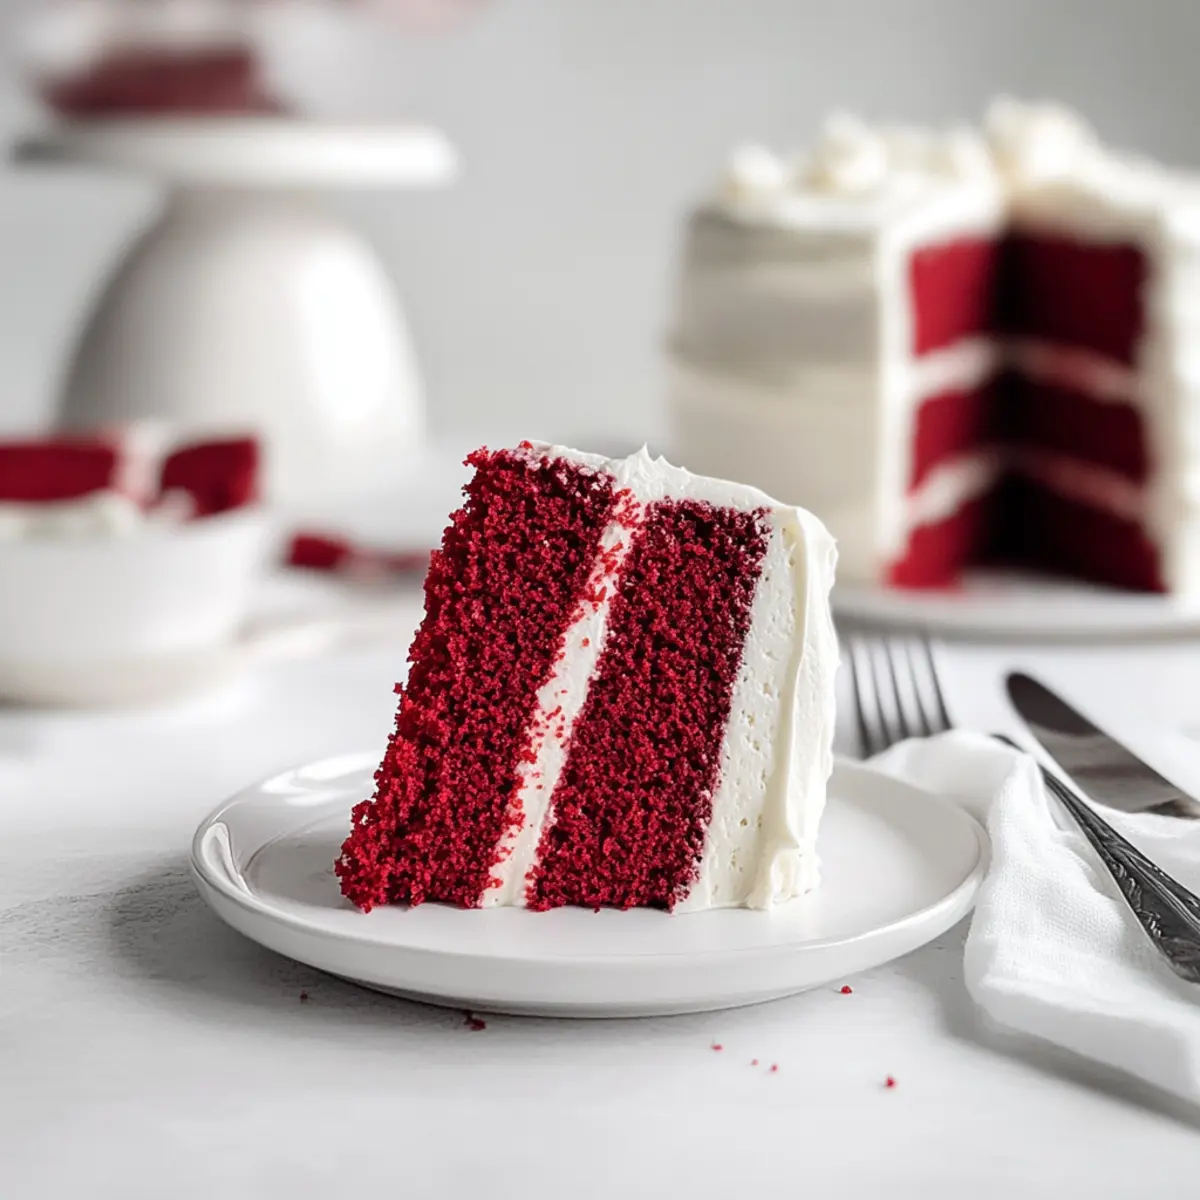
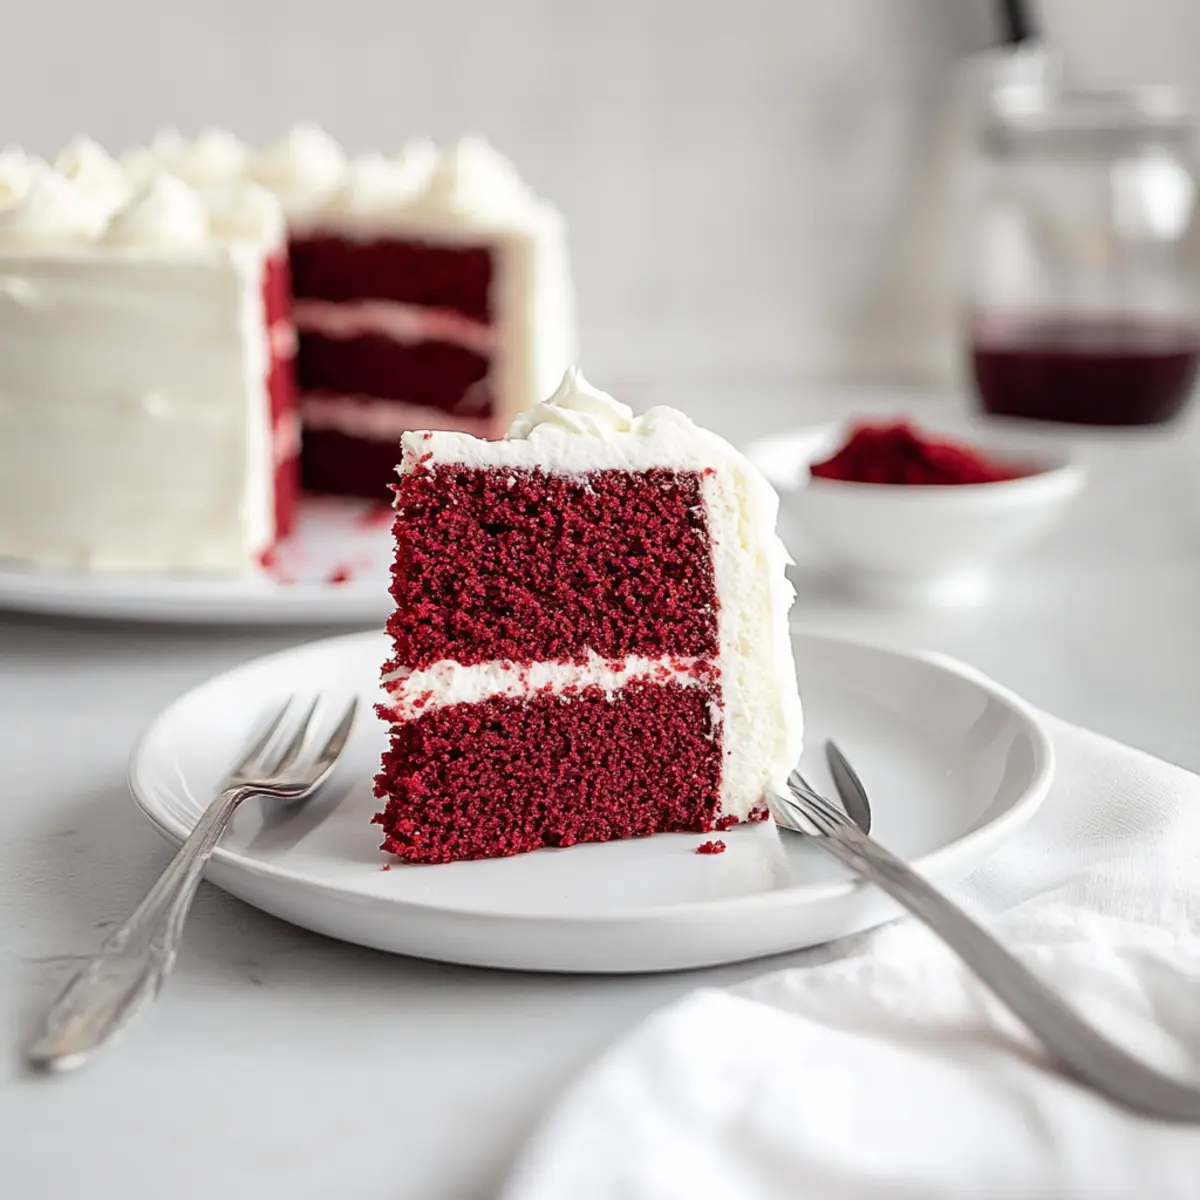
Eye-Catching Presentation: The vibrant red hue paired with creamy frosting makes it visually stunning—perfect for any occasion!
Easy to Make: With straightforward ingredients and clear steps, even beginners can create a stunning masterpiece.
Versatile and Adaptable: Whether as cupcakes or a layered cake, this recipe offers delicious variations for everyone.
Crowd-Pleasing Delight: This classic dessert is a favorite at celebrations, ensuring smiles and sweet memories with every slice.
Elevate your baking by pairing your cake with fresh berries or serve it alongside a scoop of vanilla ice cream for an unforgettable experience!
Red Velvet Cake Ingredients
For the Cake
• All-purpose flour – Provides structure and stability for the cake. Substitution: Cake flour can be used for a finer texture.
• Cocoa powder – Adds a subtle chocolate flavor. Substitution: Unsweetened cocoa powder or Dutch-processed cocoa works well.
• Baking soda – A crucial leavening agent to help the cake rise. No substitutions are needed for optimal texture.
• Salt – Enhances overall flavor balance. No substitutions needed.
• Unsalted butter – Adds richness and moisture to the cake. Substitution: Can use salted butter but reduce additional salt.
• Vegetable oil – Keeps the cake moist and tender. Substitution: Melted coconut oil can offer a different flavor.
• Granulated sugar – Provides sweetness and helps create a tender crumb. No substitutions needed.
• Red food coloring – Gives the cake its signature red hue. Substitution: Gel food coloring is recommended for a vibrant color.
• Eggs – Essential for structure and richness. No substitutions; they are crucial for binding.
• Vanilla extract – Adds depth of flavor. Substitution: Almond extract can provide a delightful twist.
• Vinegar – Reacts with baking soda for leavening and adds a touch of tangy flavor. No substitutions recommended.
• Buttermilk – Contributes moisture and tanginess. Substitution: Mix milk with lemon juice or vinegar to create a buttermilk substitute.
For the Cream Cheese Frosting
• Cream cheese – The base for frosting; provides tanginess and creaminess. Substitution: Any brand of cream cheese can be used.
• Butter – Adds smoothness and richness to the frosting. Substitution: Margarine can be used if necessary.
• Vanilla extract – Enhances the flavor of the frosting. No substitutions needed.
• Salt – Balances the sweetness of the frosting. No substitutions needed.
• Powdered sugar – Sweetens and thickens the frosting. No substitutions recommended; ensure it’s sifted to avoid lumps.
As you gather these delightful ingredients, you’re just a few steps away from creating an irresistibly luscious Red Velvet Cake that promises to charm your loved ones and make every occasion more special!
Step‑by‑Step Instructions for Classic Red Velvet Cake with Cream Cheese Frosting
Step 1: Preheat and Prepare the Pans
Begin by preheating your oven to 350°F (175°C). While it’s warming up, prepare two 8 or 9-inch round cake pans by lining the bottoms with parchment paper and greasing the sides. This ensures that your beautiful red velvet cakes will easily release after baking, maintaining their round shape, and making the layering process a breeze.
Step 2: Mix the Dry Ingredients
In a medium bowl, sift together the all-purpose flour, cocoa powder, baking soda, and salt. This crucial step aerates the mixture and removes any lumps. Take a moment to admire the contrasting colors of the ingredients before setting the bowl aside, as you’ll soon combine these dry ingredients with the wet components for your irresistible red velvet cake.
Step 3: Cream the Butter and Sugar
In your stand mixer fitted with a paddle attachment, combine the unsalted butter, vegetable oil, and granulated sugar. Beat on medium speed for about 2 minutes until the mixture becomes light and fluffy, creating an inviting texture full of air bubbles. This creamy base is essential for the moistness of your red velvet cake, so make sure to take your time with this step.
Step 4: Add the Eggs and Flavorings
Next, add the eggs one at a time to the creamed mixture, ensuring to mix well after each addition. Then, blend in the vanilla extract and red food coloring until evenly incorporated. The vibrant red color should start to develop, making the anticipation for your rich, earthy red velvet cake even more exciting as the batter takes on its signature hue.
Step 5: Combine Wet and Dry Ingredients
In a separate bowl, whisk together the buttermilk and vinegar. Gradually add the buttermilk mixture alternately with the dry ingredients to the batter, starting and ending with the flour. Mix gently until just combined, being careful not to overmix, as this could lead to a denser cake. The batter should be smooth and slightly thick, embodying the rich flavor of red velvet.
Step 6: Bake the Cakes
Evenly divide the red velvet cake batter between the prepared pans and smooth the tops with a spatula. Place them in the preheated oven and bake for 25-30 minutes, or until a toothpick inserted in the center comes out clean. As the cakes bake, enjoy the delightful aroma filling your home, promising deliciousness once they cool.
Step 7: Prepare the Cream Cheese Frosting
While the cakes are cooling, prepare the creamy frosting. In your mixer, beat together the cream cheese and butter on medium speed for about 2 minutes until smooth and fluffy. Gradually add in the vanilla extract, salt, and sifted powdered sugar, mixing until well combined. This dreamy frosting will complement your red velvet cake beautifully, enhancing the overall dessert experience.
Step 8: Assemble the Cake
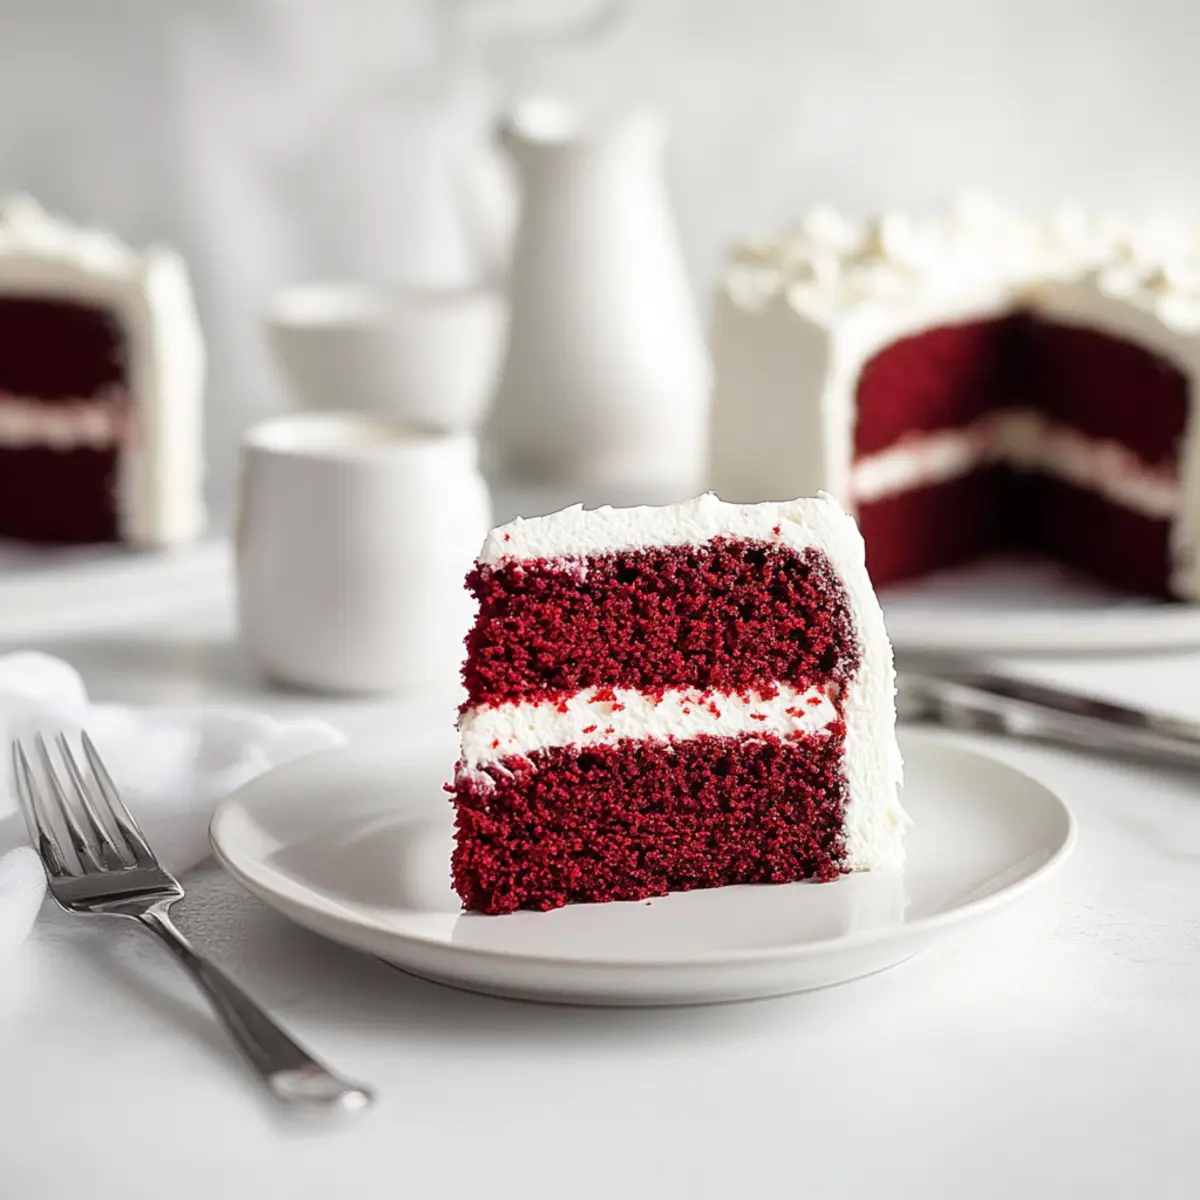
Once the cakes have completely cooled, carefully remove them from the pans and peel off the parchment paper. Place one layer on a serving plate and spread a generous amount of cream cheese frosting between the two layers. Top with another layer and frost the top and sides of the cake with the remaining frosting. Take a moment to appreciate your stunning classic red velvet cake before serving—it’s truly a labor of love!
How to Store and Freeze Red Velvet Cake
- Room Temperature: Keep the red velvet cake in an airtight container at room temperature for up to 3 days to maintain its moisture and flavor.
- Fridge: For longer storage, refrigerate the cake, covered, for up to 1 week. This helps preserve its freshness, but be mindful that refrigeration may slightly alter the texture.
- Freezer: Freeze slices or the whole cake tightly wrapped in plastic wrap followed by aluminum foil for up to 3 months. Thaw in the fridge overnight before serving.
- Reheating: To enjoy, let the cake sit at room temperature for about 30 minutes before serving. If desired, reheat in the microwave for a few seconds to restore a bit of warmth and gooeyness to the frosting.
Make Ahead Options
Prepare your Red Velvet Cake ahead of time to save precious moments on special occasions! You can bake the cake layers up to 24 hours in advance; simply allow them to cool completely, then wrap them tightly in plastic wrap and refrigerate. The cream cheese frosting can also be made up to 3 days ahead; store it in an airtight container in the fridge. When you’re ready to serve, remove the layers from the fridge and frost them about an hour before serving to let them come to room temperature. This way, your cake will be just as delicious and vibrant, allowing you to enjoy more time with your guests!
Red Velvet Cake Variations & Substitutions
Discover how you can personalize your red velvet cake experience with these delicious variations that invite creativity!
-
Nuts: Add chopped pecans or walnuts to the batter for a delightful crunch and nutty flavor. They bring a wonderful texture contrast to the tender cake.
-
Cupcakes: Transform this classic recipe into individual cupcakes! Bake for about 18-20 minutes, and top with the same cream cheese frosting for easy serving.
-
Chocolate Variation: Use dark cocoa powder instead of regular to amplify the chocolate flavor, creating a more decadent version that chocolate lovers will adore.
-
Flavor Boost: Infuse the batter with espresso powder or brewed coffee for a subtle depth that beautifully complements the cake’s natural sweetness.
-
Alternate Frosting: Swap the cream cheese frosting for rich chocolate ganache or a fluffy buttercream for a completely different flavor experience. Each frosting will bring its unique sweetness to the cake.
-
Dairy-Free: For a dairy-free version, use plant-based butter and milk alternatives, ensuring everyone can enjoy a slice of this classic cake.
-
Spicy Kick: Add a pinch of cayenne or chili powder to the batter for a surprising and delightful warmth. This twist enhances the flavors and gives your cake an exciting edge.
-
Fruity Twist: Incorporate crushed pineapple or raspberry puree into the frosting for a fruity splash that will elevate your red velvet cake to new heights of flavor!
As you venture into these delightful variations, don’t forget to explore how your creation pairs with delicious sides like fresh berries or a scoop of vanilla ice cream, akin to the lovely treats found in my Oreo Cheesecake Cookie cups.
Expert Tips for Red Velvet Cake
- Room Temperature Ingredients: Ensure all ingredients are at room temperature for optimal blending. This helps create a tender texture in your red velvet cake.
- Avoid Overmixing: Mix just until combined; overmixing can make your cake dense instead of delightfully fluffy.
- Use Gel Food Coloring: For that vibrant red hue, opt for gel food coloring. It offers a more vivid color than liquid varieties without altering the batter’s consistency.
- Cool Completely: Allow the cakes to cool completely before frosting to prevent the cream cheese from melting. A warm cake will lead to a gooey mess instead of a gorgeous finish.
- Double the Frosting: If you love frosting, consider doubling the cream cheese frosting recipe to ensure you have enough to layer generously between and around the cake.
- Taste as You Go: Always taste your batter and frosting as you go (except for raw eggs) to ensure the flavors are balanced and to your liking!
What to Serve with Classic Red Velvet Cake
Indulging in a slice of this luscious, red-hued cake is an experience on its own, but pairing it with the right accompaniments elevates it to a delightful feast.
- Fresh Berries: The tartness of strawberries or raspberries contrasts beautifully with the rich sweetness of the cake, adding a burst of freshness.
- Vanilla Ice Cream: A scoop of velvety ice cream melts against the warm cake, creating a delightful play of flavors and temperatures.
- Chocolate Ganache: Drizzling chocolate ganache over each slice enhances the cake’s chocolate notes and adds a glamorous touch to presentation.
- Whipped Cream: Light and airy, homemade whipped cream adds a fluffy texture that balances the dense richness of the cake perfectly.
- Coffee or Espresso: A warm cup of coffee or espresso brings out the chocolate flavor in the cake, making each bite even more satisfying.
- Nuts: Chopped walnuts or pecans introduce a delightful crunch, adding texture that balances the softness of both the cake and frosting.
- Tea Pairing: A fragrant chai or herbal tea complements the cake’s flavors and creates a calming atmosphere for that comforting dessert moment.
- Milkshake: A creamy vanilla or chocolate milkshake turns this classic dessert into a fun, nostalgic treat that appeals to all ages.
- Fruit Compote: A tangy fruit compote, like raspberry or cherry, brightens the palate after the richness of the cake.
- Lemon Sorbet: The zesty chill of lemon sorbet serves as a refreshing palate cleanser between bites of cake, making each taste more memorable.
Red Velvet Cake Recipe FAQs
How do I know if my cocoa powder is fresh enough to use?
Absolutely! The best way to check your cocoa powder is to smell it; it should have a rich, chocolatey aroma. If it smells off or has lost its scent, it may be time to replace it. Additionally, if you notice any dark spots or clumping, it might be stale.
What’s the best way to store my red velvet cake?
To keep your red velvet cake at its best, store it in an airtight container at room temperature for 3 days maximum. If you’d like to keep it longer, refrigerate it, well-covered, for up to a week. This helps maintain its moisture and keeps the flavors vibrant.
Can I freeze my red velvet cake?
Yes! Freezing red velvet cake is a great option for later enjoyment. Wrap individual slices or the whole cake tightly in plastic wrap, followed by aluminum foil to prevent freezer burn. Your cake can stay fresh for about 3 months in the freezer. To enjoy, simply thaw it in the refrigerator overnight, and let it sit at room temperature for about 30 minutes before serving.
What should I do if my cake sinks in the middle?
Very! If your cake sinks, it’s often a sign of overmixing the batter or insufficient baking time. Ensure you’re measuring your ingredients accurately, and be careful not to overmix once you add the dry ingredients. Also, check that your oven temperature is accurate; using an oven thermometer can help avoid any surprises in the future.
Is there a way to make this red velvet cake gluten-free?
Absolutely! To make a gluten-free version of the red velvet cake, you can use a 1:1 gluten-free all-purpose flour blend that contains xanthan gum. This will help maintain the texture and structure of the cake while accommodating gluten sensitivities! Just be sure to follow the same measurements as indicated in the recipe.
Can I make red velvet cupcakes using this recipe?
Yes, you can turn this red velvet cake recipe into delightful cupcakes! Simply divide the cake batter into lined cupcake tins and bake at 350°F (175°C) for about 18-20 minutes, checking for doneness with a toothpick. The flavors and textures will remain just as divine, making them perfect individual treats!
Irresistible Red Velvet Cake with Creamy Frosting Bliss
Ingredients
Equipment
Method
- Preheat your oven to 350°F (175°C) and prepare two round cake pans.
- Sift together the flour, cocoa powder, baking soda, and salt.
- Cream the butter, vegetable oil, and sugar until fluffy.
- Add the eggs one at a time, then mix in vanilla and red food coloring.
- Whisk the buttermilk and vinegar, then combine with the dry ingredients alternately.
- Divide the batter between the pans and bake for 25-30 minutes.
- Beat together the cream cheese and butter for the frosting, then add vanilla and powdered sugar.
- Once cooled, assemble the cake with frosting between layers and on top.
Leave a Reply