
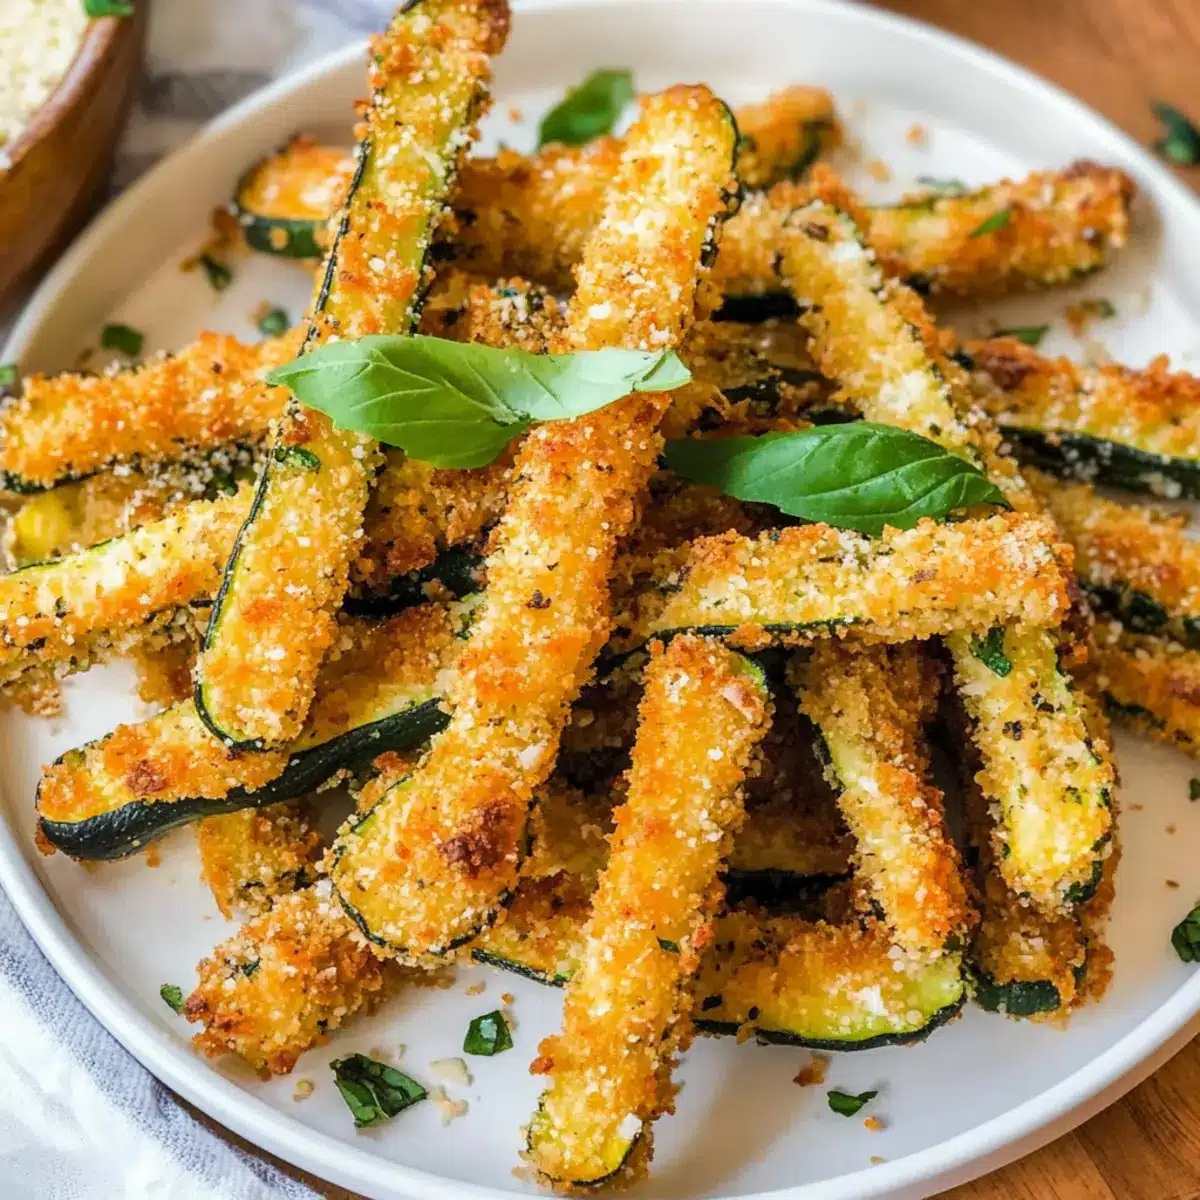
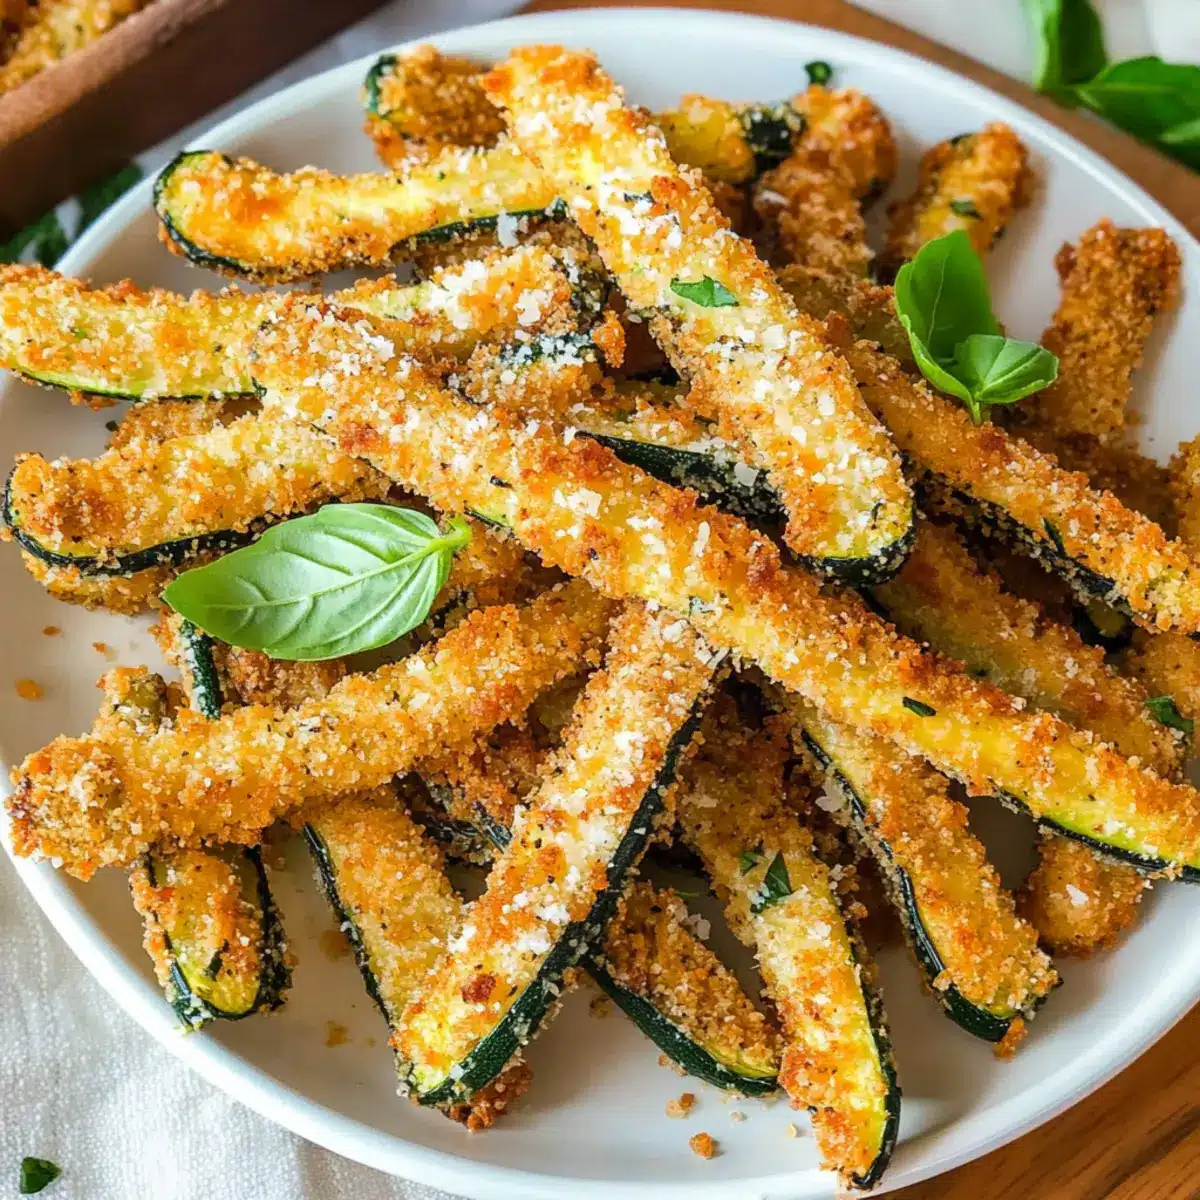
As I pulled a tray of golden, crispy Baked Zucchini Fries from the oven, the satisfying crunch echoed through my kitchen, instantly sparking joy. These delightful fries are a game changer: the perfect blend of Parmesan and Panko creates a light, crunchy coating that will make your taste buds dance, all while being guilt-free! Not only are they a healthy alternative to traditional fries, but they’re also a fantastic way to sneak in veggies that even the kids will love. Whether you’re pairing them with a zesty dipping sauce or enjoying them as a snack on their own, these Zucchini Fries promise to bring excitement to your mealtime. Ready to transform your next meal? Let’s dive into making this scrumptious side dish!
Why are These Zucchini Fries a Must-Try?
Healthy Indulgence: These fries are guilt-free yet delicious, allowing you to savor a crispy snack without the extra calories.
Kid-Friendly Fun: With their crunchy coating and dip-able options, even picky eaters will find these Zucchini Fries irresistible.
Quick and Easy: Ready in under 30 minutes, they’re ideal for busy weeknights or last-minute gatherings.
Versatile Flavors: Pair with your choice of zesty sauces like ranch or marinara for an extra kick, or try out a homemade yogurt dip.
Nutrient-Rich Options: Packed with vitamins and fiber, this recipe is a clever way to boost your veggie intake, making it a win for the whole family.
Crispy Texture: Say goodbye to soggy fries! The Panko breadcrumbs create a perfect crunch that mimics your favorite fried snacks, without the guilt. For more delicious veggie-based recipes, check out our Ravioli Corn Zucchini dish for further inspiration!
Zucchini Fries Ingredients
Here’s everything you’ll need to create those crispy, delightful Zucchini Fries!
For the Fries
• Zucchini – 1½ pounds of medium-sized zucchini, cut into sticks for that ideal fry shape.
• Panko Breadcrumbs – A crispy coating that transforms your fries; regular breadcrumbs can be used as a substitute for a different texture.
• White Whole Wheat Flour or All-Purpose Flour – Helps the coating stick; for gluten-sensitive diets, use gluten-free flour.
• Finely Grated Parmesan Cheese – Adds a delicious flavor and enhances crispiness; you can reduce it for a lighter version.
• Kosher Salt – Enhances overall flavor; adjust based on your taste preferences.
• Onion Powder – Provides depth; garlic powder can be swapped in for a bit more zing.
• Ground Black Pepper – Adds a slight kick; adjust to your preference.
• Large Egg Whites – Binds the coating, but aquafaba or a flax egg works great for an egg-free option.
• Nonstick Cooking Spray – Keeps fries from sticking and helps them brown beautifully; you can use oil for added flavor.
For the Dipping Sauce
• Non-Fat Plain Greek Yogurt – Serves as the base for the sauce; regular yogurt or sour cream can be substituted for creaminess.
• Chopped Fresh Basil or Dried Basil – Adds a vibrant flavor to your dip; fresh basil is preferred for its bright taste.
• Minced Garlic – Brings aromatic flavor; garlic powder is a quick substitute if needed.
• Worcestershire Sauce – Adds depth to your yogurt dip; soy sauce works too if you prefer.
• Additional Seasoning for Dips – Customize your dips to suit family preferences!
These Zucchini Fries promise to be a hit at your dinner table, embracing the essence of healthy eating while keeping the flavors you love. Enjoy every crispy bite!
Step‑by‑Step Instructions for Crispy Baked Zucchini Fries with Parmesan and Panko
Step 1: Prep the Zucchini
Start by cutting the zucchini into sticks measuring about ½ inch by 3½ inches. This shape allows for maximum crispiness when baked. Once cut, lay the zucchini fries on paper towels and gently pat them dry to remove excess moisture, which helps achieve that perfect crunch in your crispy baked zucchini fries.
Step 2: Prepare the Coating
In a mixing bowl, combine Panko breadcrumbs, white whole wheat flour (or all-purpose flour), finely grated Parmesan cheese, kosher salt, onion powder, and ground black pepper. Stir well to ensure even distribution of the ingredients. This flavorful mixture will create a delightful crust around your zucchini fries once they are coated.
Step 3: Coat the Zucchini
Grab a bowl with large egg whites, and dip each zucchini stick to coat thoroughly, allowing any excess to drip off. Next, transfer the zucchini to the breadcrumb mixture, pressing down gently to ensure the coating adheres well. This step is crucial for achieving those crispy baked zucchini fries that you and your family will love!
Step 4: Arrange on Baking Sheet
Line a baking sheet with parchment paper or lightly coat it with nonstick cooking spray to prevent sticking. Place the coated zucchini fries on the sheet in a single layer, ensuring they do not touch. This spacing allows the heat to circulate evenly, crisping up your fries beautifully while baking.
Step 5: Bake the Zucchini Fries
Preheat your oven to 425°F (218°C) and bake the zucchini fries for about 10 minutes. Once they’ve begun to set, carefully remove the sheet from the oven. Spray the fries lightly with cooking spray, rotate the baking sheet for even cooking, and bake for an additional 10 minutes, or until the fries are golden brown and crispy.
Step 6: Prepare Dipping Sauce (Optional)
While your zucchini fries finish baking, make a quick dipping sauce by mixing non-fat plain Greek yogurt with chopped fresh basil, minced garlic, Worcestershire sauce, and a pinch of salt and pepper in a bowl. This refreshing dip complements the crispy baked zucchini fries perfectly, enhancing their texture and flavor.
Step 7: Serve and Enjoy
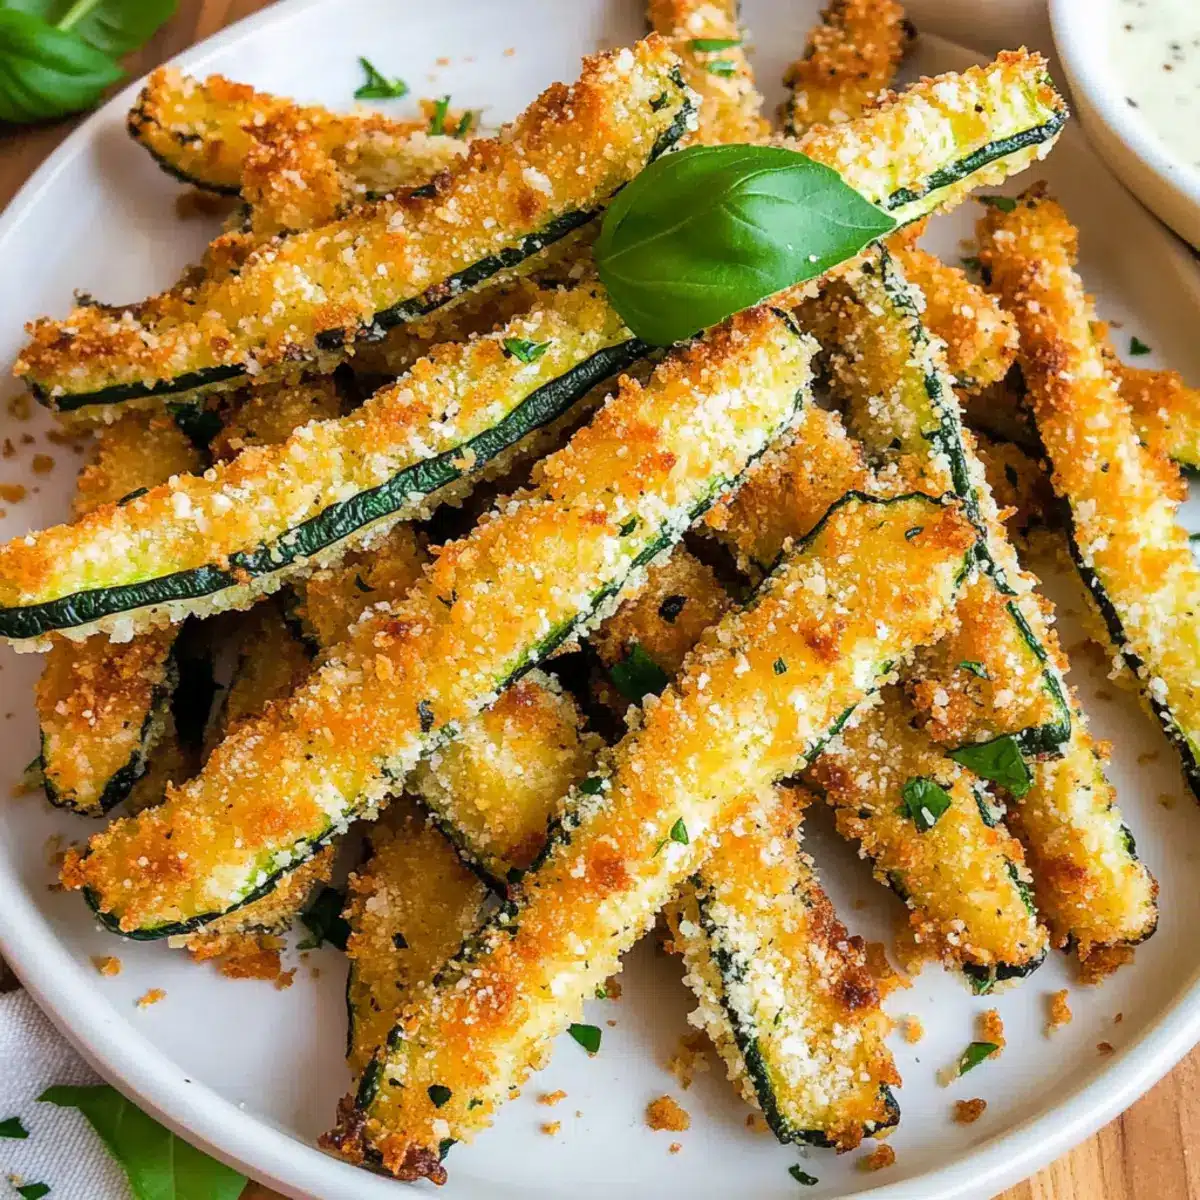
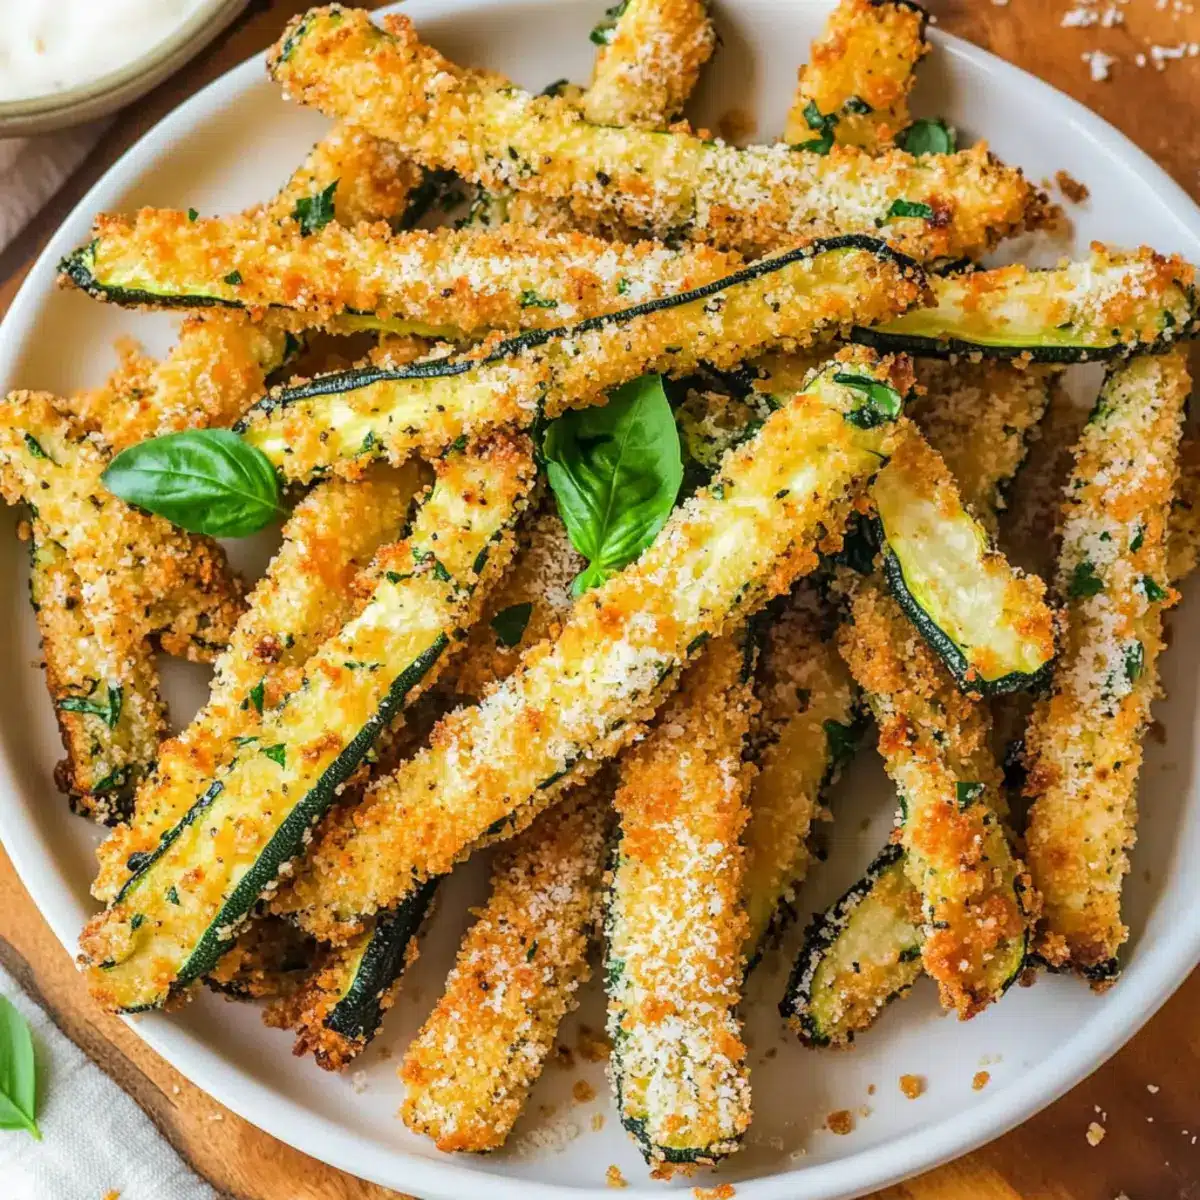
Remove the zucchini fries from the oven once they’re golden brown and let them cool for just a minute. Serve immediately, paired with your delicious yogurt dip or alongside any favorite sauces like marinara or ranch. These crispy baked zucchini fries are not only a healthy choice but also a fun and tasty way to enjoy vegetables!
How to Store and Freeze Zucchini Fries
Room Temperature: Zucchini fries are best enjoyed fresh but can be left out for a maximum of 2 hours if serving warm.
Fridge: Store leftover zucchini fries in an airtight container for up to 2 days. Reheat in the oven to restore crispness for the best eating experience.
Freezer: For longer storage, freeze cooked zucchini fries in a single layer, then transfer to a freezer bag. They can last up to 3 months. Reheat from frozen for 15-20 minutes in the oven.
Reheating: To maintain crunchiness, reheat zucchini fries in the oven at 375°F (190°C) for about 10-15 minutes, checking regularly until heated through and crispy again.
What to Serve with Crispy Baked Zucchini Fries
These crispy delights are full of flavor and versatility, making them an ideal companion for a delightful meal.
-
Grilled Chicken Skewers: Juicy and savory, these skewers add protein and pair beautifully with the lightness of zucchini fries.
-
Creamy Mac and Cheese: The rich, cheesy comfort of mac and cheese complements the crispy texture of the fries, creating a satisfying contrast.
-
Fresh Garden Salad: A crisp and refreshing salad brings a burst of color and nutrition, balancing the fried goodness on your plate.
-
Tangy Marinara Sauce: This classic dipping sauce is perfect for those who enjoy a bit of zest alongside their zucchini fries.
-
Homemade Ranch Dip: Creamy ranch offers a cooling contrast, making every bite delightful and fun. Great for family gatherings!
-
Roasted Vegetables: A mix of roasted bell peppers and carrots introduces sweet and savory notes, enhancing the meal’s overall flavor.
Pair these zucchini fries with your favorites, and watch your family devour every healthy bite!
Make Ahead Options
These Crispy Baked Zucchini Fries are an excellent choice for meal prep, making weeknight cooking a breeze! You can slice and coat the zucchini up to 24 hours in advance. To keep them fresh, arrange the breaded sticks on a baking sheet lined with parchment paper and refrigerate (this helps maintain their crispness). When you’re ready to enjoy, simply bake them straight from the fridge at 425°F (218°C) for 20 minutes, checking for that perfect golden finish. For the dipping sauce, mix the ingredients ahead as well, and store in an airtight container for up to 3 days. This way, you’ll have a delightful, homemade side dish ready to impress, all while saving valuable time!
Zucchini Fries Variations & Substitutions
Customize these delicious Zucchini Fries to suit your taste and dietary needs!
-
Gluten-Free: Use a gluten-free flour blend and gluten-free Panko to make this recipe suitable for those with gluten sensitivities. A delightful option, ensuring everyone can enjoy a crunchy bite!
-
Veggie Twist: Substitute zucchini with summer squash or eggplant for a different taste and texture. Each vegetable brings its own unique qualities, making mealtime even more exciting!
-
Herb-Infused: Add a mix of dried Italian herbs to the breadcrumb mixture for an herby kick. Oregano, thyme, and basil harmonize beautifully with the zucchini, creating a fragrant and flavorful fry.
-
Spicy Kick: Toss in a pinch of cayenne pepper or red pepper flakes for a fiery version of these zucchini fries. Spice things up and make them irresistible to those craving a little heat!
-
Cheesy Goodness: For extra flavor, mix shredded mozzarella or cheddar cheese into the breadcrumb coating. The melty cheese adds a rich layer of indulgence and the ultimate crunch.
-
Flavorful Dips: Swap the Greek yogurt dip for ranch or a spicy sriracha mayo for a tangy twist. You can also create a roasted red pepper dip to bring an added depth that pairs perfectly with the fries! For a classic option, try them with Ravioli Corn Zucchini for more delicious veggie recipes!
-
Crispy Cacao: Drizzle a bit of balsamic glaze over the finished fries for a sweet-tangy finish that elevates the dish to gourmet status. It’s a unique pairing that surprises the palate!
-
Nut-Free: For a nut-free option, replace any nut-based ingredients with seeds or simply omit them. It keeps the recipe safe and still full of amazing flavor!
With these variations, you’ll find endless ways to enjoy crunchy Zucchini Fries, catering to every craving at your table!
Expert Tips for Crispy Zucchini Fries
Pat Dry: Ensure zucchini is patted dry after cutting to avoid sogginess in your zucchini fries. Moisture is the enemy of crispiness!
Use Dark Bakeware: Opt for a dark baking sheet, which helps achieve an extra crispy crust as it absorbs heat better than lighter pans.
Single Layer Baking: Arrange zucchini fries in a single layer on the baking sheet, avoiding overcrowding. This ensures optimal air circulation for even baking.
Timing Adjustments: For air frying, use similar preparation steps but reduce cooking time to 8-10 minutes, checking for crispness as they cook.
Flavor Enhancements: Feel free to experiment with different seasonings in the breadcrumb mixture, such as Italian herbs or paprika, for unique flavor combinations.
Check for Crispiness: Keep an eye on the fries as they bake; every oven is different, and the last few minutes are crucial for that perfect crunch!
Crispy Baked Zucchini Fries with Parmesan and Panko Recipe FAQs
How do I select ripe zucchini for this recipe?
Absolutely! When you’re picking zucchini, look for firm, medium-sized specimens that are smooth and shiny. Avoid ones with dark spots all over or soft patches, as these indicate overripeness. The best zucchini for fries is about 6 to 8 inches long.
What’s the best way to store leftover zucchini fries?
Very! Once you’ve enjoyed your crispy zucchini fries, allow them to cool completely. Then, store the leftovers in an airtight container in the fridge for up to 2 days. To revive their delicious crunch, simply reheat them in the oven at 375°F (190°C) for about 10 to 15 minutes, checking frequently until they’re hot and crispy again.
Can I freeze zucchini fries? How?
Of course! Freezing is a great option for leftovers. To do so, arrange the cooked zucchini fries in a single layer on a baking sheet. Once they’re frozen solid after a couple of hours, transfer them to a freezer bag, removing as much air as possible. They can last for up to 3 months in the freezer. To reheat from frozen, bake them at 375°F (190°C) for about 15 to 20 minutes, or until reheated through and crispy.
What should I do if my zucchini fries turn out soggy?
The key is to ensure that your zucchini sticks are adequately dried before coating. After cutting the zucchini, pat them down with paper towels to absorb excess moisture. Another tip is to make sure you’re using a dark baking sheet and that the fries are arranged in a single layer without overlapping; this helps them crisp up beautifully. If you do end up with soggy fries, reheating them in the oven can help restore some of the crispiness.
Are these zucchini fries allergy-friendly?
Very! This recipe can easily be adapted for various dietary needs. For gluten-free options, substitute the flour and breadcrumbs with gluten-free alternatives. If you’re avoiding eggs, you can use aquafaba (the liquid from canned chickpeas) or a flax egg instead. Always check labels for any pre-packaged items like breadcrumbs and sauces to avoid any hidden allergens.
How long can I keep uncooked zucchini fries in the fridge?
You can prepare the zucchini sticks ahead of time! If you’ve cut them but not cooked, they can stay in the fridge in an airtight container for about 3 to 4 days. However, I recommend using them as soon as possible for the best flavor and texture. Enjoy your cooking!
Crispy Zucchini Fries That Kids Will Love and Devour
Ingredients
Equipment
Method
- Cut the zucchini into sticks measuring about ½ inch by 3½ inches and pat them dry.
- In a mixing bowl, combine Panko breadcrumbs, flour, Parmesan, salt, onion powder, and pepper.
- Dip each zucchini stick in egg whites, then coat with the breadcrumb mixture.
- Line a baking sheet with parchment, arrange the coated zucchini fries in a single layer.
- Preheat the oven to 425°F (218°C) and bake for about 10 minutes.
- After 10 minutes, spray the fries, rotate the sheet and bake for another 10 minutes.
- Prepare the dipping sauce by mixing yogurt, basil, garlic, Worcestershire sauce, and seasoning.
- Serve the zucchini fries immediately with the dipping sauce or favorite dips.
Leave a Reply