
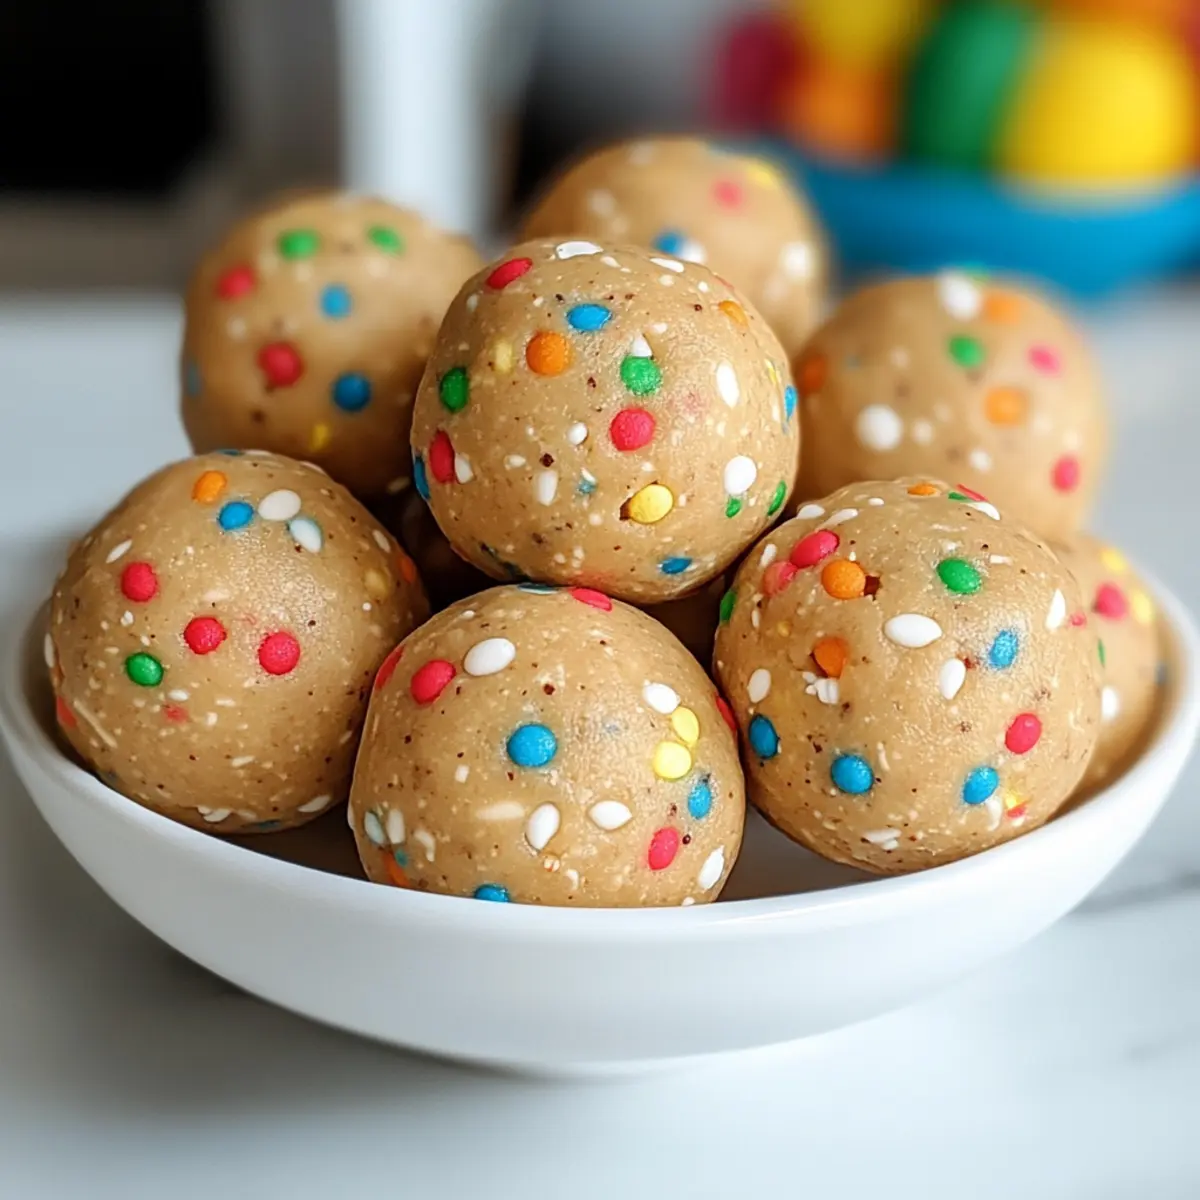
In the midst of a busy week, I stumbled upon an old craving for cake batter—sweet, creamy, and oh-so-satisfying. That’s when I decided to whip up a batch of No Bake Cake Batter Protein Balls, a fantastic solution for those who love the taste of indulgence without the guilt. These delightful bites come together in under thirty minutes and require no baking at all! They’re not just quick to prepare; they’re also packed with protein, making them the perfect snack for a post-workout boost or a mid-afternoon pick-me-up. With options for some playful customization, such as nut-free butters or your favorite sprinkles, these treats will keep both your taste buds and your wellness goals happy. Ready to satisfy your sweet tooth in a healthier way? Let’s dive into this scrumptious recipe!
Why are these protein balls amazing?
Quick and Easy: These No Bake Cake Batter Protein Balls come together in less than thirty minutes, so you can satisfy your sweet tooth without the wait.
Protein-Packed: Each ball contains around 8.4 grams of protein, making them a perfect snack for post-workout recovery or a midday energy boost.
Customizable Delight: Feel free to swap almond flour for oat flour or your choice of nut butter, ensuring everyone can enjoy a version that suits their taste and dietary needs.
Fun and Playful: The vibrant sprinkles add not just a pop of color but also a delightful crunch, bringing joy to your snacking routine! Plus, these bites are kid-friendly, so the whole family can indulge.
Guilt-Free Indulgence: Enjoy the fantastic flavors of cake batter without the traditional guilt, making these treats a guilt-free fix for sweet cravings! If you’re looking for more easy snacks, try these Dump Bake Chicken or delicious No Bake Peanut Butter Fluff Dip.
No Bake Cake Batter Protein Balls Ingredients
Here’s what you’ll need to create these delicious bites!
For the Base
- Almond Flour – Provides structure and healthy fats; substitute with pulsed oats if unavailable.
- Oats – Adds texture and fiber; pulse to a finer meal for a smoother mix if preferred.
- Protein Powder – Acts as a primary source of protein; use plant-based for a vegan option.
For Binding and Sweetness
- Almond Butter – Adds creaminess and binds the ingredients; can be swapped with sunflower seed butter for nut-free versions.
- Maple Syrup – Sweetens the mixture and adds moisture; can be reduced for less sweetness, or replaced with honey (not vegan).
- Vanilla Extract – Enhances flavor depth; stick to pure extract for best results.
- Milk – Adjusts the dough’s consistency; use plant milk for vegan options.
For the Fun Factor
- Sprinkles – Provides a fun visual element and texture; use vegan sprinkles if required.
Step-by-Step Instructions for No Bake Cake Batter Protein Balls
Step 1: Prep Your Workspace
Begin by gathering all your ingredients: almond flour, oats, protein powder, almond butter, maple syrup, vanilla extract, milk, and sprinkles. Measure them out and set them aside. To make mixing easier later, line a baking tray with parchment paper to prevent sticking.
Step 2: Mix Dry Ingredients
In a large mixing bowl, combine the almond flour, oats, and protein powder. Use a sturdy spoon to gently stir the dry ingredients until they are evenly incorporated. This step is essential for ensuring that each of your No Bake Cake Batter Protein Balls has a consistent texture and flavor.
Step 3: Combine Ingredients
Next, add in the almond butter, maple syrup, vanilla extract, and milk to the dry mixture. Stir everything together vigorously until a pliable dough forms. The dough should feel moist but not overly sticky—if it clings too much, a touch more almond flour can help balance the consistency.
Step 4: Adjust Consistency
Once your dough is combined, assess its moisture level. If it feels too dry, gradually add more milk, one tablespoon at a time. Conversely, if it appears too wet, gently mix in a bit more almond flour or oats until the dough reaches a perfect, moldable consistency.
Step 5: Incorporate Sprinkles
With the dough ready, carefully fold in the vibrant sprinkles to maintain their color and crunch. Be gentle during this process to avoid breaking the sprinkles, ensuring that every No Bake Cake Batter Protein Ball has a fun and festive look when they’re done.
Step 6: Shape Balls
Using your hands or a small scoop, portion out tablespoon-sized amounts of dough. Roll each portion into a ball, ensuring they are compact and well-formed. This step is crucial to ensure that your protein balls hold together after chilling and during storage.
Step 7: Chill
Place the rolled protein balls onto the prepared baking tray, making sure they’re spaced out. Refrigerate them for at least 20 minutes to allow them to set and firm up. If you’re short on time, you can also pop them in the freezer for about 5 minutes to achieve the same results before indulging.
What to Serve with No Bake Cake Batter Protein Balls
Elevate your sweet snacking experience by pairing these delightful bites with complementary flavors and textures.
-
Creamy Yogurt: A dollop of Greek yogurt adds a tangy creaminess, enhancing the cake batter flavor while contributing extra protein.
-
Fresh Berries: Juicy strawberries or blueberries offer a refreshing contrast to the sweetness of the protein balls, perfect for a balanced snack.
-
Nutty Trail Mix: A handful of trail mix—especially one with almonds or walnuts—introduces crunch and protein, making for a satisfying combination.
-
Smoothies: Blend a refreshing smoothie with banana and spinach for a
vibrant pairing that amplifies your nutrient intake while keeping things delicious.
-
Nut Butter Dip: Pair with an almond or peanut butter dip to amplify the nutty flavors in the protein balls, creating a harmonious snack experience.
-
Dairy-Free Chocolate Milk: Sip on a glass of rich, creamy chocolate almond milk for a sweet sip that perfectly matches the cake-like essence of the protein balls.
-
Frozen Grapes: Chilled, sweet grapes complement the chewy texture of the balls, adding a refreshing twist to your snack time.
-
Granola: Serve with crunchy granola for a satisfying texture contrast, making each bite an adventure.
-
Coconut Chia Pudding: Enjoy with coconut chia pudding for a nutty and creamy side that enhances the overall flavor profile and adds healthy fats.
-
Dark Chocolate Squares: A small piece of dark chocolate offers a decadent touch, providing a rich flavor that pairs beautifully with the sweet bites.
Storage Tips for No Bake Cake Batter Protein Balls
Fridge: Store your No Bake Cake Batter Protein Balls in an airtight container in the fridge for up to 10 days for optimal freshness.
Freezer: For longer storage, freeze the protein balls in a single layer on a baking sheet. Once frozen, transfer them to a freezer-safe container for up to 2 months.
Thawing: When you’re ready to enjoy, simply thaw the protein balls in the fridge overnight or for about 30 minutes at room temperature.
Reheating: These balls are best enjoyed cold; however, if you prefer a softer texture, a quick 5-10 second zap in the microwave can bring warmth without melting them.
Expert Tips for No Bake Cake Batter Protein Balls
-
Stay Gentle: Avoid overmixing your dough. Overworking can lead to a tough texture rather than the soft, chewy consistency you want in No Bake Cake Batter Protein Balls.
-
Texture Check: If your dough is crumbly, it may indicate a lack of moisture. Gradually add milk until you achieve the desired pliability.
-
Compact Rolls: When shaping your balls, ensure they’re compact to withstand chilling and freezing so they maintain their shape.
-
Ingredient Swaps: Experiment with different nut butters or sweeteners to suit dietary needs. Just be mindful of how these changes affect the overall consistency of the batter.
-
Vibrant Sprinkles: Incorporate sprinkles gently at the end of mixing to preserve their color and crunch. This adds that fun touch while keeping your protein balls visually appealing.
Make Ahead Options
These No Bake Cake Batter Protein Balls are ideal for meal prep, saving you time for busy weeknights! You can prepare the dough up to 24 hours in advance. Simply mix all the ingredients, roll them into balls, and place them on a baking tray. Instead of chilling right away, cover them with plastic wrap and refrigerate until you’re ready to serve. When it’s time to enjoy, just pull out the protein balls and chill them for an additional 20 minutes for the best texture. For longer storage, you can freeze the rolled balls for up to 2 months. This way, you’ll have delightful, protein-packed snacks readily available, just as delicious as when freshly made!
No Bake Cake Batter Protein Balls Variations
Feel free to let your creativity shine; these protein balls can be easily customized to suit your taste!
- Vegan Option: Use plant-based protein powder and substitute almond milk for a delightful vegan treat.
- Nut-Free: Swap almond butter with sunflower seed butter to create a nut-free version that everyone can enjoy. These taste just as creamy and satisfying!
- Chocolate Lovers: Stir in cocoa powder or mini chocolate chips for an indulgent chocolatey twist. Imagine those gorgeous chocolate flecks mixing in with the cake batter flavor!
- Fruit Infusion: Add freeze-dried fruit pieces, like strawberries or raspberries, for a burst of natural sweetness and color. The fruity flavors add a vibrant touch and make these snacks even more exciting.
- Crunchy Texture: Mix in some chopped nuts or seeds for an extra crunch that complements the chewy base of these protein balls. The varied textures truly elevate your snacking experience.
- Coconut Twist: Incorporate shredded coconut for a tropical flair that brings a delightful chewiness to your recipe! Coconut fans will really appreciate this flavorful addition.
- Seasonal Spark: Adjust sweeteners based on seasons; use maple syrup in winter for warmth, or a splash of honey in summer for a light touch. This small change can make all the difference in flavor!
- Flavor Extracts: Experiment with different flavor extracts, like almond or coconut, to change the essence of the protein balls entirely. Each variation feels like a brand-new treat!
Whichever way you choose to customize, these bites will continue offering a satisfying experience. If you’re looking for more quick and delicious treats, check out the options for Tres Leches Cake or a delightful Funfetti Oreo Icebox Cake. Enjoy your kitchen adventure!
No Bake Cake Batter Protein Balls Recipe FAQs
What should I look for when selecting ingredients, especially almond flour and oats?
Absolutely! For almond flour, choose a finely ground option without any dark spots or moisture. For oats, thicker or rolled oats work best for texture; if they appear stale or have a rancid smell, it’s better to select a fresher batch. You can also pulse the oats into a finer meal to blend seamlessly if you prefer!
How should I store No Bake Cake Batter Protein Balls, and how long will they last?
I recommend keeping your No Bake Cake Batter Protein Balls in an airtight container in the fridge for up to 10 days. If you want to keep them for longer, they can be frozen. Just place the balls in a single layer on a baking sheet until they’re solid, then transfer them to a freezer-safe container for up to 2 months. They’ll taste just as fresh!
Can I freeze No Bake Cake Batter Protein Balls, and how do I do it properly?
Certainly! To freeze these protein balls, first, lay them out on a baking sheet lined with parchment paper, making sure they’re not touching. Freeze them for about 2 hours or until solid. Once frozen, transfer them into an airtight container or a zip-lock bag, layering parchment paper between them to keep them from sticking together. When you’re ready to enjoy, simply thaw overnight in the fridge or let them sit at room temperature for about 30 minutes.
What if my dough is too dry or too wet when making the protein balls?
Very good question! If your dough is crumbly and dry, gradually add a tablespoon of milk at a time until it becomes moist and pliable. On the other hand, if it’s too wet, incorporate additional almond flour or oats—about a tablespoon at a time—until you reach that perfect consistency. This process can really help customize your dough for an ideal texture!
Are there any dietary considerations I should keep in mind when making this recipe?
Absolutely! If you have nut allergies, you can easily substitute almond butter with sunflower seed butter. For a vegan option, stick to plant-based protein powder and use maple syrup instead of honey. If you’re making these for kids, feel free to swap regular sprinkles for natural ones like crushed freeze-dried fruits, ensuring a healthier treat!
Can pets have any of the ingredients in these protein balls?
It’s important to be cautious! While almond flour and oats are generally safe for dogs in moderation, avoid giving them any nut butters, especially those containing xylitol, as it’s toxic to pets. For a safer treat for your furry friends, you might want to prepare a special batch just for them without the added sugars or harmful ingredients.
No Bake Cake Batter Protein Balls: Your Sweet Guilt-Free Fix
Ingredients
Equipment
Method
- Begin by gathering all your ingredients: almond flour, oats, protein powder, almond butter, maple syrup, vanilla extract, milk, and sprinkles.
- In a large mixing bowl, combine the almond flour, oats, and protein powder.
- Next, add in the almond butter, maple syrup, vanilla extract, and milk to the dry mixture. Stir everything together vigorously until a pliable dough forms.
- Once your dough is combined, assess its moisture level. Adjust with more milk or flour as needed.
- Carefully fold in the vibrant sprinkles to maintain their color and crunch.
- Using your hands or a small scoop, portion out tablespoon-sized amounts of dough and roll them into balls.
- Place the rolled protein balls onto the prepared baking tray, refrigerate for at least 20 minutes to set.
Leave a Reply